
Machine Row vs Lat Pulldown: Home Gym Setup & Install Guide
Compare machine row vs lat pulldown biomechanics and follow our complete 2026 setup and installation walkthrough for seated cable row machines.

The Biomechanical and Spatial Divide: Machine Row vs Lat Pulldown
When outfitting a high-performance home gym or commercial facility, the debate of machine row vs lat pulldown is rarely about which is superior, but rather how each dictates spatial planning, load vectors, and installation requirements. While both are foundational for back development, their mechanical setups differ drastically. A seated cable row utilizes horizontal adduction, heavily recruiting the rhomboids, middle trapezius, and latissimus dorsi through a sagittal plane pull. Conversely, the lat pulldown relies on vertical adduction, isolating the lats and teres major in the frontal plane.
Understanding these biomechanical differences is critical before unboxing your equipment. According to kinesiology data mapped by ExRx.net's exercise directory, the seated row requires a longer footprint to accommodate the user's leg span and the horizontal cable travel path, whereas a lat pulldown demands significant vertical clearance and robust overhead anchoring.
| Feature | Seated Cable Row Machine | Lat Pulldown Machine |
|---|---|---|
| Primary Plane of Motion | Horizontal (Sagittal) | Vertical (Frontal) |
| Footprint (L x W) | 85" x 35" (Requires 48" user clearance) | 60" x 45" (Requires 84" ceiling height) |
| Cable Tension Vector | Low-to-Mid horizontal pull | High vertical drop |
| 2026 Avg. Equipment Cost | $3,200 - $6,800 (Selectorized) | $2,800 - $5,500 (Selectorized) |
| Floor Load Requirement | Distributed (Baseplate heavy) | Concentrated (Upright anchoring) |
Pre-Installation Requirements for Cable Systems
Before assembling a seated row machine, you must prepare the installation environment. Cable-driven machines generate immense kinetic friction and require absolute frame stability. If the frame shifts during a 200-lb rowing set, the cable will derail from the nylon pulleys, causing immediate failure.
⚠️ CRITICAL FLOORING WARNING: Do not install heavy selectorized row machines directly on laminate or engineered wood. The concentrated weight of a 250-lb weight stack combined with dynamic user movement can crack subflooring. Use a minimum 3/4-inch thick vulcanized rubber mat (4x6 feet) to distribute the load and dampen acoustic vibration.Ensure your ceiling height accommodates the rear stabilizer bar, which often extends to 82 inches on commercial hybrid units. Furthermore, verify that you have a 1/2-inch drive torque wrench, a set of metric hex keys (M6 to M12), and white lithium grease on hand. Standard wrench sets are insufficient for achieving the precise torque specifications required by modern 11-gauge steel fitness frames.
Step-by-Step Installation Walkthrough: Seated Row Machine
The following walkthrough applies to standard selectorized and plate-loaded seated row machines, focusing on the critical failure points that factory manuals often gloss over.
Phase 1: Frame Assembly and Base Stabilization
- Position the Main Upright: Stand the main weight stack housing upright. Have a second person brace the housing while you slide the horizontal main beam into the receiver bracket.
- Hardware Insertion: Insert the M10x30mm flange bolts through the pre-drilled gusset plates. Do not fully tighten yet. Leave all base bolts at 50% tightness to allow the 11-gauge steel frame to self-level.
- Leveling the Feet: Place a 24-inch carpenter's level on the horizontal seat track. Adjust the threaded rubber leveling feet on the baseplate until the bubble is perfectly centered. Uneven frames cause the weight stack to bind against the guide rods.
- Torque to Spec: Once leveled, torque all M10 structural bolts to 35 Nm (Newton-meters) and M8 bolts to 22 Nm. This prevents micro-vibrations from loosening the hardware over time.
Phase 2: Cable Routing and Swivel Pulley Calibration
Cable routing is where 90% of installation errors occur. Modern seated rows utilize 3/16-inch 7x19 galvanized aircraft cable, which offers a tensile strength exceeding 1,000 lbs and high flexibility. However, improper routing leads to fraying at the swivel joints.
- Identify the Idler Pulleys: Start at the weight stack carriage. Thread the cable under the bottom idler pulley, ensuring the cable sits inside the cable keeper bracket. The gap between the pulley edge and the keeper should be no more than 3mm to prevent the cable from slipping out during slack moments.
- The Floating Swivel: Route the cable through the floating swivel pulley at the user end. This pulley rotates 180 degrees to accommodate wide and narrow grip attachments. Apply a single drop of synthetic bearing oil to the swivel pivot pin before securing the carabiner.
- Tensioning: Attach the cable end to the selector rod. Pull the carriage up slightly to remove slack, then secure the retention bolt. The cable should have a guitar-string-like resonance when plucked—roughly 15 lbs of resting tension. If it is too loose, the weight stack will "drop" and slam when the user releases the handle.
Phase 3: Weight Stack Alignment and Guide Rod Lubrication
Friction is the enemy of smooth biomechanics. The selectorized weight stack glides on dual chrome-plated guide rods. If installed dry, the stack will chatter and scrape, generating metallic dust that ruins the machine's aesthetics and function.
Expert Insight: Never use standard WD-40 or petroleum-based degreasers on fitness equipment guide rods. These products strip factory coatings and attract abrasive dust. In 2026, the industry standard is a 100% silicone-based dry lubricant or PTFE (Teflon) spray, which dries clean and repels particulate matter.
Wipe the guide rods with a microfiber cloth, apply the silicone lubricant evenly from top to bottom, and cycle the weight stack through its full range of motion five times to distribute the coating into the linear bearings.
Calibration and Safety Testing Protocol
Before allowing any user to load the machine, perform the ASTM-recommended safety testing protocol. According to the ASTM International standards for sports and recreation equipment, dynamic load testing is mandatory to verify structural integrity and cable retention.
5-Point Pre-Flight Safety Check
- Pin Engagement Test: Insert the selector pin into the 100-lb plate. Pull the handle sharply. The pin must engage the opposing plate seamlessly without catching on the housing.
- Slack Release Test: Pull the handle to full extension, then rapidly release it. Observe the weight stack. It should return to the resting bumper with a controlled deceleration, not a violent slam.
- Pulley Tracking: Perform 10 reps at a moderate weight. Watch the cable as it enters the swivel pulley. It must track dead-center in the nylon groove without riding the edges.
- Seat Carriage Lock: Engage the pop-pin on the adjustable seat pad and apply 50 lbs of downward pressure to ensure the locking mechanism is fully seated in the receiver hole.
- Hardware Re-Torque: After the first 50 reps of dynamic use, steel frames experience initial settling. Re-torque the main baseplate bolts to 35 Nm.
Long-Term Maintenance and Failure Mode Prevention
A properly installed seated row machine will last decades, but only if subjected to rigorous, scheduled maintenance. The horizontal pull vector places unique lateral stress on the end-user pulleys, making them prone to bracket fatigue.
📊 2026 Maintenance Interval Matrix
| Component | Inspection Interval | Action / Threshold for Replacement |
|---|---|---|
| Aircraft Cable | Every 90 Days | Replace if >2 broken strands in a 12-inch span or if protective nylon coating is cracked. |
| Nylon Pulleys | Every 6 Months | Replace if the center groove shows visible flat-spotting or if the bearing emits a grinding noise. |
| Guide Rods | Monthly | Wipe down and re-apply PTFE lubricant. Inspect linear bearings for plastic shavings. |
| Swivel Carabiner | Annually | Replace the spring-gate carabiner connecting the cable to the handle to prevent metal fatigue failure. |
By understanding the distinct spatial and biomechanical requirements of a machine row vs lat pulldown, and by adhering to precision installation tolerances, you ensure that your back training equipment operates safely and smoothly. Whether you are building a commercial studio or an elite garage gym, treating the assembly process with mechanical reverence is the key to unlocking years of uninterrupted, high-yield hypertrophy training.
More gear to consider
All reviews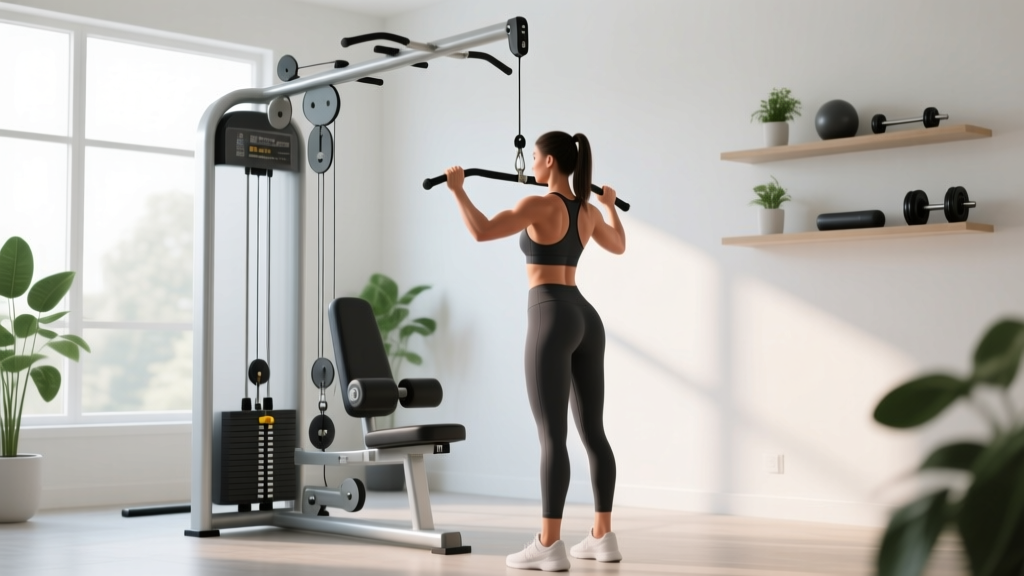
Best Lat Pulldown Machine for Women: 2026 Buyer's Guide

Pull-Up Bar Types vs Lat Pulldown Machine Biceps (2026)

Best Equip Body Legs for Buyers: Expert Comparison of Performance, Fit, and Value in 2024

Seated Row Setup & Lat Pulldown Machine Weight Calibration Guide

2026 Market Trends: Hoist Lat Pulldown Machine & Lumbar Support Gear
