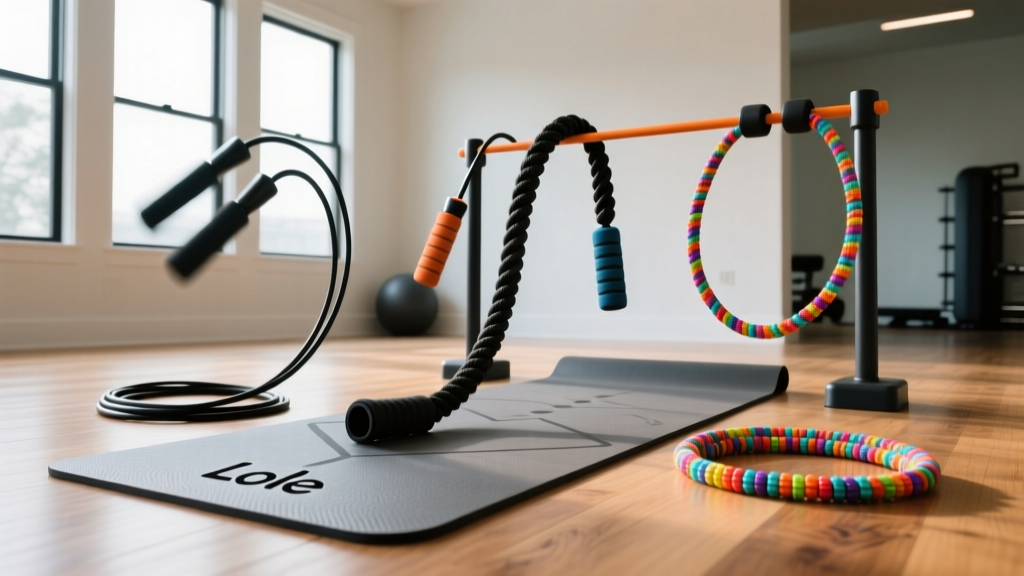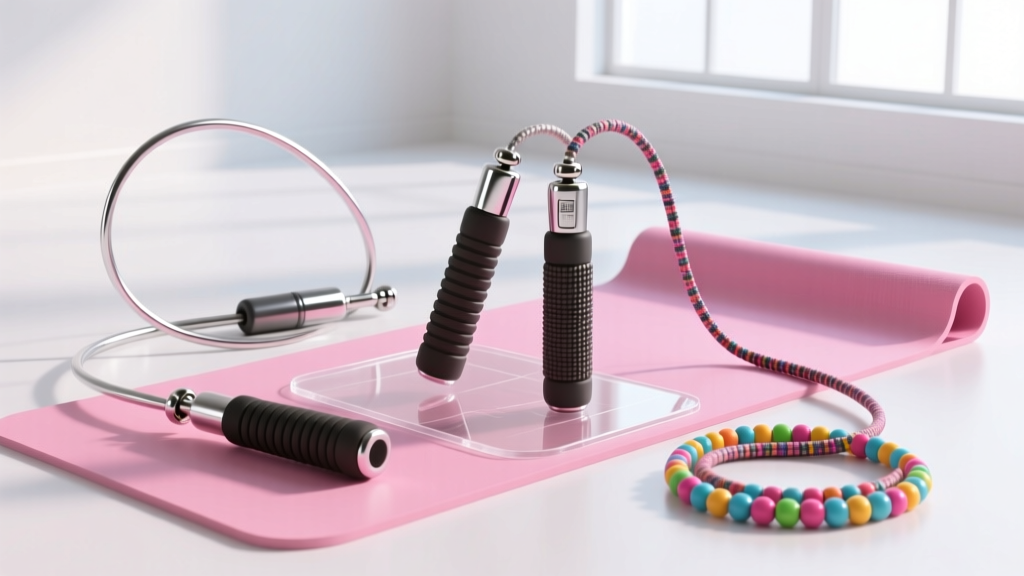
Jump Rope Setup: Speed, Weighted, Beaded & Pink Yoga Mat Protection
Master your jump rope setup with our walkthrough on sizing speed, weighted, and beaded ropes while protecting your favorite pink yoga mat from wear.

The Home Jump Rope Station: Blueprint for Success
Setting up a dedicated jump rope zone in your home gym requires more than just clearing a 10x10 foot space. As of 2026, the integration of high-impact plyometrics into daily cardio routines has driven a massive demand for specialized speed, weighted, and beaded ropes. However, the kinetic force generated by these tools can wreak havoc on delicate flooring and aesthetic gym accessories. Many fitness enthusiasts curate their home gym aesthetics carefully, often searching for a specific yoga mat pink colorway to match their brand or space. However, aesthetic choices like a premium Lululemon Reversible Mat in Pink or a Manduka PROlite in Pink Lotus present a unique vulnerability when introducing abrasive equipment.
This complete setup and installation walkthrough will guide you through the precise mechanical calibration of your rope arsenal, spatial requirements, and the critical floor-protection protocols necessary to preserve your gear.
Spatial Mapping and Environmental Setup
Before unboxing your ropes, you must validate your environmental clearance. The most common failure mode for home jump rope setups is inadequate vertical clearance, leading to rope fray against popcorn ceilings or exposed drywall.
- Vertical Clearance: Measure from your floor to the ceiling. You need a minimum of 8 feet 6 inches (2.6 meters) of unobstructed vertical space. For athletes over 6 feet tall, 9 feet is the mandatory baseline.
- Horizontal Footprint: A 10x10 foot area is required. Ensure all breakable items, mirrors, and unstable equipment racks are pushed back at least 4 feet from your center axis.
- Lighting: Avoid jumping directly under recessed LED downlights. The strobe effect of a spinning 2.5mm steel cable passing through a concentrated beam of light can cause subtle visual tracking fatigue over 20-minute sessions.
The Mat Dilemma: Protecting Your Pink Yoga Mat
Warning: Never use a beaded or heavy weighted rope directly on a TPE or natural rubber yoga mat. The localized PSI will cause permanent micro-tears and aesthetic degradation within 3 to 5 sessions.Standard yoga mats, including highly sought-after aesthetic variants, are engineered for static grip and joint cushioning, not high-velocity abrasive impact. A typical TPE or natural rubber mat has a Shore A hardness rating of around 60 to 70. When a 2-ounce polyurethane beaded rope strikes the floor at 120 RPM, the repeated friction acts like sandpaper, shredding the top layer of your mat and leaving permanent scuff marks on that pristine pink yoga mat surface.
The Sacrificial Layer Installation
To protect your investment, you must install a sacrificial high-density PVC jump mat over your aesthetic yoga mat. Look for a 3/8-inch thick PVC mat with a Shore A hardness of 85 or higher (such as the CrossRope Mat or generic high-density interlocking tiles). Place your pink yoga mat down first for baseline acoustic dampening and joint support, then center the heavy-duty PVC jump mat on top. This dual-layer setup absorbs the kinetic shock while completely shielding the delicate surface of your yoga mat from the whipping action of the rope.
Hardware Installation: Calibrating Your Rope Arsenal
Each rope type requires a distinct mechanical setup. Using the wrong cutting tool or misaligning the bearing system will result in cable snap or handle detachment.
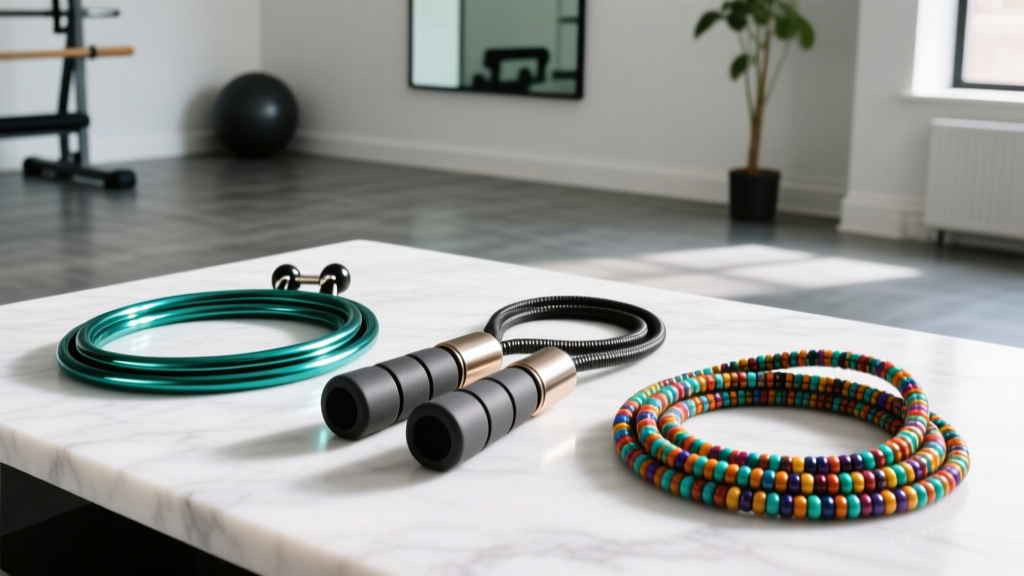
1. Speed Ropes (e.g., WOD Nation, RX Smart Gear)
Speed ropes utilize a 1.5mm to 2.5mm bare steel core wrapped in a thin PVC sheath. They rely on 90-degree ball-bearing swivels for rapid rotation.
- Measure: Step on the center of the cable with one foot. Pull the handles up. For beginners, the tips of the handles should reach your armpits. For advanced double-unders, they should reach your nipple line.
- Cut: Do not use standard household scissors, which will crush the steel core and ruin the internal swivel alignment. Use heavy-duty aviation snips or wire cutters.
- Secure: Thread the locking collar and screw it down tightly. Leave exactly 1.5 inches of excess cable protruding past the collar to prevent the cable from slipping back through the bearing during high-tension swings.
2. Weighted Ropes (e.g., CrossRope Get Lean Set)
Weighted ropes feature a braided steel core wrapped in thick PVC, with the weight distributed through the cable rather than the handle. Setup revolves around the quick-release clip mechanism.
- Align: Line up the stainless steel quick-release clip with the handle's internal groove.
- Engage: Push the clip firmly into the handle. You must hear and feel a distinct 'double-click' as the dual ball-bearings seat into the locking trench.
- Verify: Perform a hard downward tug on the cable before your first swing. A failure to fully seat the clip will result in the rope detaching mid-air, which can cause severe welts or eye injuries.
3. Beaded Ropes (e.g., Elite SRS Muay Thai 3.0)
Beaded ropes are constructed from 65-durometer polyurethane beads strung over a nylon core. They provide tactile feedback and are ideal for beginners and freestyle footwork.
- Disassemble: Pop off the handle cap and pull the nylon cord through to expose the internal double overhand knot.
- Resize: Untie the knot, slide off the excess beads (save them for future adjustments or replacements), and re-tie the knot securely.
- Trim: Leave a 2-inch tail of nylon cord past the knot, then trim the excess with scissors. Melt the very tip of the nylon tail with a lighter to prevent fraying inside the handle.
Rope Calibration Matrix
| Rope Type | Ideal Length (5'8" Athlete) | Cable/Bead Weight | Required Floor Surface |
|---|---|---|---|
| Speed Rope | 8' 2" to 8' 6" | 1.5 - 2.5 oz | PVC Jump Mat / Smooth Concrete |
| Weighted Rope (1/4 lb) | 8' 6" to 9' 0" | 4.0 oz | High-Density PVC Mat |
| Beaded Rope | 9' 0" to 9' 6" | 2.0 - 2.5 oz | Any Mat (Beads won't fray) |
Biomechanics and Impact Management
Proper setup extends beyond the hardware; it includes how you manage the biomechanical impact on your joints. According to guidelines published by the American Heart Association, high-intensity aerobic exercises like jump roping are highly efficient for cardiovascular health, but they require careful load management to prevent overuse injuries.
Furthermore, research highlighted by the National Institutes of Health (NIH) demonstrates that the repetitive, low-amplitude plyometric loading from jump roping significantly improves bone mineral density and lower-leg stiffness. However, this benefit is only realized when the impact is properly absorbed. Jumping directly on concrete without a mat layer negates the acoustic and kinetic dampening required to protect your shins and Achilles tendons. By utilizing the dual-layer mat setup described above, you optimize the energy return while minimizing the sheer force on your connective tissues.
'Jumping rope is one of the most efficient calorie-burning exercises available, but the repetitive impact demands a meticulously prepared surface. Your floor setup is just as critical as your footwear.' - FitGearPulse Biomechanics Team
Routine Maintenance and Tension Tuning
To ensure your setup remains safe and functional throughout 2026 and beyond, implement this weekly maintenance protocol:
- Speed Cables: Wipe down the PVC-coated steel cable with a microfiber cloth dampened with a 10% silicone spray solution. This reduces friction inside the bearing housing and prevents the cable from kinking.
- Weighted Ropes: Inspect the quick-release ball-bearings for dust accumulation. Use a can of compressed air to blow out the handle's internal trench every 30 days.
- Beaded Ropes: Polyurethane beads attract dust and pet hair. Submerge the beaded section (excluding the nylon knot inside the handle) in warm soapy water once a month, rinse, and air dry to maintain their 65-durometer grip and bounce.
Frequently Asked Questions
Can I use a standard pink yoga mat for jump rope if I am a beginner?
If you are strictly using a lightweight beaded rope and practicing low-impact basic bounces, a standard TPE pink yoga mat can survive short-term use. However, the moment you transition to a PVC-coated speed rope or a heavy weighted rope, the friction will tear the mat's surface. Always use a sacrificial PVC jump mat for longevity.
How often should I re-measure my jump rope length?
Your rope length requirements will change as your skill improves. Beginners need longer ropes to accommodate a wider arm stance and higher arc. As you develop wrist flick efficiency and tighten your kinetic chain, you should shorten your speed rope by 1 to 2 inches every 3 to 4 months to increase rotation speed and reduce ground-contact time.
More gear to consider
All reviews
Best Hangable Yoga Mats and Block Strap Guide 2026
Beyond Thick Yoga Mats: Pull Up Assist Band Sizing Guide

Band Levels & Choosing a Yoga Mat for Bad Knees: Troubleshooting
Beyond Yoga Mat Packaging: Speed, Weighted & Beaded Jump Ropes

Loop vs Tube Bands: Budget Analysis & Rolled Yoga Mat Pairings