
iFIT App for NordicTrack Treadmill & Home Stair Climber Setup
Master your home gym install. From the iFIT app for NordicTrack treadmill sync to heavy-duty stair climber assembly, read our 2026 setup walkthrough.

The 2026 Home Gym Evolution: Expanding Your Cardio Arsenal
When building a comprehensive home gym, most enthusiasts start by mastering the iFIT app for NordicTrack treadmill integration. However, as fitness science evolves, the 2026 trend is clear: diversifying your cardio modalities is essential for joint longevity and muscular balance. While treadmills excel at sagittal plane endurance, heavy-duty stair climbers target the glutes, quads, and calves with high-resistance, low-impact vertical loading.
This complete setup and installation walkthrough bridges the gap between your existing NordicTrack ecosystem and a new, dedicated home stair climber (such as the Sunny Health & Fitness SF-S9023 or similar magnetic resistance climbers). We will cover structural prep, mechanical assembly, and how to sync your software experience seamlessly.
Pre-Installation: Spatial & Structural Requirements
Stair climbers impose unique dynamic loads on your flooring compared to treadmills. The vertical oscillation and lateral torque require specific spatial clearances. Heavy-duty stair climbers often ship in a single 140 lb box. Do not attempt to lift the base frame alone. Use a furniture dolly to move the box to your gym space, and slice the cardboard away from the bottom up so the base remains supported by the cardboard tray during initial stabilization.
| Equipment Type | Min. Footprint (W x L) | Ceiling Clearance | Power Requirement | Floor Mat Spec |
|---|---|---|---|---|
| Treadmill (e.g., NT X22i) | 35" x 78" | 80" | 15A Dedicated | 3/8" EVA |
| Heavy-Duty Stair Climber | 30" x 48" | 84" (User + 16" travel) | Standard 120V | 1/2" Rubber |
According to the American Council on Exercise (ACE), proper equipment spacing is not just about safety; it ensures adequate airflow and prevents overheating of both the user and the machine's internal alternator. Always install a 1/2-inch thick vulcanized rubber mat under your stair climber to dampen low-frequency vibrations that EVA foam cannot absorb.
Step-by-Step Stair Climber Assembly Walkthrough
Phase 1: Base Leveling and Stabilization
Unlike treadmills that sit flat, stair climbers have a high center of gravity. Before attaching the uprights, place the base frame on your rubber mat. Use a machinist level across the pedal track. Adjust the four corner leveling feet until the bubble is perfectly centered. Failure to do this will result in premature bearing wear on the lower crank assembly.
Phase 2: Pedal Arm & Flywheel Installation
- Grease the Crank Bearings: Apply a thin layer of white lithium grease to the pedal arm pivot points before insertion.
- Seat the Pedal Arms: Slide the left and right pedal arms onto the main shaft. Ensure the indexing grooves align perfectly.
- Torque the M8 Bolts: Using a torque wrench, tighten the main crank bolts to 25 Nm (18.4 ft-lbs). Overtightening can strip the aluminum crank threads; undertightening will cause a dangerous wobble at high RPMs.
Phase 3: Upright Routing and Console Mounting
The most common failure mode during home assembly is pinching the internal data cable. When feeding the wire through the steel upright, use the included fish tape or a bent wire hanger to guide it. Leave 3 inches of slack at the top before bolting the console plate. Connect the RJ45-style data connector until you hear a definitive click.
⚠️ Expert Warning: Never plug the stair climber into a power strip shared with high-draw appliances (like space heaters or treadmills on incline motors). Magnetic resistance climbers require clean, consistent voltage to prevent console flickering and E2 error codes.Tech Integration: Bridging iFIT and Third-Party Climbers
Here is where the 2026 smart-gym ecosystem gets interesting. You have already mastered the iFIT app for NordicTrack treadmill workouts, but your new stair climber is a third-party brand without native integration. How do you unify your experience?
The FTMS Protocol & Tablet-Mounting Workaround
In 2026, the Bluetooth FTMS (Fitness Machine Service) protocol is the gold standard for machine-to-app communication. If your stair climber supports open FTMS, you can pair it directly to the iFIT app's third-party equipment menu via your iFIT Help Center account settings, allowing the app to log exact wattage and step count. If your machine lacks FTMS, use the tablet-mount workaround:
- Universal VESA Mount: Purchase a universal gooseneck tablet mount (approx. $35-$50) and clamp it to the stair climber's stationary handlebars.
- Cadence Matching: Load an iFIT hiking or stair-climbing class on your tablet. While the machine won't auto-adjust resistance, you can manually adjust the magnetic tension knob to match the trainer's RPE (Rate of Perceived Exertion) cues.
- Heart Rate Sync: Wear an ANT+ or Bluetooth chest strap (like the Polar H10). The iFIT app will read your heart rate directly from the strap, bypassing the stair climber's often inaccurate grip sensors, ensuring your active calorie burn and zone training metrics remain accurate.
Calibration, Tensioning, and Safety Checks
Before your first high-intensity interval session, perform the 10-minute calibration protocol:
- The Dead-Center Test: Slowly pedal and stop exactly when the right pedal is at the 6 o'clock position (bottom dead center). Apply 50 lbs of downward pressure. The drivetrain should not slip or clunk. If it does, locate the tension belt adjustment bolt near the flywheel and turn it clockwise by 1/4 turn.
- Drive Belt Tensioning: The initial break-in period (first 10 hours of use) will cause the Poly-V drive belt to stretch by up to 4mm. Mark the tensioner bolt with a paint pen before your first ride so you can easily track and adjust the stretch after week two.
- Reed Switch Alignment: If your console displays 0 RPM despite pedaling, the magnetic reed switch near the flywheel is misaligned. Unplug the machine, remove the side shroud, and ensure the gap between the sensor and the flywheel magnet is exactly 3mm to 5mm.
- Emergency Stop Verification: Most modern stair climbers use a magnetic safety tether. Clip it to your shirt, step off the pedals, and verify the console immediately throws an E1 (Safety Key Missing) error and locks the flywheel.
Troubleshooting Common Installation Errors
| Symptom | Probable Cause | Expert Fix |
|---|---|---|
| Rhythmic squeaking at low RPM | Dry pedal arm pivot bearings | Apply PTFE-based dry lubricant to the upper and lower pivot joints. |
| Console boots up but shuts off under load | Voltage drop / inadequate circuit | Move to a dedicated 15A wall circuit; avoid extension cords. |
| Lateral wobble in handlebars | Loose upright flange bolts | Tighten the 4 base-to-upright M10 bolts to 40 Nm. |
Final Thoughts on Your 2026 Cardio Setup
Integrating a heavy-duty stair climber into a home gym dominated by treadmills requires attention to structural load, software bridging, and precise mechanical assembly. By following this walkthrough, you ensure your equipment operates safely and quietly for years. For more insights on optimizing your home gym environment and reducing joint impact, refer to the Mayo Clinic's fitness guidelines on cross-training modalities. Your cardiovascular engine—and your joints—will thank you.
More gear to consider
All reviews
Postnatal Treadmill Motor Guide: Sizing & Troubleshooting
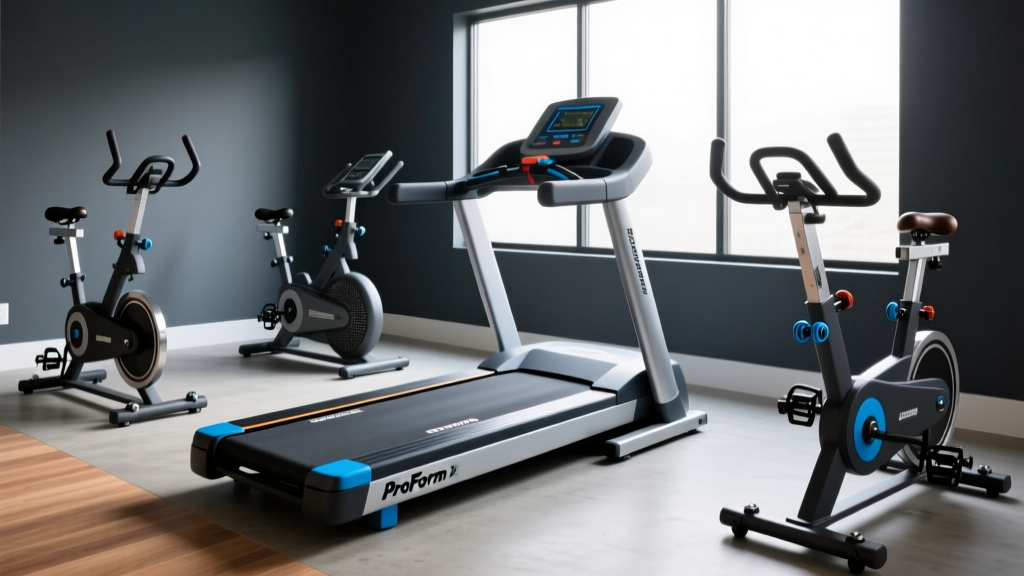
ProForm 12 Treadmill vs Stationary Bike Types: Maintenance Guide
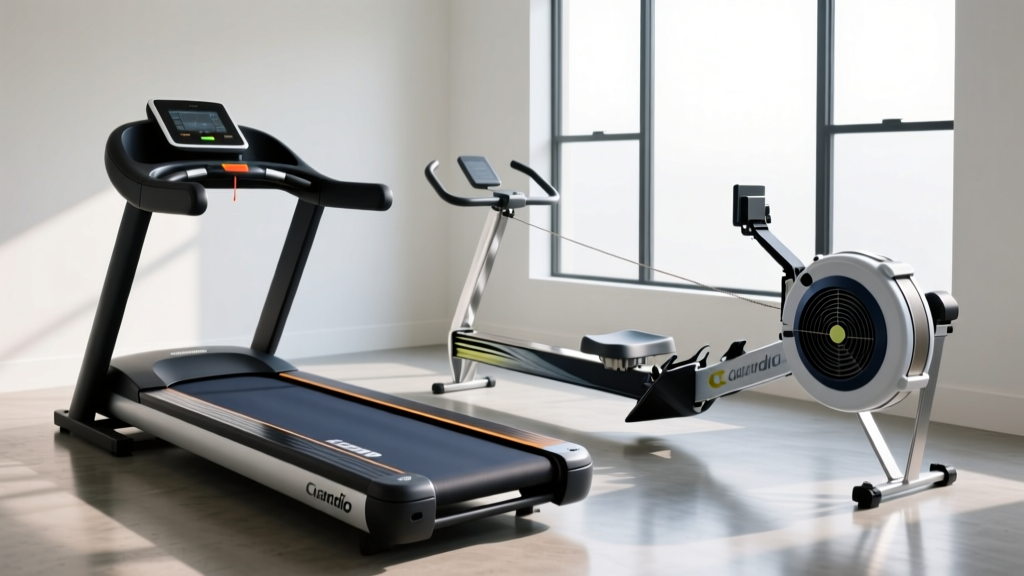
Rowing Guide: What Is The Purpose Of A Curved Treadmill Vs A Rower?

The Core Benefit of Curved Treadmill Training: 2026 Comparison Guide
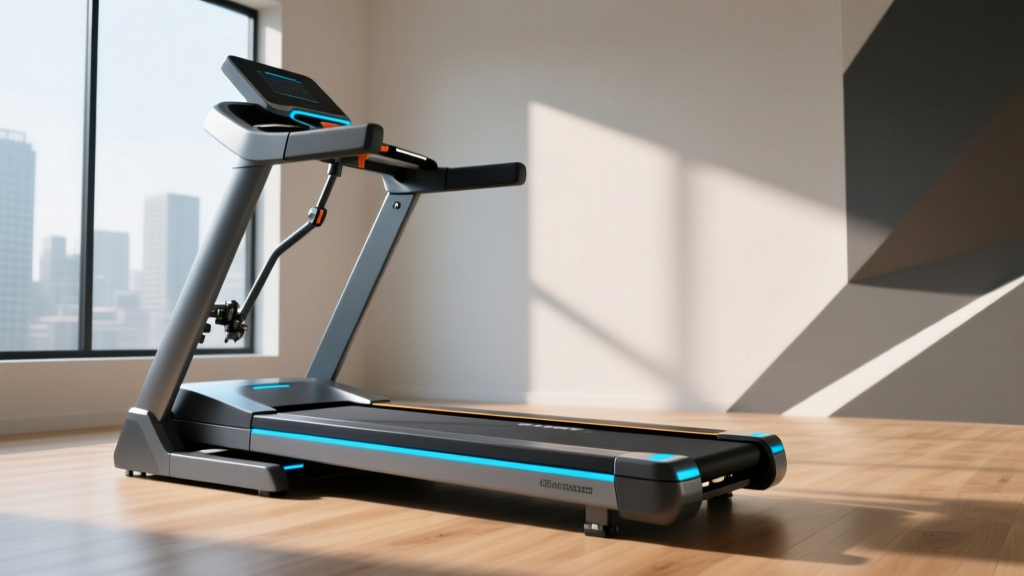
Best Treadmill Fold Mechanisms for Small Spaces (2026)
