
The Ultimate Home Gym Layout Planner for Strength Training Setups
Master your strength training space with our home gym layout planner guide. Step-by-step setup, flooring, rack placement, and clearance metrics.

The Blueprint: Mapping Your Strength Training Zones
Building a dedicated strength training space requires far more than simply purchasing a power rack and dropping it in the center of your garage. A poorly configured room leads to bottlenecked workouts, damaged walls, and severe safety hazards. According to facility design guidelines published by the National Strength and Conditioning Association (NSCA), proper spatial planning and equipment flow are critical for injury prevention and optimal biomechanical execution. This is where a meticulous home gym layout planner becomes your most valuable tool.
Before spending a single dollar on equipment, you must transition from abstract ideas to a concrete floor plan. Whether you use a digital home gym layout planner like SketchUp or a physical 1/4-inch architectural scale ruler on graph paper, the goal is to establish the 'Triangle of Strength'—the ergonomic relationship between your primary lifting zone (the rack), your secondary loading zone (dumbbells/kettlebells), and your storage zone (plate trees and accessories).
Planner Pro-Tip: The Moisture TestBefore finalizing your layout on concrete, perform a 24-hour moisture test. Tape a 2x2 foot square of clear polyethylene plastic tightly to your garage or basement floor. If condensation forms under the plastic after 24 hours, your layout planner must now include a vapor barrier or a raised subfloor system before laying rubber mats to prevent mold and rubber degradation.
Phase 1: Flooring Installation & Subfloor Prep
Strength training generates immense localized impact. Dropping a 300-pound deadlift creates a shockwave that can crack unprotected concrete and shatter cheap interlocking foam tiles. For a serious strength configuration, your layout must account for 3/4-inch (19mm) vulcanized rubber mats.
Step-by-Step: Laying the Foundation
- Calculate Square Footage: Measure your total zone and add 10% for cutting waste. A standard 2-car garage bay is roughly 400 square feet.
- Source the Rubber: As of 2026, premium interlocking rubber tiles cost between $2.50 and $4.00 per square foot. For a budget-friendly but equally durable alternative, many lifters use 4x6 foot horse stall mats from agricultural suppliers (typically $55 to $65 per mat), which yield the exact same 3/4-inch thickness and shock absorption.
- Prep the Subfloor: Sweep and vacuum the concrete. Degrease any oil spots using a concrete etcher or heavy-duty degreaser. If your layout planner identified moisture issues, lay down a 6-mil polyethylene vapor barrier first.
- Installation & Seaming: Lay the mats in a staggered 'brick' pattern to prevent continuous seam lines, which can separate under heavy lateral loads. Use a heavy-duty rubber adhesive or double-sided carpet tape on the seams to lock them together.
Phase 2: Rack Placement & The Clearance Matrix
The most common failure mode in home gym design is inadequate clearance around the power rack. When mapping your home gym layout planner, you must account for the full wingspan of an Olympic barbell, plus the physical width of the bumper plates, plus your own body depth during squats and bench presses.
A standard 7-foot Olympic barbell is 84 inches long. A 45-pound bumper plate adds roughly 3.5 inches of width per side, but you need at least 24 inches of clearance on each end to safely load and unload plates without scraping your drywall. Below is the definitive clearance matrix for strength training configurations.
| Equipment Zone | Minimum Width | Minimum Depth | Ceiling Height |
|---|---|---|---|
| Power Rack (Standard 7ft Bar) | 132 inches (11 ft) | 96 inches (8 ft) | 84 inches (7 ft) |
| Deadlift Platform Zone | 120 inches (10 ft) | 96 inches (8 ft) | 84 inches (7 ft) |
| Dumbbell Rack (3-Tier) | 72 inches (6 ft) | 36 inches (3 ft) | N/A |
| Plate Storage Tree | 36 inches (3 ft) | 36 inches (3 ft) | N/A |
Anchoring the Rig: Concrete vs. Flat Foot
If your layout places the rack near a wall or in a high-traffic area, it must be bolted down. For a rack like the Rogue RML-390F or the Titan T-3 Series, bolting to concrete requires specific hardware. Do not use standard lag screws. Instead, use 1/2-inch by 3-3/4-inch Red Head wedge anchors. Drill a 1/2-inch hole exactly 4.5 inches deep using a carbide-tipped masonry bit. Crucially, you must blow out the concrete dust with compressed air before inserting the anchor; residual dust reduces holding strength by up to 40%. Torque the nuts to exactly 60 ft-lbs using a calibrated torque wrench.
If your layout planner dictates placing the rack over a wooden subfloor or in a rented space where drilling is prohibited, opt for a 'Flat Foot' rack model and load the rear uprights with heavy sandbags or bolted storage horns to prevent forward tipping during kipping pull-ups or racked squats.
Phase 3: Mirror Placement & Safety Glass
Mirrors are essential for checking spinal alignment during squats and deadlifts, but they introduce a massive shatter hazard if placed incorrectly. Never mount mirrors directly behind the barbell path or on the wall immediately adjacent to the plate-loading zone. A slipped collar or a backward stumble can send a 45-pound iron plate crashing into the glass.
'Safety backing is non-negotiable in a strength training environment. Always use 1/4-inch thick glass mirrors with a shatter-resistant polyethylene backing, and mount them on a 3/4-inch plywood substrate rather than directly to drywall. This absorbs the harmonic vibrations caused by dropped weights.'
Position your primary mirrors on the lateral walls, angled slightly inward, or on the front wall at least 18 inches away from the furthest forward point of your barbell path.
Phase 4: Environmental Controls & Ventilation
Strength training in an enclosed garage or basement rapidly depletes oxygen and spikes ambient humidity, which accelerates the rusting of your bare steel barbells and cast-iron plates. The Environmental Protection Agency (EPA) emphasizes that proper ventilation is critical for maintaining indoor air quality and preventing the buildup of volatile organic compounds (VOCs) off-gassing from rubber flooring and equipment finishes.
The Airflow Configuration
- Intake & Exhaust: Install a high-CFM exhaust fan (minimum 1,500 CFM for a 2-car garage) on one side of the room, and open a window or install a louvered intake vent on the exact opposite side to create cross-ventilation.
- Dehumidification: If your gym is in a basement, integrate a commercial-grade dehumidifier capable of removing 70 pints per day. Keep ambient humidity strictly below 50% to protect your knurled barbells from oxidation.
- Ceiling Fans: Avoid placing ceiling fans directly above the power rack. A miscalculated overhead press with a 7-foot barbell can easily strike a 52-inch blade span, destroying the fan and risking severe injury.
Final Walkthrough: The Flow Test
Once your home gym layout planner has been translated from paper to reality, perform the 'Flow Test'. Load a barbell with 45-pound plates, carry it from your storage tree to the rack, perform a set, and strip the bar. If you find yourself twisting awkwardly, taking more than three steps between zones, or scraping your elbows against a wall during lateral raises, your layout requires micro-adjustments. True strength training configuration is about eliminating friction between your intent and your execution. Measure twice, bolt once, and lift heavy.
More gear to consider
All reviews
How Much Weight You Need: Space-Optimized Home Gym TV Layouts

Get Your Home Gym Act Together: Foldable Setups 2026
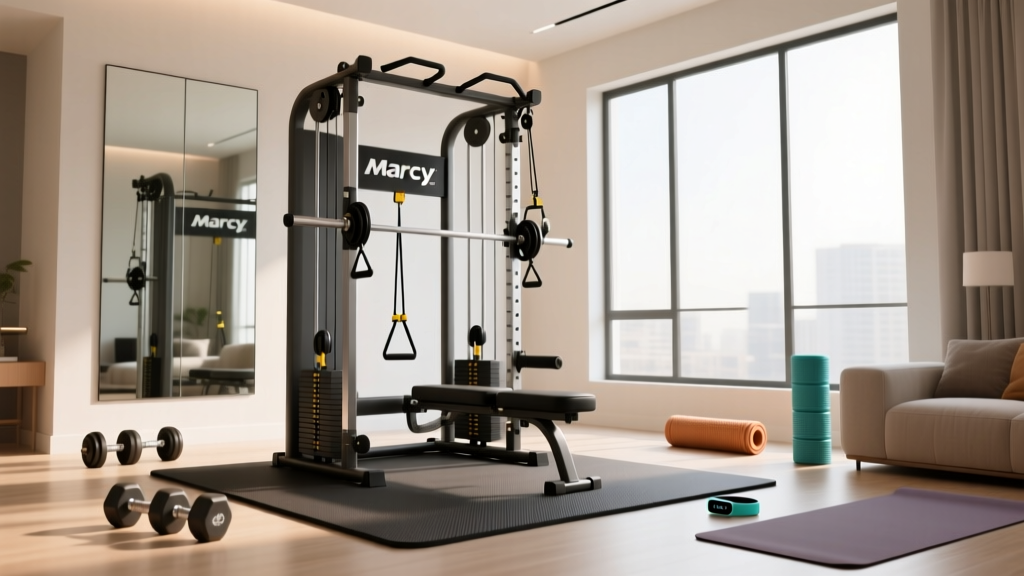
Marcy Home Gym Starter Kit: Essential Beginner Setup Guide (2026)

Apartment Home Gym Inspo: Longevity & Maintenance Secrets

The Ultimate Force Home Gym Floor Plan & Setup Guide
