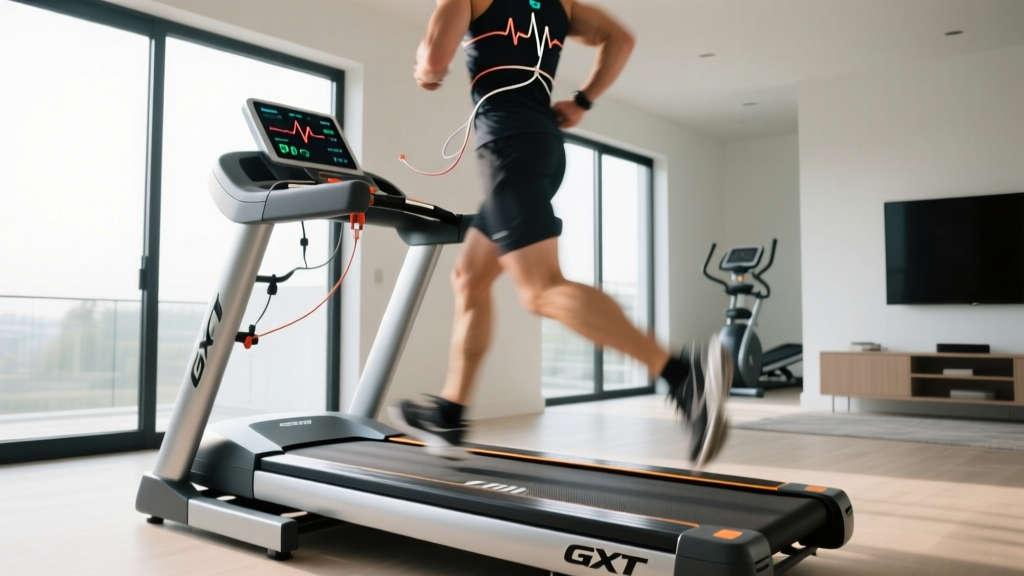
GXT Treadmill Stress Test: Clinical Buying Guide & Setup
Compare top clinical treadmills for a GXT treadmill stress test. Includes a complete setup, ECG integration, and installation walkthrough for labs.

The Critical Role of Specialized Equipment in GXT Protocols
The Graded Exercise Test (GXT) remains the gold standard for evaluating cardiovascular function, diagnosing ischemic heart disease, and prescribing precise exercise intensities. However, executing a flawless gxt treadmill stress test requires far more than a standard commercial fitness machine. Consumer and light-commercial treadmills lack the micro-adjustable speed increments, precise elevation calibration, and biometric handshakes required for clinical protocols like the Bruce or Balke.
According to the American Heart Association, continuous ECG monitoring and precise hemodynamic tracking during exercise are vital for patient safety and diagnostic accuracy. As of 2026, clinical laboratories and sports science facilities are upgrading to medical-grade treadmills that offer seamless integration with diagnostic carts. This guide provides a comprehensive buying comparison of top-tier clinical treadmills, followed by a rigorous setup and installation walkthrough to ensure your lab meets the highest diagnostic standards.
Feature Comparison: Top Clinical Treadmills for GXT Testing
When selecting a treadmill for a clinical environment, you must prioritize grade accuracy (within ±0.5%), speed increments of 0.1 mph, and RS-232 or proprietary serial integration for metabolic carts and ECG machines. Below is a comparison of the industry-leading models currently dominating the medical and sports science markets.
| Feature / Model | Trackmaster TMX428 | Woodway ELG2 | h/p/cosmos pulsar |
|---|---|---|---|
| Primary Use Case | Standard Clinical Cardiology | High-End Sports Science & Rehab | Advanced Biomechanics & Gait |
| Speed Range | 0.5 - 15.0 mph | 0.0 - 16.0 mph | 0.0 - 22.0 mph |
| Elevation Range | 0% - 25% | 0% - 25% | -5% to 25% (Decline capable) |
| Belt Surface | Standard Phenolic Deck | Vulcanized Rubber Slat Belt | Low-Friction Slat or Standard |
| ECG/Cart Integration | Native RS-232 / GE / Mortara | Proprietary Serial / Analog | COSMOS Terminal (Multi-protocol) |
| Approx. Price (2026) | $11,500 - $13,500 | $22,000 - $26,000 | $28,000 - $35,000+ |
Buying Insight: The Slat Belt Advantage
While the Trackmaster TMX428 is the undisputed workhorse for standard hospital cardiology wings, the Woodway ELG2’s vulcanized rubber slat belt significantly reduces joint impact. For clinics focusing on geriatric populations or orthopedic rehab alongside cardiovascular stress testing, the slat belt's shock absorption is a justifiable capital expenditure.
Pre-Installation Requirements for Medical Treadmills
Improper site preparation is the leading cause of calibration drift and electrical noise in GXT setups. Before your equipment arrives, ensure your facility meets these strict environmental prerequisites.
- Electrical Isolation: Clinical treadmills must be on a dedicated 20-amp, 120V (or 240V depending on the model) circuit. Sharing a circuit with ECG machines or centrifuges introduces ground loop interference, which manifests as 60Hz artifact noise on the ECG baseline during peak treadmill motor draw.
- Floor Leveling: The StatPearls guidelines on Exercise Stress Testing emphasize exact protocol adherence. If your floor is pitched by even 1%, your baseline grade will be inaccurate. Use a machinist level to assess the installation footprint; self-leveling urethane shims may be required beneath the treadmill feet.
- Spatial Clearances: Maintain a minimum of 48 inches of clearance behind the treadmill for fall-arrest deceleration, and 24 inches on both lateral sides for emergency operator access and metabolic cart positioning.
Step-by-Step GXT Treadmill Installation Walkthrough
Once the site is prepped, follow this systematic installation protocol to ensure mechanical stability and software integration.
Step 1: Uncrating and Mechanical Positioning
Clinical treadmills typically weigh between 350 and 550 lbs. Use a pallet jack to move the unit to the designated footprint. Lower the leveling feet until the machine is entirely decoupled from the shipping casters. Re-check the machinist level on both the lateral and longitudinal axes. Tighten the locking nuts on the leveling feet to prevent vibration-induced shifting during high-speed GXT stages.
Step 2: Overhead Safety Harness Integration
The American College of Sports Medicine mandates strict safety protocols for high-risk patients undergoing maximal GXTs. Install an overhead ceiling track or a rigid gantry system directly above the treadmill. Attach a passive fall-arrest lanyard or an active unweighting harness system (such as the Biodex or LiteGait systems). The harness must engage within 4 inches of vertical drop to prevent the patient from striking the rear deck or floor.
Step 3: ECG and Metabolic Cart Handshake
Connect the treadmill’s RS-232 DB9 serial port to your diagnostic system (e.g., GE Healthcare CASE or Mortara ELI). In 2026, many modern carts utilize USB-to-Serial adapters or Bluetooth bridges.
- Power on the treadmill and navigate to the hidden 'Service' or 'Diagnostics' menu.
- Set the baud rate to match your ECG cart (typically 9600 or 19200 bps for legacy medical protocols).
- Initiate a 'Test Protocol' on the cart and verify that the treadmill responds to automated speed and grade commands without manual input.
Step 4: Belt Tension and Tracking Calibration
A loose belt will slip during the 20%+ grade stages of the Bruce Protocol, causing dangerous sudden deceleration. Use a belt tension gauge to measure deflection. The belt should deflect exactly 1/4 inch when 15 lbs of downward pressure is applied to the center of the deck. Adjust the rear roller tension bolts in equal quarter-turn increments until the specification is met, then run the treadmill at 8 mph for 10 minutes to allow the belt to seat.
Calibration Validation: Ensuring Diagnostic Accuracy
Installation is incomplete without empirical validation. Relying on the digital display is insufficient for clinical compliance.
Expert Tip: Always validate grade calibration at 5%, 10%, and 15% using a digital inclinometer (e.g., Wixey WR300) placed on the side rail. A discrepancy greater than 0.5% requires recalibrating the potentiometer or inclinometer sensor inside the treadmill's lift motor housing.
For speed validation, apply a piece of reflective tape to the belt edge and use a laser optical tachometer to measure the actual belt speed at 3.0 mph, 6.0 mph, and 9.0 mph. Document these metrics in your lab's annual compliance log.
Troubleshooting Common Installation Failures
Even with meticulous setup, clinical labs frequently encounter specific edge cases. Here is how to resolve them:
- ECG Baseline Wander at High Grades: If the ECG signal degrades only when the treadmill exceeds a 15% grade, the lift motor is likely generating electromagnetic interference (EMI). Ensure the ECG cable is routed away from the treadmill's main power conduit and verify that the treadmill's chassis is properly grounded to an isolated medical-grade earth ground.
- Grade Stalling Under Load: If the treadmill fails to reach the target elevation when a heavier patient (250+ lbs) is on the deck, the lift motor capacitor may be underpowered, or the facility's voltage is sagging under load. Use a multimeter to check the voltage at the wall outlet during peak incline; if it drops below 108V, consult an electrician to upgrade the circuit wire gauge.
- Protocol Communication Dropouts: If the ECG cart loses connection mid-test, inspect the serial cable. Medical environments require shielded, double-foil RS-232 cables to prevent data packet loss from ambient RF interference generated by nearby telemetry units.
Final Thoughts on Clinical Compliance
Investing in a specialized clinical treadmill is only the first step in delivering accurate, life-saving cardiovascular diagnostics. By rigorously comparing features to match your specific patient demographic and adhering to a meticulous, measurement-driven installation walkthrough, your facility will be fully equipped to execute flawless GXT treadmill stress tests. Regular quarterly recalibration and strict adherence to electrical isolation protocols will ensure your equipment remains compliant with both ACSM and AHA standards for years to come.
More gear to consider
All reviews
Maintain Compact Portable Cardio Equipment and Gold's Gym Treadmills

Is It Bad to Hold Onto the Treadmill While Walking in Small Spaces?
How Much is a Mile on a Treadmill? Motor HP & Wear Guide

Home Stair Climber Guide + ProForm Treadmill Won't Turn On Fixes
Sole F63 Treadmill Dimensions & Stationary Bike Types: Space Trends
