Great Shoulder Workouts With Dumbbells: Neoprene Mistakes & Fixes
Master great shoulder workouts with dumbbells at home. Troubleshoot common neoprene dumbbell mistakes, grip issues, and weight progression stalls.

The Hidden Limitations of Neoprene Dumbbells for Shoulder Growth
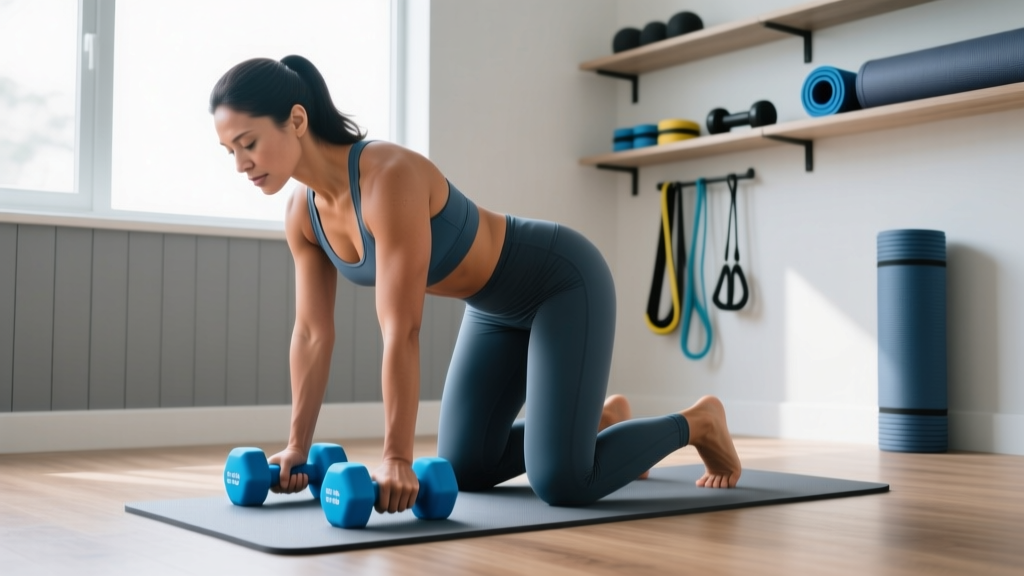
Building a home gym on a budget almost always leads to the same equipment choice: neoprene-coated hex dumbbells. Brands like CAP Barbell, j/fit, and Tone Fitness dominate this space. As of 2026, neoprene fixed-weight dumbbells average $1.60 to $2.10 per pound, making them vastly more accessible than premium urethane alternatives (which often exceed $3.50 per pound). However, when you attempt to design truly great shoulder workouts with dumbbells using this specific gear, you will quickly encounter material and biomechanical roadblocks.
Neoprene (chloroprene rubber) is fantastic for protecting hardwood floors and providing a soft, color-coded grip for light aerobic work. But the shoulder joint—the glenohumeral joint, as detailed in clinical anatomy literature—requires precise stabilization, progressive overload, and strict isolation to hypertrophy. Neoprene dumbbells actively fight against these requirements if you don't adjust your training methodology.
Below is a comprehensive troubleshooting guide to the most common mistakes lifters make when using neoprene dumbbells for shoulder development, complete with actionable fixes and progression frameworks.
⚠️ Equipment Warning: The Neoprene Seam TearUnlike cast iron or solid urethane, neoprene dumbbells feature a metal core that is dipped or encased in a synthetic sleeve. Dropping a 20lb neoprene dumbbell on a concrete garage floor during a failed overhead press will frequently cause the neoprene to split at the handle seam. Once moisture enters this tear, the internal cast iron core will rust and expand, eventually splitting the dumbbell open completely. Never drop neoprene dumbbells; control the eccentric phase to the rack.
Mistake 1: The 'Death Grip' During Lateral Raises
Troubleshooting the Grip-to-Delt Fatigue Ratio
The most pervasive error in home shoulder training is allowing forearm flexors to fail before the medial deltoid during lateral raises. Neoprene has a high friction coefficient when completely dry, but it becomes incredibly slick when exposed to the pH changes and moisture of human sweat.
When the neoprene handle gets slick, your brain subconsciously forces a 'death grip' to prevent the dumbbell from flying across the room. This excessive grip recruitment causes your forearm flexors to accumulate lactic acid and fail around rep 10, leaving your medial delts under-stimulated.
The Fix: Alter the Friction Interface
- Liquid Chalk: Apply a magnesium carbonate liquid chalk (e.g., Spider Chalk, ~$12) before your set. It dries instantly and creates a micro-barrier between your sweat and the neoprene, restoring the original grip coefficient.
- Thumbless (Suicide) Grip Variation: For strict lateral raises, resting the handle diagonally across the base of your fingers with the thumb wrapped over the top (rather than locking the thumb under the fingers) reduces forearm flexor activation by up to 30%, shifting the tension back to the deltoid.
- Lifting Straps: While traditionally reserved for pulling movements, wrapping a cotton or nylon lifting strap around your wrist and the dumbbell handle during high-rep lateral raise drop-sets completely removes grip from the equation.
Mistake 2: Hitting the 20lb Fixed-Weight Ceiling
Most home neoprene sets cap out at 15 or 20 lbs per dumbbell. An intermediate lifter can easily overhead press 40+ lb dumbbells. According to the principles of progressive overload outlined by the Mayo Clinic, muscles require increasing tension to grow. If you are stuck pressing 20lb neoprene dumbbells for 12 reps, your anterior delts have stopped growing.
Troubleshooting the Progression Stall
When you cannot add external load (weight), you must manipulate internal leverage, time under tension (TUT), or mechanical disadvantage. Here is a structured protocol to force hypertrophy using capped neoprene weights:
| Technique | Execution Protocol | Target Muscle |
|---|---|---|
| 1.5 Rep Style | Press all the way up, lower halfway down, press back up, then lower all the way to the shoulder. That is one rep. | Anterior / Medial Delt |
| Pre-Exhaust Superset | Perform 15 strict lateral raises, then immediately transition into seated overhead presses without dropping the dumbbells. | Entire Deltoid Complex |
| 3-Second Eccentric | Explode up in 1 second, but take a strict 3-second count to lower the weight back to the starting position. | Anterior Delt (Eccentric Damage) |
| Bottom-Half Partials | After reaching failure on full reps, perform partial reps from the shoulder to ear-level until complete muscular failure. | Anterior Delt (Metabolic Stress) |
Mistake 3: Ignoring the Rear Delt Due to 'Light' Weight Bias
Because neoprene dumbbells are often associated with light, 3lb to 8lb 'aerobic' weights, lifters subconsciously assume they are too light for serious posterior chain work. This leads to severe postural imbalances and underdeveloped rear delts.
The Biomechanical Reality: The posterior deltoid is a relatively small muscle group. Even advanced bodybuilders rarely use more than 20 to 30 lbs per hand for strict, chest-supported rear delt flyes. The 15lb neoprene dumbbells you dismissed as 'too light' are actually the exact optimal weight for rear delt hypertrophy—if your form is strict.
"The moment you use momentum to swing a dumbbell during a rear delt fly, you shift the load from the posterior deltoid to the rhomboids and lower traps. A 10lb neoprene dumbbell moved with a 2-second pause at peak contraction will yield vastly superior rear delt hypertrophy compared to a 25lb iron dumbbell swung with torso momentum."
Troubleshooting the Rear Delt Fly
- Set the Bench: Incline a bench to 45 degrees. Lay chest-down to eliminate lower back cheating.
- Neutral Grip Bias: Turn your palms to face each other (neutral grip) rather than palms down (pronated). This aligns the rear delt fibers more directly against gravity.
- The 'Pinky' Lead: As you raise the neoprene dumbbells, slightly rotate your wrists so your pinky fingers point toward the ceiling. This internal rotation maximizes rear delt activation over the mid-traps.
Material Audit: Is It Time to Upgrade from Neoprene?
If you have applied the troubleshooting steps above and are still finding your shoulder workouts limited by your equipment, it may be time to audit your gear. Here is how neoprene compares to other home gym standards for shoulder-specific training:
| Material | Grip Security (Sweaty) | Max Weight Availability | Durability (Drop Risk) | Cost per lb (2026) |
|---|---|---|---|---|
| Neoprene | Poor (Gets slick) | Typically caps at 20-25 lbs | Low (Seam tearing) | $1.60 - $2.10 |
| Cast Iron (Hex) | Excellent (Knurled) | Up to 100+ lbs | Indestructible | $1.50 - $2.00 |
| Urethane | Good (Textured) | Up to 100+ lbs | Very High | $3.50 - $5.00 |
Summary Troubleshooting Checklist
Before your next shoulder session with your home neoprene set, run through this quick diagnostic checklist to ensure you are actually stimulating the muscle rather than just moving weight:
- [ ] Grip Check: Do I have liquid chalk or straps nearby if my hands start sweating during high-rep lateral raises?
- [ ] Progression Check: Since I cannot add weight past 20 lbs, have I programmed 1.5 reps or 3-second eccentrics to increase time under tension?
- [ ] Form Check: Am I controlling the eccentric phase to protect the neoprene seams from tearing on the floor?
- [ ] Balance Check: Have I dedicated equal volume to the rear delts using strict, chest-supported angles to counteract heavy pressing?
Neoprene dumbbells are an excellent entry point into home fitness, but they demand a higher level of intentionality. By troubleshooting the inherent material limitations and leveraging advanced intensity techniques, you can transform a basic set of fixed weights into a highly effective tool for building complete, three-dimensional shoulders.
More gear to consider
All reviews
EZ Curl Bar vs Straight Bar Cost & Dumbbell Step Up Workout Value

Top Dumbbell Racks to Optimize Dumbbell Movements (2026)

Best Loadable Dumbbells for the Dumbbell Crush Press (2026)

Market Shift: The Exercise Done Holding One Dumbbell With Both Hands

Dumbbell Shoulder Press for Mass: Rubber Hex vs Urethane Care