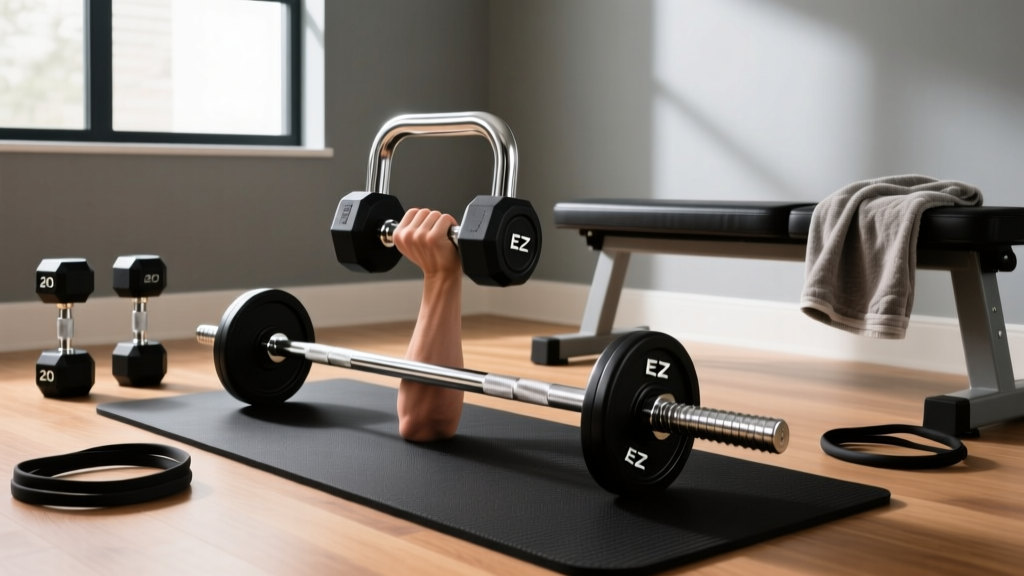
Beyond Bench Press Using Dumbbells: Barbell Collar Guide
Transitioning from bench press using dumbbells to barbells? Learn the differences between barbell collars and clamps to keep your lifts safe and secure.

The Leap: Transitioning from Dumbbells to the Barbell
Mastering the bench press using dumbbells is a foundational milestone for any beginner. Dumbbells teach unilateral stability, correct muscle imbalances, and allow for a deep, natural range of motion. However, as your central nervous system adapts and your strength increases, you will inevitably hit a ceiling where the physical act of kicking heavy dumbbells into position becomes the limiting factor, rather than your actual chest and triceps strength.
This is the exact moment lifters transition to the barbell. But moving to a barbell introduces a new variable that dumbbell lifters rarely have to consider: lateral plate security. When you bench press using dumbbells, gravity keeps the weight stacked vertically in your hands. On a barbell, a slight uneven press or a re-racking misstep can cause plates to slide off the sleeve, leading to catastrophic tipping and severe injury. This makes understanding and selecting the right barbell collars and clamps your most critical safety upgrade.
Step 1: Verify Your Barbell Sleeve Standard
Before purchasing any locking mechanism, you must identify your barbell's sleeve diameter. The fitness industry operates on two primary standards, and buying the wrong size is the most common beginner mistake.
- Olympic Standard (50mm / 1.97 inches): Found on virtually all commercial gym bars, powerlifting bars, and quality home gym equipment. The sleeves rotate independently of the shaft via internal bushings or needle bearings.
- Standard / Economy (25mm to 28mm / 1 inch): Found on cheap, big-box-store beginner kits. These sleeves do not rotate and are generally not recommended for serious progressive overload.
Expert Insight: If you are investing in a home gym in 2026, bypass 1-inch standard bars entirely. The resale value is zero, and the plate holes are often inconsistently drilled. Always buy Olympic (50mm) compatible gear.
Step 2: Comparing the 4 Main Types of Barbell Collars
Not all collars are created equal. The mechanism you choose should align with your training style, budget, and the specific environment of your gym. Below is a comprehensive comparison matrix of the primary collar types available on the market.
| Collar Type | Top 2026 Model Example | Avg. Price (Pair) | Clamping Force | Best For | Durability Risk |
|---|---|---|---|---|---|
| Spring Clips | Generic Steel Spring Clips | $8 - $15 | Low (15-20 lbs) | Light accessory work, beginners on a strict budget | Metal fatigue over time; slips on drops |
| Clamp / Lock-Jaw | Rogue HG 2.0 / Lock-Jaw Pro | $30 - $45 | High (100+ lbs) | General powerlifting, bench press, home gyms | Plastic resin cracking in cold garages |
| Lever / Quick-Release | Eleiko Olympic Training Collars | $90 - $130 | Very High | Commercial gyms, rapid weight changes | Lever mechanism pinching fingers |
| Competition Calibrated | Eleiko IWF Competition Collars | $150 - $200 | Maximum (Locking Screw) | Olympic weightlifting, sanctioned meets | Overkill and too slow for casual lifting |
Deep Dive: Clamp Collars (The Home Gym Standard)
For 90% of lifters transitioning from the bench press using dumbbells to barbell work, Clamp Collars are the optimal choice. Models like the Rogue HG 2.0 Collars utilize a glass-filled nylon resin and a steel cam-lock mechanism. When you squeeze the handles together, the inner ring compresses tightly against the 50mm sleeve, creating immense lateral friction.
Failure Mode Warning: Many popular clamp collars (like the original Lock-Jaw Pro) are made from standard plastics that become highly brittle in temperatures below 40°F (4°C). If you train in an unheated garage gym during winter, dropping a barbell with frozen plastic clamps can shatter the locking mechanism mid-set. Always look for glass-filled nylon or aerospace aluminum if your gym lacks climate control.
Deep Dive: Lever Collars (The Commercial Standard)
Lever collars use an aluminum or steel eccentric cam that locks into place. They are incredibly fast to apply and remove, making them ideal for busy commercial gyms or drop-set protocols. However, the lever requires significant hand strength to snap shut, and beginners frequently pinch the webbing of their thumbs when learning to operate them.
Step 3: Step-by-Step Loading and Securing Protocol
Proper technique isn't just for the lift itself; it's for how you load the bar. Follow this exact sequence to ensure maximum safety when bench pressing.
- Load the Inner Plates First: Slide your heaviest, largest diameter plates (e.g., 45lb / 20kg bumpers or cast iron) onto the sleeve first. These sit closest to the barbell shaft and provide the widest, most stable base against the inner sleeve lip.
- Add Fractional/Outer Plates: Slide smaller change plates (10s, 5s, 2.5s) onto the outside. Never put a small plate on the inside and a large plate on the outside; this creates an uneven clamping surface.
- Push Plates Flush: Use your knee or foot to push all plates tightly together. There should be zero lateral 'play' or rattling between the plates before the collar is applied.
- Apply the Collar:
- For Clamps: Open the cam fully, slide it onto the sleeve until it touches the outer plate, and squeeze the handles until the latch clicks securely into the locked groove.
- For Levers: Slide on, push the lever down until it passes the 'dead center' point of the cam, ensuring it locks flat against the collar body.
- The 'Shake Test': Grab the end of the barbell sleeve and give it a vigorous horizontal shake. If you hear the plates clinking together, the collar is not tight enough. Remove and reapply.
Step 4: Edge Cases and Real-World Troubleshooting
Even with the right equipment, specific training scenarios introduce unique risks. Here is how to troubleshoot common edge cases identified by strength coaches and equipment reviewers at BarBend.
Edge Case 1: Drop Sets and J-Hook Impacts
When finishing a heavy set of bench presses, lifters often drop the barbell back into the J-hooks. The sudden deceleration sends a kinetic shockwave through the bar shaft. Spring clips are notorious for failing here. The shockwave can cause the spring to compress slightly, allowing the clip to inch outward by a millimeter. Over 3 or 4 drop sets, the clip can slide completely off the sleeve. Solution: Never use spring clips for heavy, dynamic, or drop-set bench pressing. Use clamps or levers.
Edge Case 2: Olympic Weightlifting Interference
If you plan to transition from benching to Olympic lifts (snatches, cleans), be aware that overly tight clamp collars can press against the inner face of the barbell sleeve. According to guidelines from USA Weightlifting, the sleeves must rotate freely to absorb the rotational torque of the bar during the turnover phase. If a thick resin clamp is pushed too hard against the plates, it can create friction against the sleeve's thrust washer, effectively locking the sleeve and causing the bar to torque your wrists. Solution: Leave a 1-millimeter gap between the collar and the plate when performing Olympic lifts, or use specialized competition collars designed to avoid sleeve friction.
Summary: Making Your Final Selection
Leaving the bench press using dumbbells behind is an exciting step toward moving absolute maximum loads. To protect your progress and your physical safety, invest in a high-quality pair of clamp collars. Spending $35 on a reliable set of glass-filled nylon clamps is a non-negotiable insurance policy for your home gym. Avoid the false economy of $10 spring clips, and reserve the $150 competition collars for when you are actually stepping onto a sanctioned lifting platform.
More gear to consider
All reviews
Full Body Dumbbell Workout Men: Olympic vs Standard Plate Mistakes

Bumper vs Iron Plates: Budgeting for Dumbbell Chest Press Variations

Power Rack vs Squat Stand: Close Grip Dumbbell Floor Press Setup
Barbell Collar Types Compared: Setup for Squats & Dumbbell Snatch
Kettlebell Care for the Bentover Dumbbell Row: Cast Iron vs Comp