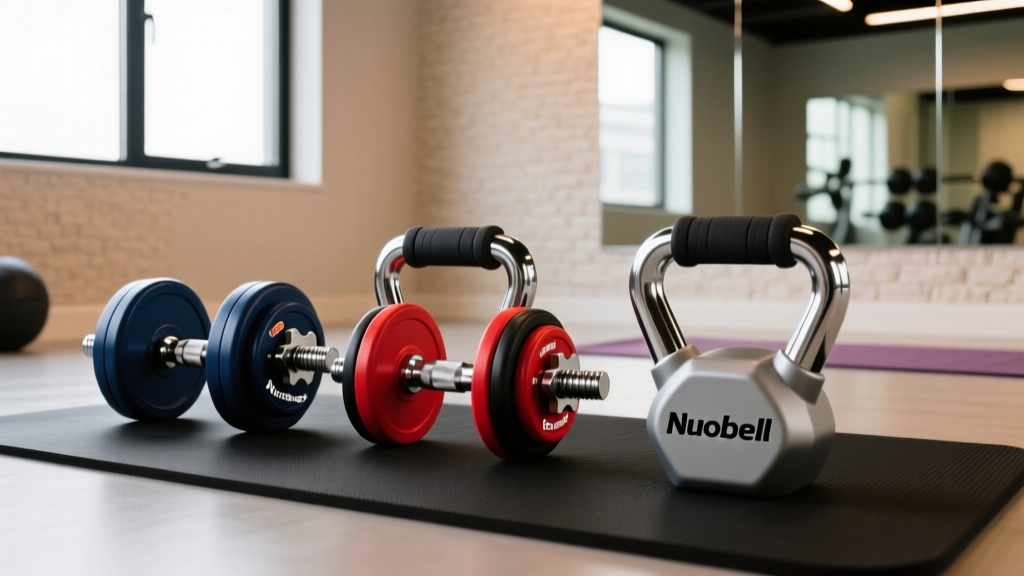
Dumbbell Rowing Setup: Olympic vs Standard Plate Install
Master your home gym with our complete installation walkthrough. Compare Olympic vs standard weight plates for the ultimate dumbbell rowing setup.

Building a dedicated free-weight zone in 2026 requires more than just buying equipment; it demands a strategic approach to spatial planning, structural installation, and biomechanical alignment. When designing a home gym, the foundational decision that dictates your entire equipment ecosystem is the choice between Olympic and standard weight plates. This choice directly impacts the hardware you purchase, the storage solutions you bolt to your walls, and the physical layout of your exercise stations—most notably, your dedicated dumbbell rowing setup.
In this complete setup and installation walkthrough, we will guide you through the physical installation of plate storage, floor preparation, and the precise configuration of a dumbbell rowing station. Whether you are utilizing fixed hex dumbbells or plate-loaded Olympic dumbbell handles, understanding the spatial and structural requirements of your weight plates is critical for safety and performance.
The Ecosystem Divide: Olympic vs. Standard Weight Plates
Before unboxing any hardware, you must commit to a plate standard. The fitness industry has largely standardized around the 2-inch Olympic system for serious lifters, but 1-inch standard plates still populate budget-friendly home gyms. Here is the technical breakdown of how these two systems compare in a modern training environment.
| Specification | Standard (1-Inch) | Olympic (2-Inch) |
|---|---|---|
| Center Hole Diameter | 25.4mm (1 inch) | 50.4mm (2 inches) |
| Max Safe Load (Per Sleeve) | 150 - 200 lbs | 500 - 1,000+ lbs |
| 45lb Plate Diameter | Varies (Often 13-14 inches) | Standardized 450mm (17.7 inches) |
| Calibration Tolerance | +/- 3% to 5% | +/- 1% (Calibrated) to 3% |
| Resale Value & Longevity | Low | High (Universal Compatibility) |
Phase 1: Subfloor Preparation and Impact Absorption
When performing heavy dumbbell rowing sets, muscular failure is a common and intended outcome. When you fail a rep with 100lb+ dumbbells, you will drop them. Therefore, your flooring installation is the first critical step in protecting both your subfloor and your equipment.
Step-by-Step Mat Installation
- Select the Right Material: Avoid cheap interlocking EVA foam tiles. Purchase 3/4-inch thick vulcanized rubber horse stall mats or dedicated gym flooring with a Shore A durometer rating of 60-65. This density provides the necessary shock absorption for dropped iron.
- Acclimate the Rubber: Lay the mats flat in the installation room for 48 hours before cutting. Rubber expands and contracts with temperature changes; acclimating prevents seam separation later.
- Cut and Seal: Use a utility knife with a fresh hook blade and a straight edge to cut the mats. Leave a 1/4-inch gap between the mats and the walls to allow for expansion. Seal the seams with a flexible polyurethane construction adhesive to prevent sweat and moisture from seeping into the concrete subfloor.
Phase 2: Anchoring Plate Storage and Racks
Proper plate storage is not just about organization; it is a safety imperative. According to facility safety guidelines outlined by the National Strength and Conditioning Association (NSCA), weight rooms must maintain clear, unobstructed pathways to prevent trip hazards, especially in zones where athletes are moving with heavy loads.
Wall-Mounted Storage Installation
If you are installing a wall-mounted plate storage rack (such as those offered by Rogue Fitness or Titan Fitness), you must anchor it directly into structural wall studs or masonry. Drywall anchors will fail under the dynamic load of sliding 45lb plates on and off the pegs.
- Locate Studs: Use a magnetic stud finder to locate the center of 16-inch on-center wooden studs or steel framing.
- Drill Pilot Holes: Use a 7/32-inch drill bit to create pilot holes. This prevents the wood from splitting when driving heavy lag screws.
- Secure the Mount: Drive 3/8-inch x 3-inch structural lag screws through the mounting bracket into the studs. Use a socket wrench to tighten until the bracket is flush, but avoid over-torquing, which can strip the wood threads.
- Verify Clearance: Ensure there is a minimum of 36 inches of lateral clearance on either side of the storage unit to allow for safe plate loading.
Phase 3: Configuring the Dumbbell Rowing Station
The dumbbell row is a staple unilateral back exercise that requires a specific bench geometry and spatial footprint. Biomechanical data from ACE Fitness emphasizes that maintaining a neutral spine and achieving a full stretch in the latissimus dorsi requires precise bench height and adequate clearance for the dumbbell's downward path.
Bench Selection and Placement
For a dedicated rowing station, select a flat utility bench with a pad height of exactly 17 to 18 inches from the floor. Benches that are too high (over 19 inches) force the lifter to compromise their hip hinge, rounding the lower back to reach the dumbbell on the floor.
Spatial Configuration:
- Position the bench exactly 48 inches away from your plate storage rack. This distance allows you to safely load and unload plate-loaded dumbbell handles without the plates striking the rack.
- Ensure the 'drop zone' on the working side of the bench is completely clear of plate trees, kettlebells, or stray collars. When you finish a set of heavy dumbbell rowing, you will instinctively drop the weight to your side; any obstruction in this zone is a severe ankle-crush hazard.
Phase 4: Loadable Dumbbell Sleeves and Plate Math
If your dumbbell rowing setup utilizes loadable Olympic dumbbell handles (like the Ironmaster Quick-Lock or Titan Fitness Loadable Handles) instead of fixed hex dumbbells, you must understand the mathematics of sleeve length and plate thickness.
Unlike a 7-foot barbell with a 16-inch loadable sleeve, most Olympic dumbbell handles feature a sleeve length of only 8 to 10 inches. This physical limitation dictates your maximum loadable weight.
Sleeve Capacity Calculation:A standard 45lb Olympic cast-iron plate is approximately 1.3 inches thick. A 25lb plate is roughly 1.1 inches thick. If your dumbbell handle has a 10-inch sleeve, and you need 1 inch for the internal locking mechanism or collar, you have 9 inches of usable space. This limits you to roughly six 45lb plates per side (270 lbs + handle weight). If you use thicker urethane bumper plates, that capacity drops significantly. Always measure your plate thickness before purchasing high-capacity loadable handles for heavy dumbbell rowing.
Maintenance and Calibration Protocols
Once your station is installed, implement a monthly maintenance routine. Wipe down cast-iron plates with a light coat of 3-in-One oil to prevent oxidation, especially if your gym is in a humid garage or basement. For urethane-coated Olympic plates, clean with a mild, non-alcohol-based disinfectant; alcohol breaks down the polyurethane bonds over time, leading to cracking and peeling. Finally, verify that all lag bolts on your wall-mounted storage are torqued to spec, as the vibration from dropping heavy dumbbells during rowing sets can slowly loosen wall hardware over time.
Frequently Asked Questions
Can I use standard 1-inch plates for loadable dumbbell handles?
While 1-inch loadable dumbbell handles exist, they are highly discouraged for serious training. The 1-inch sleeves lack the structural integrity to handle heavy loads (over 50 lbs per side) without bending, and the spin tolerance of standard plates can cause wrist strain during the supination phase of a dumbbell row.
Do I need a specialized rowing bench, or will a flat bench work?
A standard flat utility bench works perfectly for dumbbell rowing, provided the pad width is narrow enough (around 10-12 inches) so it doesn't impede your ribcage expansion, and the height is 17-18 inches. Specialized 'rowing benches' often feature a cambered pad or built-in knee rests, but they are not strictly necessary for proper biomechanical execution.
How much floor space should I allocate for the entire setup?
For a fully functional dumbbell rowing station including the bench, the immediate drop zone, and adjacent plate storage, allocate a minimum footprint of 6 feet by 8 feet (48 square feet). This ensures you have adequate clearance for bending, loading, and executing the exercise without spatial restrictions.
More gear to consider
All reviews
Bumper vs Iron Plates: Bench Press & Chest Fly Exercise with Dumbbells
Rubber Hex vs Urethane for Dumbbell Shoulder Lifts: Value Analysis
Best Loadable Dumbbells for the Incline Dumbbell Pullover (2026)

Bumper vs Iron Plates: Gym Layouts for a World Record Dumbbell Curl
Barbell Buying Guide: Weight, Knurling & Dumbbell Isolation Curls