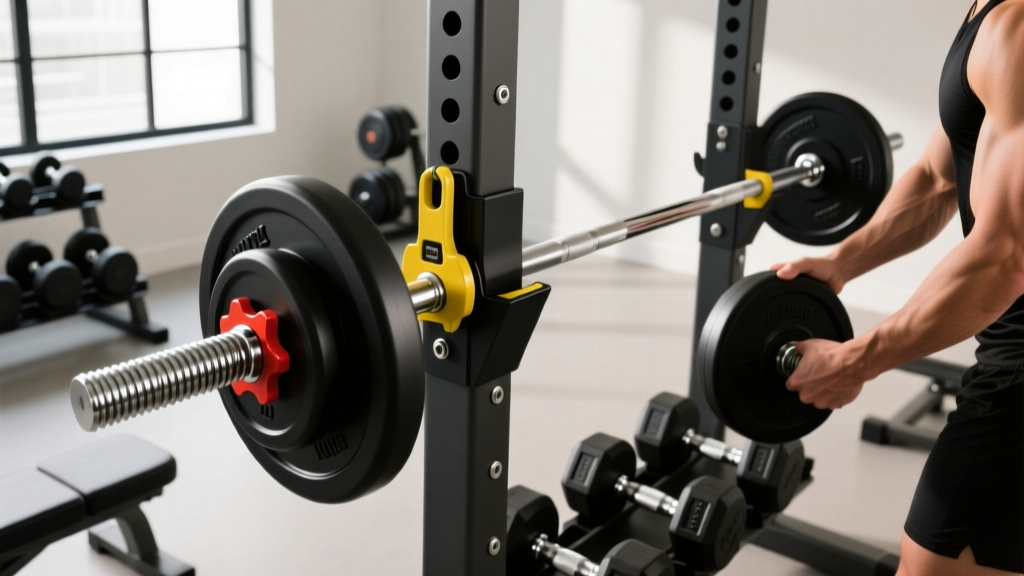
Dumbbell Rack Layouts: Space Optimization & The Dumbbell Beer Glass
Optimize your 2026 home gym layout with space-saving dumbbell racks. Learn zoning strategies, from heavy iron storage to the recovery nook.

The 2026 Hybrid Gym: Merging Heavy Iron with Lifestyle
As we navigate the home fitness landscape of 2026, the era of the chaotic, cluttered garage gym is officially over. Today’s dedicated lifters are designing hybrid spaces that seamlessly blend high-performance training zones with lifestyle and recovery areas. The cornerstone of this evolution? Intelligent space optimization and strategic layout design. When dealing with free weights, specifically dumbbells, the challenge is always balancing massive weight footprints with usable floor space.
But a modern home gym isn't just about where you put the heavy iron; it is also about where you put the lifestyle elements. You have probably seen the viral novelty dumbbell beer glass online—a 16oz, hex-shaped drinking vessel that has become a staple gag gift and conversation starter for lifters. However, integrating lifestyle items like a mini-fridge housing your favorite dumbbell beer glass into a garage gym requires strict spatial zoning. Drop heavy rubber dumbbells in the wrong zone, and you will shatter that glass (and your security deposit). This guide breaks down exactly how to design a space-optimized layout, focusing heavily on dumbbell rack and storage solutions, while keeping your recovery nook safe and functional.
The Core Problem: Footprint vs. Functionality
A standard set of rubber hex dumbbells ranging from 5 to 50 pounds (in 5-pound increments) consists of 20 individual weights. If left on the floor, they consume roughly 12 square feet of chaotic, toe-stubbing space. According to Garage Gym Reviews, utilizing a dedicated storage solution reclaims up to 80% of that floor space, but the rack's physical footprint and required clearance zones dictate your entire room's workflow.
Space-Saving Dumbbell Rack Solutions (With Exact Dimensions)
Choosing the right rack is the first step in layout optimization. Below is a comparison of the three dominant storage styles in 2026, complete with exact dimensions and pricing to help you plan your floor map.
| Rack Style | Top Model (2026) | Footprint (W x D) | Capacity | Estimated Price |
|---|---|---|---|---|
| Vertical A-Frame | Rogue A-Frame Dumbbell Rack | 24" x 24" | 10 Pairs (up to 100 lbs) | $295 - $345 |
| Wall-Mounted Tier | Rep Fitness Wall-Mounted Rack | 47" W x 14" D (Off-floor) | 15 Pairs (varies by tier) | $229 - $279 |
| Horizontal 3-Tier | CAP Barbell 3-Tier A-Frame | 25" x 25" | 12 Pairs (up to 50 lbs) | $85 - $110 |
Wall-Mounted Racks: Reclaiming Floor Space
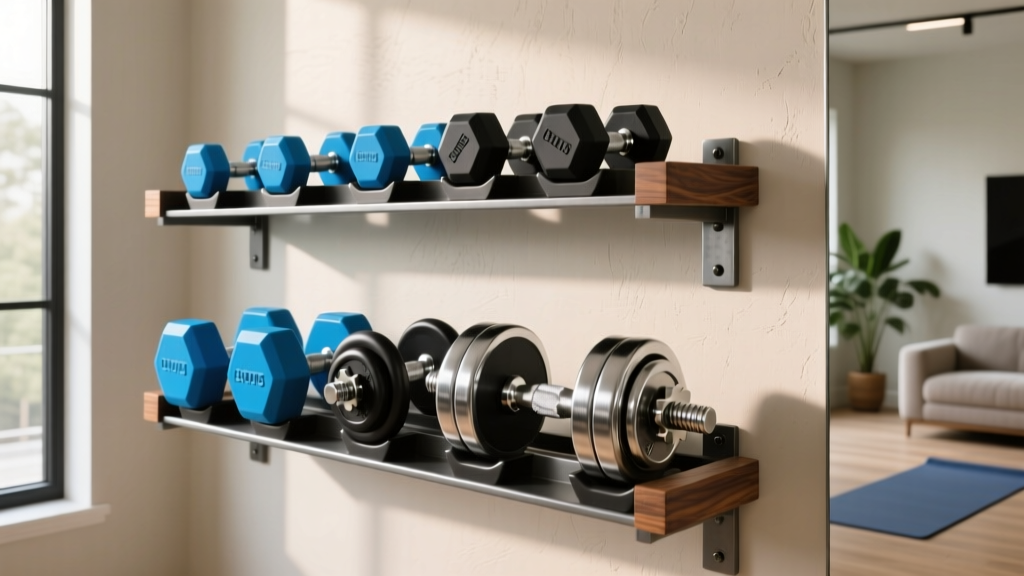
If your primary goal is maximizing open square footage for dynamic movements like kettlebell swings or lunges, wall-mounted racks are unmatched. The Rep Fitness Wall-Mounted Dumbbell Rack elevates your weights off the ground, allowing you to slide a bench or plyo boxes underneath when not in use.
Expert Installation Warning: Never mount a loaded dumbbell rack to drywall using toggle bolts. A fully loaded 3-tier rack can exceed 800 pounds. You must anchor the heavy-gauge steel brackets directly into wooden wall studs (typically spaced 16 inches on center) or solid masonry using 3/8" x 3" structural lag screws. Failure to do so will result in catastrophic wall failure and destroyed equipment.
Vertical A-Frames: The Corner Solution
For lifters who cannot drill into their walls (such as those renting garage spaces), the vertical A-frame is the optimal choice. The Rogue A-Frame Dumbbell Rack features a compact 24" x 24" base that tucks perfectly into a 90-degree corner. By utilizing vertical height rather than horizontal spread, you keep the center of the room entirely open. The angled cradles also make reading the weight markings significantly easier compared to flat horizontal shelves.
Layout Framework: The "Iron Triangle" and Safety Clearances
Once your storage solution is selected, you must map the room. Ergonomic guidelines for home gyms recommend a minimum of 36 inches of radial clearance around any free weight storage zone. This prevents tripping hazards while loading and unloading heavy dumbbells.
⚠️ The Drop Zone Rule: Never place your dumbbell rack directly adjacent to your primary lifting platform. When fatigue sets in on a heavy set of Romanian Deadlifts, dumbbells get dropped. If your rack is within the "blast radius" of your lifting zone, a stray 70-pound dumbbell will bend the rack's steel cradles and destroy the remaining weights.To optimize flow, use the Iron Triangle layout. Place your dumbbell rack at Point A, your adjustable bench at Point B, and your mirror/monitor at Point C. This creates a continuous, unobstructed loop that prevents you from crossing paths with a spotter or tripping over equipment mid-set.
The Recovery Nook: Where the Dumbbell Beer Glass Shines
This brings us to the lifestyle integration of the 2026 hybrid gym. A truly optimized garage gym is divided into three distinct zones: The Active Zone (mats and platforms), The Storage Zone (racks and shelving), and The Recovery Nook.
The Recovery Nook is typically situated near the entry door or an insulated side-wall, featuring a small mini-fridge, a foam roller station, and a seating area. This is the designated "dry and safe" zone. If you own a novelty dumbbell beer glass to celebrate a new personal record on the bench press, this is where it lives. By physically separating the Recovery Nook from the Active Zone using a simple transition strip or a change in flooring (e.g., moving from 3/4" vulcanized rubber mats to interlocking EVA foam or sealed concrete), you create a psychological and physical boundary. Heavy iron stays on the rubber; the mini-fridge, your shaker bottles, and your dumbbell beer glass stay safely in the Nook.
"The best home gym layouts don't just accommodate the workout; they accommodate the human. Creating a hard boundary between the drop zone and the recovery lounge is the single most effective way to protect your lifestyle gear and maintain a clean training environment." — Home Gym Zoning Principles, 2025 Fitness Architecture Report
Step-by-Step Layout Implementation
Ready to reorganize your space? Follow this exact sequence to ensure maximum optimization and safety.
- Map the Perimeter: Use blue painter's tape to outline the 36-inch clearance zones around your walls and windows. Do not place any heavy storage inside these lines.
- Install the Anchor Points: If using a wall-mounted rack, locate your studs with a magnetic stud finder, mark your drill holes, and secure the brackets with structural lag screws before bringing the weights into the room.
- Lay the Rubber: Install 3/4" thick horse stall mats or vulcanized rubber tiles strictly within the Active Zone. Leave a 2-foot gap between the rubber matting and the wall to allow for baseboard cleaning and wall-mounted rack access.
- Establish the Nook: Position your mini-fridge and recovery seating at least 6 feet away from the nearest dumbbell rack. This is your safe haven for post-workout hydration (and your favorite dumbbell-shaped glassware).
- Load Heaviest to Lowest: When organizing the rack itself, always place the heaviest dumbbells (50+ lbs) on the bottom tier or lowest wall brackets. This lowers the center of gravity, prevents rack tipping, and saves your lower back from awkward high-shelf lifts.
Final Thoughts on Space Optimization
Designing a functional home gym in 2026 requires looking beyond the equipment itself and focusing on the negative space around it. By investing in high-density storage solutions like vertical A-frames or structurally sound wall-mounted racks, you reclaim the floor space necessary for functional fitness. More importantly, by implementing strict spatial zoning, you protect your investment—ensuring that your heavy-duty urethane dumbbells stay on the mats, and your novelty dumbbell beer glass stays safely chilled in the recovery lounge.
More gear to consider
All reviews
Adjustable Dumbbell Review: One Arm Dumbbell Row Bench Supported 2026
From Neoprene to 44 kg Dumbbells: A Beginner Home Guide
Standing Dumbbell Kickbacks: Power Rack vs Squat Rack vs Stand
Adjustable Dumbbell Review & Dumbbell Shelf Setup Guide

Shoulder Workout Routine with Dumbbells: Adjustable Gear & Fixes