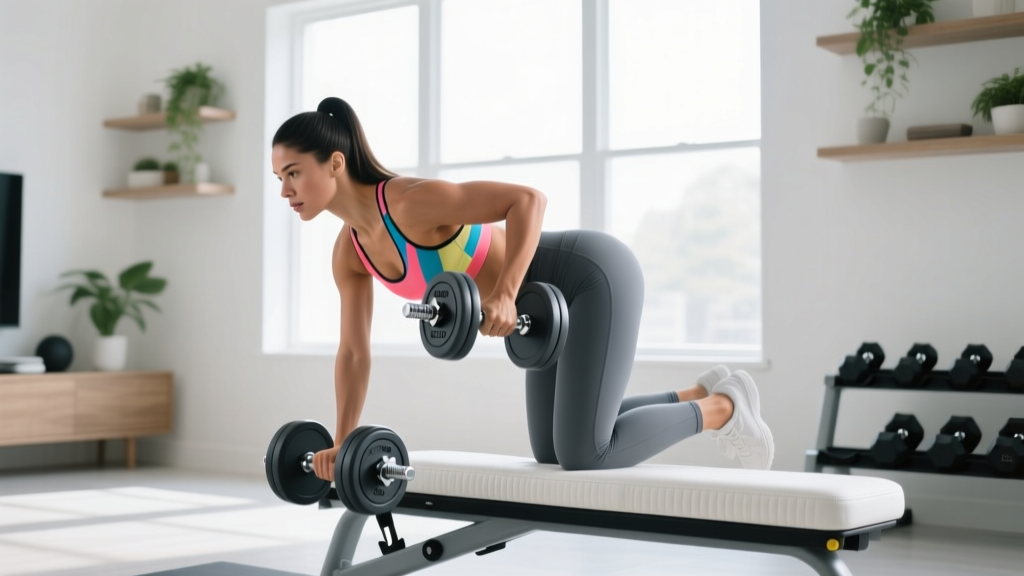
Dumbbell Hip Thrust Form: 2026 Adjustable Setup & Review
Master your dumbbell hip thrust form with our 2026 adjustable dumbbell comparison. Learn the ideal bench setup, clearance needs, and top model reviews.

The Biomechanical Challenge of the Dumbbell Hip Thrust
When transitioning from barbell to dumbbell hip thrusts, most lifters focus entirely on the weight. However, mastering dumbbell hip thrust form requires a deep understanding of equipment geometry, bench height, and pelvic clearance. Unlike a barbell, which distributes load evenly across a wide axis, a dumbbell concentrates force onto a small surface area of the pelvic crease. When you introduce adjustable dumbbells into the equation, the bulky dial mechanisms, uneven weight distribution, and protruding plates create unique biomechanical hurdles.
In this 2026 setup and installation walkthrough, we will dissect the exact spatial requirements for your home gym, compare the top adjustable dumbbells on the market specifically for hip thrust mechanics, and provide a step-by-step form guide to maximize gluteus maximus activation while protecting your joints.
⚠️ Equipment Warning: Never use adjustable dumbbells with exposed side dials for heavy hip thrusts without a dedicated high-density foam pad. The sheer compressive force of a 60+ lb dumbbell resting on the iliac crest can crack plastic dial housings or cause severe periosteal bruising.Complete Setup Walkthrough: Bench, Mat, and Clearance
Before selecting your adjustable dumbbell, you must install and configure your workout space to accommodate the specific range of motion (ROM) required for hip extension. According to biomechanical guidelines outlined by the American Council on Exercise (ACE), improper bench height is the leading cause of lumbar hyperextension during thrusting movements.
Step 1: Bench Height and Pad Selection
Standard commercial gym benches are typically 17 to 18 inches high. This is too high for optimal hip thrust form, as it forces the lifter to overextend the lower back to achieve full hip lockout.
- Ideal Bench Height: 14 to 16 inches. If your bench is 17 inches, elevate the floor using thick mats, or use an adjustable utility bench (like the Rogue Fitness Utility Bench 2.0, which drops to 16 inches).
- Pad Thickness: You need a dedicated hip thrust pad or a folded high-density EVA foam mat (1.5 to 2 inches thick). Standard yoga mats compress too much under the localized weight of an adjustable dumbbell.
Step 2: Floor Matting and Footing
Install 3/4-inch thick rubber horse stall mats beneath your bench. This serves two purposes: it prevents your heels from slipping during the concentric drive, and it slightly elevates your floor level to compensate for overly tall benches. Ensure your matting extends at least 3 feet in front of the bench to accommodate varying foot placements.
2026 Adjustable Dumbbell Comparison for Hip Thrusts
Not all adjustable dumbbells are created equal. The internal mechanics and external geometry drastically affect how the weight rests on your pelvic crease. Below is our 2026 comparison matrix evaluating the top models specifically for hip thrust compatibility.
| Model (2026) | Max Weight | Handle Clearance | Thigh Snag Risk | Price (Pair) |
|---|---|---|---|---|
| Nuobell 80lb | 80 lbs | Excellent (Standard bar) | Moderate (Inner dial) | $429 |
| PowerBlock Elite EXP | 50-90 lbs | Restricted (Cage) | Low (Smooth sides) | $389 (Base) |
| Bowflex SelectTech 552 | 52.5 lbs | Poor (Bulky ends) | High (Wide profile) | $349 |
Nuobell 80lb Adjustable Dumbbells
The Nuobell 80lb set ($429) features a traditional dumbbell profile with a 1.38-inch knurled handle, making it the most comfortable to grip. However, for hip thrusts, the inner adjustment dial presents a specific failure mode. If you utilize a narrow stance, the medial thigh can scrape against the plastic dial housing during the eccentric lowering phase. Solution: Adopt a slightly wider stance and point your toes outward at a 30-degree angle to clear the dial mechanism.
PowerBlock Elite EXP
Priced at $389 for the base 50lb model (expandable to 90lbs), the PowerBlock's boxy, cylindrical cage design is surprisingly excellent for hip thrusts. The flat, wide surface area of the cage distributes pressure across the pelvic bone much better than a round handle, reducing the need for an excessively thick foam pad. The primary drawback is the internal handle cage, which restricts wrist supination and limits grip width for users with broader shoulders.
Bowflex SelectTech 552
While incredibly popular at $349 a pair, the Bowflex 552 is the least ideal for heavy hip thrusts. The dumbbell is 15.75 inches long, and the bulky, protruding weight plates at the ends can dig into your forearms or inner thighs depending on your arm placement. If this is your only available equipment, you must grip the handle extremely close to the inner collar and use a thick pad to shield your pelvis from the uneven weight distribution.
Step-by-Step Execution: Nailing the Dumbbell Hip Thrust Form
Leading glute researcher Bret Contreras has extensively documented the nuances of the hip thrust. When adapting these cues for a single adjustable dumbbell, follow this precise sequence:
- The Setup: Sit on the floor with your upper back resting against the edge of your 14-16 inch bench. Place the high-density foam pad over your pelvic crease (the fold where your thighs meet your torso).
- Dumbbell Placement: Roll the adjustable dumbbell over your hips. Grip the handle with both hands, interlocking your fingers or placing one hand over the other to stabilize the weight and prevent it from rolling laterally.
- Foot Positioning: Plant your feet shoulder-width apart. Your shins should be perfectly vertical at the top of the movement. If your shins angle forward, your feet are too far away (overworking the hamstrings); if they angle backward, your feet are too close (overworking the quads).
- The Posterior Tilt: Before driving up, tuck your chin to your chest and forcefully tilt your pelvis backward (imagine pulling your belt buckle to your chin). This disengages the lumbar erectors and isolates the glutes.
- The Drive: Drive through your mid-foot and heels, extending your hips until your torso and thighs form a straight line. Do not hyperextend the lower back at the top.
- The Eccentric: Lower the weight under control, maintaining the chin tuck and posterior pelvic tilt until your glutes lightly tap the floor or hover just above it.
Troubleshooting Common Setup & Form Failures
💡 Pro-Tip: The 'Hover' TechniqueWhen using adjustable dumbbells, the mechanical pins and dials can shift or click if the dumbbell is dropped forcefully on the floor. Never let the dumbbell crash down. Stop the eccentric phase 1 inch above the floor to maintain tension and protect the internal adjustment mechanisms of your equipment.
- Failure Mode: Lower Back Pain at Lockout. Cause: Bench is too high, or you are thrusting your ribs upward instead of driving your hips forward. Fix: Lower your bench height to 14 inches and keep your ribs depressed.
- Failure Mode: Dumbbell Rolling Sideways. Cause: Asymmetrical grip or uneven floor matting. Fix: Ensure your rubber mats are perfectly level. Use an asymmetrical 'V-grip' (one hand wrapping over the other) to lock the dumbbell handle in place against your pelvis.
- Failure Mode: Hamstring Dominance. Cause: Feet placed too far forward. Fix: Bring your heels 2-3 inches closer to your glutes. You should feel a deep stretch in the glutes at the bottom, not the hamstrings.
"The hip thrust is only as effective as the setup that precedes it. When utilizing adjustable dumbbells in a home gym, the lifter must become a master of spatial geometry—accounting for dial clearances, bench heights, and pad densities to ensure the load is borne entirely by the gluteus maximus, not the lumbar spine or the plastic housing of the equipment."
By meticulously configuring your bench height, selecting the appropriate adjustable dumbbell geometry, and adhering to strict posterior pelvic tilt cues, you can safely and effectively build massive glute strength in your home gym without ever needing to load a 7-foot barbell.
More gear to consider
All reviews
Bumper vs Iron Plates: Gym Layout & Dumbbell Front Shoulder Press
Power Rack vs Squat Stand: Setup for Daily Dumbbell Exercises

2026 Loadable Dumbbell Trends: Adapting Dumbbell Squat Form

10 Minute Workout with Dumbbells: 2026 Rack & Storage Market Trends
Bumper vs Iron Plates: Maintenance & Dumbbell Wrist Flexion Grip
