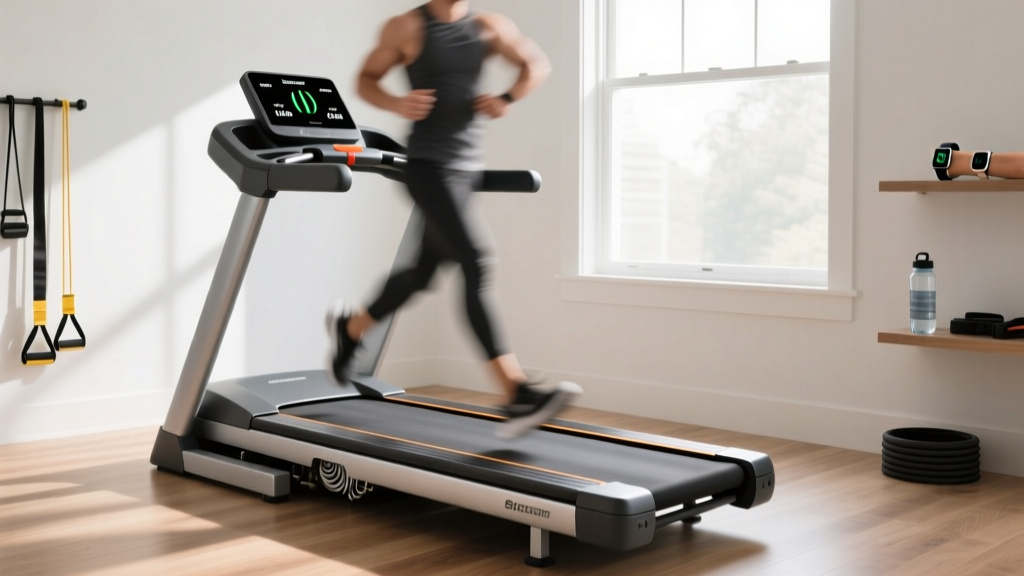
Curved Manual vs Motorized: Weslo Treadmill Models Setup
Compare curved manual vs motorized setups. Our complete installation walkthrough for Weslo treadmill models and premium non-motorized alternatives.

The Paradigm Shift in Home Cardio Installation
As of 2026, the home fitness market has sharply divided into two distinct camps: the ultra-premium curved manual treadmill and the reliable, budget-friendly motorized deck. When outfitting a home gym, understanding the physical and technical installation requirements of these machines is just as critical as choosing the right brand. While the boutique fitness world raves about non-motorized curved decks, millions of home gym owners continue to rely on the space-saving, feature-rich engineering found in modern weslo treadmill models like the Cadence G 5.9i and the Crosswalk series.
This comprehensive setup and installation walkthrough will contrast the physical assembly, electrical requirements, and calibration processes of a standard motorized Weslo treadmill against a heavy-duty curved manual alternative (such as the TrueForm Runner or Assault AirRunner). Whether you are bolting together a folding motorized frame or maneuvering a 350-pound slatted belt into place, precise installation dictates the lifespan and safety of your equipment.
Pre-Installation: Space, Power, and Flooring Matrix
Before unboxing, you must prepare the environment. Curved manual treadmills and motorized Weslo models have vastly different spatial and structural demands. According to the Centers for Disease Control and Prevention (CDC), creating a safe, dedicated environment is the first step to maintaining a consistent cardiovascular routine.
| Requirement | Motorized (Weslo Cadence/Pro Series) | Curved Manual (TrueForm/AirRunner) |
|---|---|---|
| Footprint | 70" L x 28" W (Folds to 60" H) | 68" L x 33" W (Non-folding) |
| Weight Capacity | 130 - 160 lbs (Machine Weight) | 280 - 350 lbs (Machine Weight) |
| Power Source | Dedicated 120V / 15A Circuit | None (100% Human-Powered) |
| Flooring Needs | Standard rubber mat acceptable | Rigid subfloor required (No thick mats) |
| Clearance | 24" rear / 12" sides | 36" rear / 24" sides |
Complete Setup Walkthrough: Motorized Weslo Treadmill Models
Weslo, an Icon Health & Fitness brand, designs its treadmills for DIY home assembly. The process typically takes 45 to 60 minutes with a standard Philips head screwdriver and the included Allen wrenches.
Phase 1: Frame Assembly and Upright Mast
Begin by laying the main deck on its side on the cardboard packaging to prevent scratching the belt. Attach the front roller covers and rear stabilizer feet. When lifting the upright mast into position, ensure the internal wiring harness is not pinched between the steel brackets—a common failure point that leads to console blackouts. Torque the mast bolts to 15 ft-lbs. Do not fully tighten the console crossbar until the uprights are perfectly plumb.
Phase 2: Electrical Safety and Surge Protection
The American Heart Association recommends consistent aerobic exercise, but inconsistent power can ruin your machine's motor. Motorized Weslo treadmill models feature a 2.25 to 2.75 continuous horsepower (CHP) motor that draws significant amperage during startup and incline shifts.
⚠️ CRITICAL ELECTRICAL WARNING: Never plug a motorized treadmill into a standard power strip or an extension cord. You must use a single-outlet UL 1449 listed surge suppressor rated for 15 amps. Plugging directly into a wall outlet without surge protection leaves the lower control board vulnerable to voltage spikes, which will void the warranty.Phase 3: Incline Calibration and Belt Tensioning
Once powered on, the incline motor must find its physical limits. To enter the engineering calibration mode on most 2026 Weslo consoles, press and hold the 'Stop' and 'Speed Increase' buttons simultaneously while inserting the red magnetic safety key. Press 'Incline Up' and allow the deck to sweep from 0% to its maximum (usually 10% or 15%) and back down. This sets the potentiometer limits. Finally, check the walking belt tension; it should lift exactly 2 to 3 inches off the deck in the center. If it drags, adjust the rear roller bolts clockwise in quarter-turn increments.
Complete Setup Walkthrough: Curved Manual Treadmills
Curved manual treadmills operate on a completely different mechanical philosophy. Without a motor, the user's foot strike pulls the slatted belt over a curved track of sealed ball bearings. The setup here is less about electronics and more about heavy-duty mechanical alignment.
Phase 1: The Heavy Lift and Rigid Placement
Because these machines weigh upwards of 300 pounds and lack folding hinges, unboxing requires three to four adults or a specialized appliance dolly. Floor rigidity is paramount. If you place a curved treadmill on thick, squishy puzzle mats, the frame will flex under the asymmetric load of a runner's stride. This flexing causes the slatted belt to track sideways and grind against the chassis. Use a machinist level to ensure the floor is perfectly flat; if not, use rigid composite shims under the leveling feet.
Phase 2: Slatted Belt Lubrication and Tension
Unlike the continuous PVC belts on Weslo models that require liquid silicone wax, curved treadmills use thick rubber slats mounted on a high-tension Kevlar cord. During initial setup, you must apply a dry PTFE (Teflon) spray to the track guides. Never use petroleum-based lubricants or wet silicone, as these will attract dust and create a grinding paste inside the sealed bearings. Tension the rear axle bolts until the belt has zero slip under a heavy heel strike, but not so tight that the bearings emit a high-pitched whine when spun by hand.
Post-Installation Safety and Biomechanics
Once assembled, the user experience diverges dramatically. Research highlighted by the American Council on Exercise (ACE) notes that curved treadmills naturally encourage a mid-foot strike and increase hamstring and glute activation by up to 20% compared to motorized decks. However, this also means a higher initial learning curve.
Pro-Tip for Curved Treadmill Novices: During your first week on a curved manual deck, keep your hands lightly resting on the side rails. The lack of a motorized pacing mechanism means your brain must recalibrate how it controls speed purely through foot placement. Leaning too far forward on the curve will cause the belt to accelerate uncontrollably.
For motorized Weslo models, safety relies heavily on the magnetic lanyard. Always clip the safety key to your shirt. If you stumble, the key pulls free, instantly cutting power to the drive motor and engaging the electronic braking system.
Maintenance Divergence: Day 2 and Beyond
The installation is just day one. The long-term ownership experience requires different maintenance protocols based on your chosen machine type:
- Motorized Weslo Maintenance: Requires 100% silicone liquid belt lubrication every 150 miles or 3 months. You must also periodically vacuum under the motor hood to prevent dust buildup on the drive motor's cooling fan, which can lead to thermal shutdowns.
- Curved Manual Maintenance: Requires zero belt lubrication after the initial PTFE setup. However, you must inspect the slat fastening screws every 6 months, as the repetitive impact of heel strikes can slowly loosen the hardware holding the rubber slats to the underlying Kevlar belt.
- Console and Software: Weslo models often integrate with iFit or similar Bluetooth ecosystems. Ensure your home Wi-Fi router is within 15 feet of the console to prevent firmware update interruptions, which can brick the lower control board.
Ultimately, choosing between a curved manual treadmill and motorized Weslo treadmill models comes down to your budget, spatial constraints, and desired biomechanical feedback. By strictly following the appropriate installation and calibration protocols outlined above, you ensure your cardiovascular investment remains safe, quiet, and mechanically sound for years to come.
More gear to consider
All reviews
Stair Climber Setup Walkthrough vs NordicTrack Treadmill E2500
Maximize Benefits of Treadmill for Belly Fat: Belt Care
Sole F80 vs NordicTrack: Best for a Person Running on a Treadmill
Running Sprints on Treadmill Folding Models: Review & Care Guide

HealthRider S300i Treadmill: Small Space Value Analysis