Curved vs Motorized Treadmill Setup: Calibrating Treadmill Speed to Pace
Master curved vs motorized treadmill setup. Learn installation steps, belt calibration, and how to convert treadmill speed to pace for precise training.

The Foundation: Pre-Installation and Site Preparation
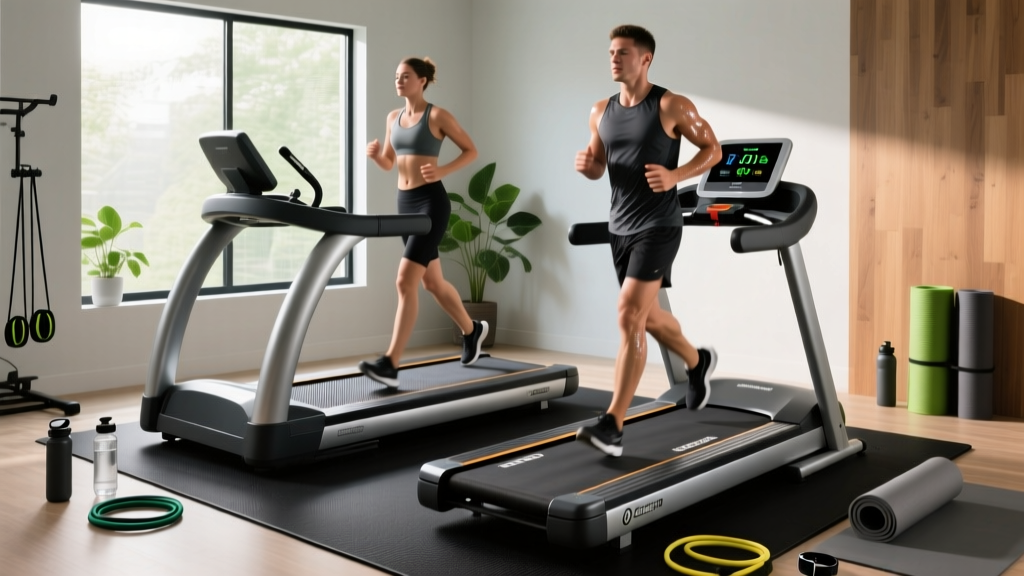
Setting up a high-end cardio machine is not simply a matter of unboxing and plugging it in. Whether you are installing a 350-pound motorized powerhouse like the 2026 Sole F85 or a mechanical curved manual treadmill like the TrueForm Runner, the physical environment dictates the longevity of the equipment and the accuracy of your performance metrics. Before assembling the frame, you must address flooring and electrical requirements.
Electrical and Flooring Prerequisites
- Motorized Treadmills: Require a dedicated 20-amp, 120V circuit. Sharing a 15-amp circuit with other appliances causes voltage drops, which can fry the Motor Control Board (MCB) and lead to erratic belt speeds. Use a surge suppressor rated for at least 400 volts.
- Curved Manual Treadmills: Require zero electrical infrastructure, but they demand superior shock absorption. Because curved treadmills lack a motorized deck flex system, you must install 3/8-inch thick vulcanized rubber flooring beneath the unit to protect your subfloor and reduce acoustic resonance.
- Clearance Zones: The Consumer Product Safety Commission (CPSC) mandates a minimum of 24 inches of clearance on each side and 78 inches behind any treadmill to prevent severe friction-burn injuries in the event of a fall.
Motorized Treadmill Assembly and Belt Calibration
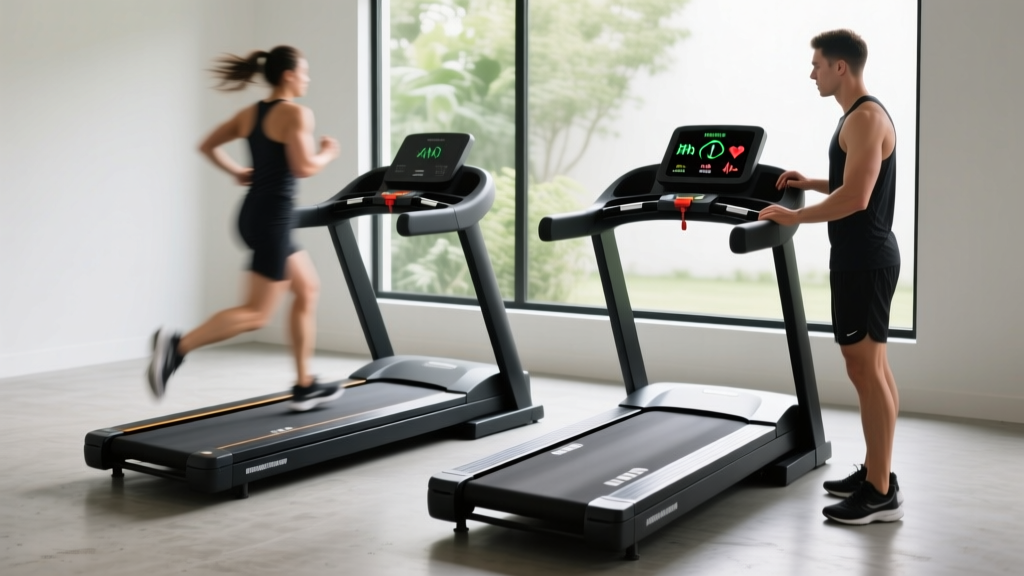
Motorized treadmills rely on a complex interplay between the drive motor, the deck, and the console software. If the physical belt tension is incorrect, the console's treadmill speed to pace calculations will be fundamentally flawed, ruining your interval training data.
Step-by-Step Motorized Setup
- Upright Assembly: With a partner, lift the uprights into the base. Route the data cable through the center of the left upright. Ensure the pinch points are clear before tightening the four 3/8-inch hex bolts at the base.
- Console Mounting: Secure the console to the uprights. Connect the data cable, ensuring the locking tab clicks into place. A loose data cable causes flickering displays and sudden speed drops.
- Belt Tensioning: This is the most critical calibration step. The running belt should have a slight give. Lift the belt in the exact center of the deck; it should rise exactly 1.5 to 2 inches. If it is too tight, it will choke the drive motor and cause the console to report a slower speed than the belt is actually traveling.
- Tracking Alignment: Power the machine on at 3.0 MPH. Observe the rear roller. If the belt drifts left, insert a 3/16-inch Allen wrench into the left rear end cap and turn it exactly one-quarter turn clockwise. Wait 30 seconds for the belt to center before making further adjustments.
Calibrating the Console for Accurate Pace Metrics
Runners relying on precise pacing need their console's treadmill speed to pace readout to be flawless. Over time, or immediately after a factory reset, the speed potentiometer may need recalibration. To enter the engineering diagnostic mode on most commercial-grade motorized treadmills (like NordicTrack or ProForm models), press and hold the 'Incline Up' and 'Speed Down' buttons simultaneously for 5 seconds while inserting the safety key. Follow the on-screen prompts to run the belt at maximum speed, allowing the console to map the motor's RPMs to the digital treadmill speed to pace output.
Curved Manual Treadmill Setup: Slat Tracks and Friction Tuning
Curved manual treadmills, such as the AssaultRunner Elite or TrueForm Runner, operate on human-generated momentum. Because there is no motor dictating the belt speed, the console calculates your treadmill speed to pace ratio using magnetic sensors that read the rotation of the front roller or the individual running slats.
Assembling the Curve
Curved treadmills typically arrive 80% pre-assembled due to the complexity of the curved frame. The primary setup tasks involve attaching the handlebars and the rear stabilizer. Use the provided torque wrench to tighten the handlebar bolts to exactly 45 Nm (Newton-meters). Overtightening can warp the internal sensor housing, leading to phantom speed readings on the LCD.
Slat Lubrication and Sensor Calibration
Unlike motorized belts that require wax or silicone liquid between the belt and deck, curved treadmills use a slat track system with sealed ball bearings. However, the guide rails on the inside of the curve require periodic dry PTFE (Teflon) lubrication. If friction builds up on the guide rails, you will have to exert more force to maintain speed, but the console's treadmill speed to pace algorithm will not account for this mechanical drag, resulting in a perceived effort that is much higher than your actual pace.
"The beauty of a curved treadmill is the direct correlation between your ground reaction force and the belt movement. However, if the magnetic resistance brake is not zeroed out during setup, your pace metrics will be artificially suppressed." — Biomechanics Lab Testing Notes, 2025
The Metrics Matrix: Converting Treadmill Speed to Pace
Whether you are running on a motorized deck or a curved manual track, understanding how to translate Miles Per Hour (MPH) into Minutes per Mile is essential for executing structured workouts. According to the Centers for Disease Control and Prevention (CDC), accurately measuring your exercise intensity and pace is vital for achieving cardiovascular target zones.
Use the reference table below to map your console's MPH readout to your actual running pace. Keep in mind that running on a curved manual treadmill typically requires 20% to 30% more energy output than a motorized treadmill at the exact same speed due to the lack of motorized belt propulsion.
| Speed (MPH) | Pace (Min:Sec / Mile) | 10K Equivalent Time | Primary Training Zone |
|---|---|---|---|
| 5.0 | 12:00 | 1:14:33 | Recovery / Easy |
| 6.0 | 10:00 | 1:02:08 | Aerobic Base |
| 7.0 | 08:34 | 0:53:11 | Marathon Pace |
| 8.0 | 07:30 | 0:46:36 | Threshold / Tempo |
| 9.0 | 06:40 | 0:41:25 | VO2 Max Intervals |
| 10.0 | 06:00 | 0:37:17 | Sprint / Anaerobic |
To ensure your heart rate aligns with your pace, cross-reference your effort with the American Heart Association's target heart rate guidelines. If your console indicates a 7:30 pace (8.0 MPH) but your heart rate is spiking into the anaerobic zone, your treadmill's belt may be experiencing micro-slippage, or you are running on a curved treadmill without factoring in the 20% energy tax.
Troubleshooting Setup Anomalies and Belt Drift
Even with meticulous installation, new treadmills require a 30-day break-in period. The belt stretches, and the deck settles. Here is how to troubleshoot common setup failures that corrupt your treadmill speed to pace data:
1. Console Speed Flickering
If the MPH readout jumps erratically (e.g., from 6.0 to 6.4 and back), the optical or magnetic speed sensor is misaligned. On motorized models, this sensor is located near the front roller pulley. Unplug the machine, remove the motor hood, and ensure the sensor is exactly 2 to 3 millimeters away from the magnet on the pulley. On curved treadmills, check the front roller encoder wheel for dust or debris blocking the optical eye.
2. The 'Choppy' Belt Sensation
If the belt feels like it is stuttering underfoot, the deck lacks lubrication (motorized) or the slat guide rails are dry (curved). A stuttering belt forces the motor to surge, which confuses the console's RPM reader, resulting in a highly inaccurate treadmill speed to pace conversion. Apply 100% pure silicone treadmill lubricant in a zig-zag pattern under the belt, then run the machine at 3.0 MPH for 5 minutes to distribute it evenly.
3. Incline Calibration Errors (Motorized Only)
If your motorized treadmill's incline does not match the console readout, your perceived pace will be entirely skewed. A 1% incline is scientifically proven to simulate outdoor wind resistance. If your treadmill thinks it is at 0% but is physically resting at 2%, your outdoor race predictions based on your indoor treadmill speed to pace logs will be overly optimistic. Recalibrate the incline motor via the engineering menu to ensure the physical lift matches the digital output.
Final Safety Checks and First Run Protocol
Before executing your first high-intensity interval session, perform the 'Safety Tether Test'. Clip the magnetic safety key to your shirt, start the treadmill at 4.0 MPH, and intentionally step back until the key pulls free. The belt should begin decelerating within 0.5 seconds. Once verified, you can confidently use your newly calibrated machine, trusting that your treadmill speed to pace metrics are precise, your belt is perfectly tracked, and your home gym setup is built for years of elite performance.
More gear to consider
All reviews
Adjusting Treadmill Belt Tension: Sole F80 vs Horizon 7.4 Compared

Working Out on a Treadmill: Cardio Machine Noise Comparison Guide

Curved vs Motorized: Finding the Best Treadmill Attachment for Laptop
Is 12 MPH a Good Running Speed on Treadmill? 2026 Model Comparison

Exercise Bike vs Treadmill: Folding Small-Space Budget Review