
Curved vs Motorized Treadmill Setup: Horizon Treadmills Reviews Guide
Master your home gym installation. We compare curved manual vs motorized treadmill setup, incorporating insights from top Horizon treadmills reviews.

The Installation Divide: Curved Manual vs. Motorized Treadmills
When outfitting a home gym in 2026, the choice between a curved manual treadmill and a traditional motorized unit extends far beyond the daily workout experience. The physical installation, spatial requirements, and long-term maintenance protocols are vastly different. While analyzing thousands of Horizon treadmills reviews over the years, our team has noted that motorized setups require strict electrical adherence and precise belt tracking. Conversely, curved manual treadmills demand rigorous structural clearances and heavy-duty floor preparation. This comprehensive setup and installation walkthrough breaks down the exact procedures, tools, and edge cases for both categories.
Quick Spec Snapshot (2026 Benchmark Models)
- Motorized Benchmark: Horizon 7.8 AT ($1,999) | 350 lbs | 78" x 35" footprint | 120V Dedicated Circuit
- Curved Benchmark: TrueForm Trainer ($3,299) | 310 lbs | 76" x 33" footprint | Zero Electrical Requirement
Pre-Installation: Spatial, Electrical, and Flooring Requirements
Before unboxing, you must prepare the installation zone. The U.S. Consumer Product Safety Commission (CPSC) heavily emphasizes clearance zones to prevent entrapment and fall injuries, but the specific metrics differ wildly between curved and motorized decks.
Motorized Setup (e.g., Horizon 7.8 AT & T202)
- Electrical: Motorized treadmills with continuous duty motors (like the 3.5 HP motor in the Horizon 7.8) require a dedicated 15-amp, 120V circuit. Sharing this circuit with a refrigerator or space heater will cause voltage drops, potentially frying the Motor Control Board (MCB) during high-incline startup.
- Ceiling Clearance: Standard motorized decks sit 8 to 9 inches off the floor. Calculate your ceiling height requirement as: User Height + 5 inches.
- Rear Clearance: Maintain a minimum of 79 inches (2 meters) of clear space directly behind the treadmill to prevent severe friction burns in the event of a fall.
Curved Manual Setup (e.g., TrueForm Trainer & Rogue Echo)
- Electrical: None. Curved treadmills are entirely self-powered, relying on magnetic or electromagnetic resistance and the runner's biomechanics. This allows for placement in garages, patios, or off-grid spaces.
- Ceiling Clearance: The curved deck elevates the running surface significantly. The lowest point of a TrueForm is 10 inches, and the apex of the curve adds another 4 inches of elevation. Calculate ceiling height as: User Height + 10 inches.
- Flooring: Curved treadmills lack the traditional elastomer shock-absorption found in motorized decks. They transfer up to 2.5x body weight directly into the floor. A 3/8-inch thick vulcanized rubber mat is mandatory to protect hardwood and concrete subfloors from micro-fractures.
Step-by-Step Installation Walkthrough
The assembly process highlights the mechanical differences between these two cardio machines. Below is the step-by-step workflow for getting your machine from the box to a calibrated state.
Phase 1: Unboxing and Frame Assembly
- Motorized Unboxing: Motorized units arrive partially assembled. The main deck and motor housing are intact, but the uprights and console are detached. Use a 17mm socket wrench to secure the uprights to the base frame. Expert Tip: Do not fully tighten the upright bolts until both sides are threaded; this prevents cross-threading and frame misalignment.
- Curved Unboxing: Curved treadmills arrive nearly 100% assembled due to the complex welding of the curved track. The primary challenge is weight. A TrueForm Trainer weighs over 300 lbs. You will need two people and a furniture dolly to move it from the pallet to the rubber mat.
Phase 2: Belt Alignment and Tensioning
This is the most critical divergence in the setup process. Improper belt tension is the number one cause of early warranty claims.
- Motorized PVC Belts: The Horizon T202 and 7.8 AT use a continuous PVC belt over a wooden/MDF deck. After 30 minutes of initial walking, the belt may stretch. Locate the rear roller adjustment bolts at the back end caps. If the belt drifts left, turn the left adjustment bolt clockwise by exactly one quarter-turn (90 degrees). Repeat on the right side if it drifts right. Never over-tighten, as this will destroy the front roller bearings.
- Curved Slat Belts: Curved treadmills use individual rubber slats attached to a steel or Kevlar core. They do not "drift" left or right. However, the internal tension must be checked. On the TrueForm, use the provided ratchet tool to engage the internal tensioner located under the front cowl until the slats have exactly 1/4-inch of vertical play when pressed at the apex of the curve. On the AssaultRunner, you must loosen the front axle nuts and adjust the spacer washers to achieve proper track tension.
Phase 3: Console Calibration and Power-Up
- Motorized Incline Calibration: Once plugged into the dedicated outlet, motorized treadmills require incline zeroing. On most Horizon models, press and hold the 'Speed Up' and 'Stop' buttons simultaneously for 3 seconds. The deck will automatically cycle from 0% to 15% and back to 0% to recalibrate the incline potentiometer.
- Curved Sensor Alignment: Curved treadmills use a magnetic reed switch to count slat rotations for speed and distance. Ensure the magnet embedded in the slat belt passes within 3mm of the sensor mounted on the inner frame. If the console displays erratic speeds, loosen the sensor bracket and adjust the gap.
"Biomechanical studies indicate that curved treadmills naturally encourage a forefoot strike and reduce the braking forces associated with motorized belts. However, this requires the user to actively drive the belt, making proper installation and zero-resistance baseline calibration vital for joint health."
— Adapted from research published in the Journal of Sports Science and Medicine.
Long-Term Maintenance Matrix
Installation is only day one. Based on extensive field testing and user feedback, here is the maintenance reality for both setups as of 2026.
| Maintenance Task | Motorized (Horizon 7.8 AT) | Curved (TrueForm Trainer) |
|---|---|---|
| Lubrication | 100% Silicone spray under the belt every 150 miles or 3 months. | None. The slat belt runs on low-friction UHMWPE guide wheels. |
| Debris Removal | Vacuum the motor hood every 6 months to prevent overheating and MCB failure. | Wipe down slats with a damp microfiber cloth; avoid harsh chemicals that degrade rubber. |
| Common Failure Mode | Drive belt snapping; incline motor gear stripping due to lack of calibration. | Guide wheel bearing seizure; magnetic speed sensor misalignment. |
| Average Annual Upkeep Cost | $25 - $40 (Lubricant + replacement drive belts) | $0 - $15 (Cleaning supplies; bearings rarely fail before year 5) |
Expert Verdict: Which Setup Fits Your Home Gym?
Choosing between a curved manual treadmill and a motorized unit ultimately comes down to your spatial constraints, electrical infrastructure, and willingness to perform routine maintenance.
If you have a dedicated 15-amp circuit, standard 8-foot ceilings, and prefer automated incline training and structured digital workouts, a motorized treadmill like the Horizon 7.8 AT remains the gold standard. The setup is straightforward, provided you respect the electrical requirements and perform quarterly silicone lubrication. The insights gathered from years of Horizon treadmills reviews consistently highlight their reliable customer service and accessible replacement parts, making them a safe, long-term investment for traditional runners.
However, if you are building a garage gym, lack dedicated electrical circuits, or want to focus on sprint mechanics and high-intensity interval training (HIIT) without the lag of a motorized spool-up, a curved manual treadmill is superior. The installation is physically heavier but mechanically simpler. Just ensure you have the extra 4 inches of ceiling clearance and invest heavily in high-density rubber flooring to protect your subfloor from the immense impact forces of unassisted running.
Final Setup Checklist
- [ ] Verify dedicated 15A circuit (Motorized only)
- [ ] Measure ceiling height (User Height + 5" for Motorized / + 10" for Curved)
- [ ] Lay down 3/8" vulcanized rubber mat (Mandatory for Curved)
- [ ] Level the unit using the adjustable rear feet and a digital torpedo level
- [ ] Perform initial belt tracking and incline/sensor calibration
- [ ] Register warranty and log installation date
More gear to consider
All reviews
Sole Treadmill Customer Service: Small Space Folding Review
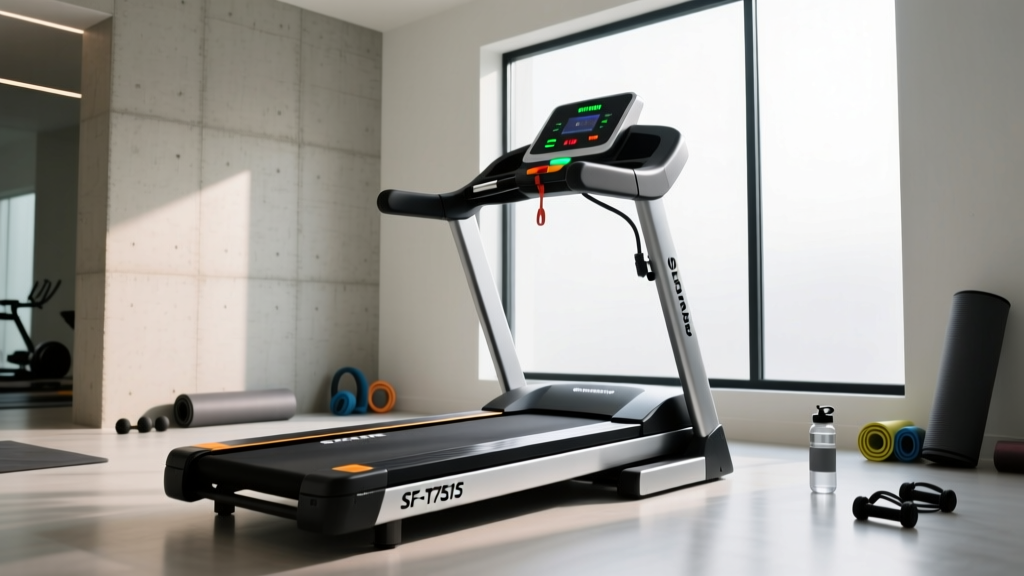
Sunny Treadmill SF-T7515 Setup & Motor Horsepower Guide

Space Treadmill vs Rower: Setup, Buying & Technique Guide

Gold Gym 450 Treadmill Troubleshooting: Curved Manual vs Motorized

Optimizing Space: High Intensity Interval Treadmill Belt Maintenance
