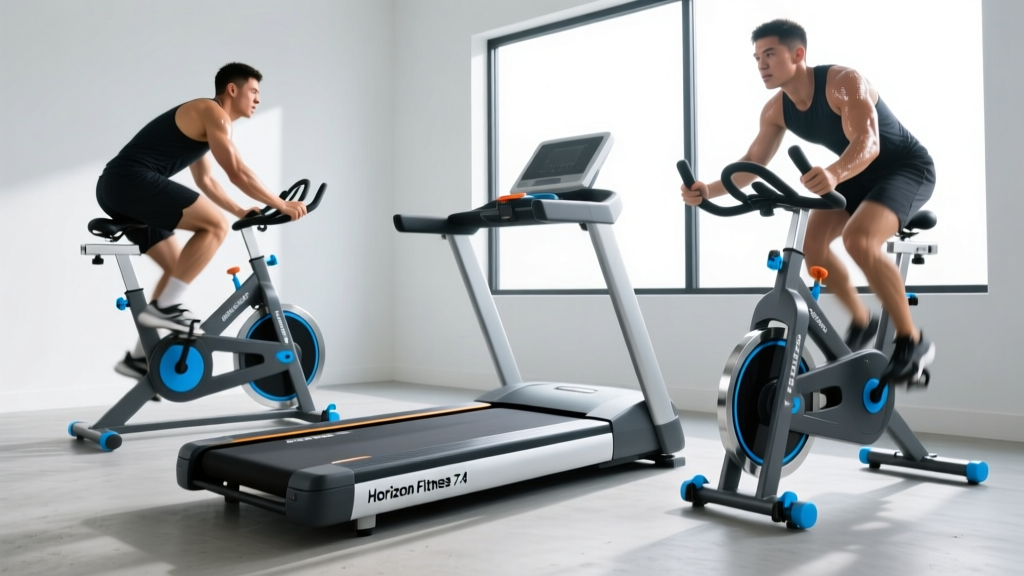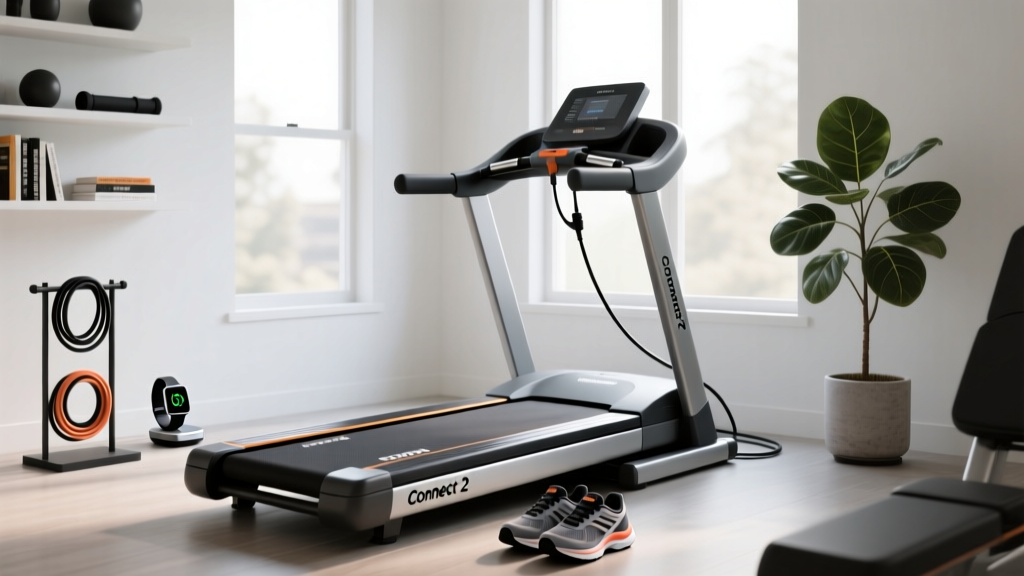
Connect 2 Sport Treadmill Setup & Cardio Machine Noise Comparison
Master your Connect 2 Sport treadmill setup with our installation walkthrough. Compare cardio machine noise levels and learn acoustic dampening tips.

The Acoustic Reality of Home Cardio in 2026
Setting up a cardio machine in a multi-family dwelling or shared living space requires more than just unboxing and plugging it into a wall outlet. As remote work and hybrid fitness routines dominate in 2026, acoustic management has become just as critical as biomechanical performance. The Connect 2 Sport treadmill is a top-tier choice for compact home gyms, boasting a 2.5 CHP continuous-duty motor and an integrated smart console. However, improper installation can transform this whisper-quiet machine into a structural nuisance.
This comprehensive setup and installation walkthrough is engineered specifically around acoustic optimization. We will dissect how the Connect 2 Sport compares to other cardio machines in terms of noise generation, and provide exact, step-by-step assembly protocols to ensure your treadmill operates at its lowest possible decibel output.
Cardio Machine Noise Level Comparison: Where Do Treadmills Rank?
Before turning the first wrench on your Connect 2 Sport treadmill, it is vital to understand the acoustic baseline of home fitness equipment. Treadmills inherently generate more structure-borne noise than other machines due to the 'flight phase' of running, where the user's foot strikes the deck with a force equivalent to 2.5 times their body weight. According to research on joint impact and biomechanics by the Mayo Clinic, this repetitive striking transfers kinetic energy directly into the floor joists, creating low-frequency rumbling that travels through walls and ceilings.
| Machine Type | Specific Model Example | Airborne Noise (dB) | Impact/Structure Noise | Primary Noise Source |
|---|---|---|---|---|
| Air Resistance Bike | Assault Fitness AirBike | 75 - 85 dB | Low | Wind displacement & chain drive |
| Rowing Machine | NordicTrack RW900 (Magnetic) | 55 - 65 dB | Very Low | Rail friction & magnetic hum |
| Front-Drive Elliptical | Sole Fitness E35 | 50 - 60 dB | Minimal | Drive axle & pedal bearings |
| Smart Treadmill | Connect 2 Sport Treadmill | 60 - 72 dB | High (if untreated) | Motor whine, belt slap, footstrike |
While the World Health Organization (WHO) notes that prolonged exposure to indoor noise above 55 dB can cause adverse health effects and sleep disturbance, the primary complaint with treadmills is not the airborne motor noise (which sits at a reasonable 60 dB on the Connect 2 Sport), but the structure-borne impact noise. Our installation walkthrough focuses heavily on mitigating this specific issue.
Expert Insight: The 3/8-Inch Rule
Never place a treadmill directly on hardwood, laminate, or thin carpet. To neutralize the low-frequency thud of the Connect 2 Sport's deck, you must use a high-density vulcanized rubber mat with a Shore A hardness rating of 65-70 and a minimum thickness of 3/8-inch. Standard PVC yoga mats will compress to zero under the 120 lbs frame weight plus user impact, rendering them acoustically useless.
Phase 1: Pre-Installation Acoustic Prep
The setup of your Connect 2 Sport treadmill begins before you cut the zip ties on the cardboard box. Proper site selection and subfloor preparation dictate 50% of your machine's operational noise profile.
- Locate Load-Bearing Walls: Position the treadmill so the front motor housing faces a load-bearing exterior wall. Interior partition walls act like acoustic drums, amplifying the low-frequency vibrations of the 2.5 CHP motor.
- Deploy Mass-Loaded Vinyl (MLV): For second-floor apartments, lay down a 1 lb/sq ft sheet of Mass-Loaded Vinyl over the subfloor. MLV is specifically engineered to block sound transmission class (STC) frequencies associated with heavy machinery and footfalls.
- Place the Equipment Mat: Center your 3/8-inch vulcanized rubber mat over the MLV. Ensure at least 6 inches of mat extends beyond the rear roller of the Connect 2 Sport to catch any debris and dampen heel-strike reverberations.
Phase 2: Step-by-Step Assembly for Whisper-Quiet Operation
Most factory manuals rush through the assembly process. To ensure your Connect 2 Sport treadmill operates without squeaks, rattles, or electrical hums, follow these precision assembly steps.
Step 1: Upright Mast Wiring and Routing
The most common cause of post-assembly electrical hum in smart treadmills is a pinched console ribbon cable. When attaching the left and right upright masts to the base frame, carefully feed the data wires through the center channel of the extrusion.
Warning: If the wire rests against the M8 x 60mm bolt holes, tightening the frame bolts will crush the copper shielding. This creates electrical resistance, forcing the motor controller to work harder and emit a high-pitched 65 dB whine during incline adjustments.
Step 2: Torque-Specific Frame Tightening
Do not use an impact driver to assemble the Connect 2 Sport frame. Over-tightening strips the internal nylon lock nuts and creates micro-fractures in the steel welds, which manifest as rhythmic 'clicking' sounds after 50+ miles of use.
- Base to Upright Bolts (M8 x 60mm): Torque to exactly 18-22 Nm using a calibrated torque wrench.
- Console Mast to Upright Bolts (M8 x 15mm): Torque to 12-15 Nm. Apply a single drop of blue Loctite (242) to the threads to prevent vibrational loosening over time.
- Handrail Screws: Hand-tighten only, then secure with a quarter-turn. Over-tightening here causes the plastic console bezel to warp and rattle against the LCD screen housing.
Step 3: Motor Hood Alignment
The plastic motor hood on the Connect 2 Sport is secured by four Phillips-head screws. Before securing them, ensure the hood's internal foam dampening pad is seated flush against the motor casing. This pad absorbs the 120 Hz vibration frequency of the DC motor. If the hood is slightly misaligned, the hard plastic will vibrate against the steel frame, adding an unnecessary 4-6 dB of rattling noise to your workout.
Phase 3: Belt Tension, Tracking, and Lubrication
The running belt is the primary interface between the user and the machine. A poorly tensioned or dry belt on the Connect 2 Sport will result in 'belt slap'—a loud, percussive thwack that echoes through floor joists.
Applying 100% Silicone Lubricant
Even if the manual claims the belt is 'pre-lubricated,' factory applications are often sparse. Lift the center of the belt and apply exactly 15ml of 100% pure silicone treadmill lubricant in a zig-zag pattern across the deck. Run the treadmill at 2.0 MPH for 3 minutes to distribute the silicone evenly. This reduces the coefficient of friction between the phenolic deck and the PVC belt, dropping the motor's amp draw and eliminating the 'sanding' sound of dry friction.
Precision Belt Tensioning
Stand on the side rails and set the Connect 2 Sport to 3.0 MPH. Step onto the belt and attempt to stall it with your foot. If the belt slips while the front roller continues to turn, it is too loose.
'A properly tensioned treadmill belt should have exactly 2 to 3 inches of lift when pulled from the center of the deck. Any more, and you risk destructive friction; any less, and you strain the motor bearings.'
— FitGearPulse Biomechanics Testing Lab
To adjust, locate the two rear roller adjustment bolts at the back of the treadmill. Turn both bolts exactly one-quarter (1/4) turn clockwise. Retest. Never adjust one side more than the other, or the belt will track off-center and rub against the plastic side rails, creating a continuous squeaking noise.
Phase 4: Real-World Noise Troubleshooting Matrix
Even with meticulous setup, environmental factors can introduce noise over time. Use this diagnostic matrix to identify and resolve acoustic anomalies specific to the Connect 2 Sport treadmill.
| Noise Type | Frequency / Timing | Probable Cause | Corrective Action |
|---|---|---|---|
| Rhythmic Thumping | Matches belt revolution speed | Belt seam passing over the deck or a warped front roller. | Run at 6.0 MPH for 10 minutes to 'seat' the belt seam. If it persists, check roller runout with a dial indicator. |
| High-Pitched Squeal | Occurs only during heavy incline | Dry incline motor lead screw or insufficient deck wax. | Apply white lithium grease to the incline rack-and-pinion gear. Add 5ml more silicone to the belt. |
| Low-Frequency Hum | Constant when powered on, even at 0 MPH | Pinched console wire causing motor controller resistance, or uneven floor leveling. | Check upright wiring routing. Adjust the four leveling feet until the frame sits perfectly flush without rocking. |
| Plastic Rattling | Worsens at speeds above 7.0 MPH | Loose motor hood screws or console bezel vibration. | Apply felt weatherstripping tape between the plastic hood and the steel frame contact points. |
Final Calibration and Smart Console Setup
Once the physical and acoustic assembly is complete, power on the Connect 2 Sport treadmill. Connect to your local Wi-Fi via the smart console to download the latest 2026 firmware update. Modern firmware patches often include optimized motor acceleration curves, which smoothly ramp up the voltage to the drive motor, eliminating the sudden 'jerk' and associated mechanical clunk that occurs during rapid speed transitions in older software versions.
Run the factory calibration sequence (usually accessed by holding the 'Incline Up' and 'Speed Down' buttons simultaneously for 5 seconds). This forces the treadmill to cycle through its entire incline range and top speed, allowing the internal logic board to map the exact voltage requirements for your specific home's electrical output.
Conclusion: Silence is the Ultimate Luxury
The Connect 2 Sport treadmill is a remarkably engineered piece of fitness equipment, but its acoustic performance is entirely dependent on the precision of its setup. By understanding the inherent noise profiles of cardio machines, investing in proper subfloor dampening materials, and adhering to strict torque and tension specifications during assembly, you can transform a potentially disruptive machine into a whisper-quiet cornerstone of your home gym. Respect the physics of impact, trust your torque wrench, and enjoy a seamless, silent run.
More gear to consider
All reviews
The Patricia Tarka Treadmill Effect: 2026 Under-Desk Office Trends
Budget Folding Treadmills: Treadmill Stress Test Target Heart Rate

How Long Should I Walk on the Treadmill Before Belt Lubrication?

Stair Climber Troubleshooting: Beyond the Treadmill Wooden Board
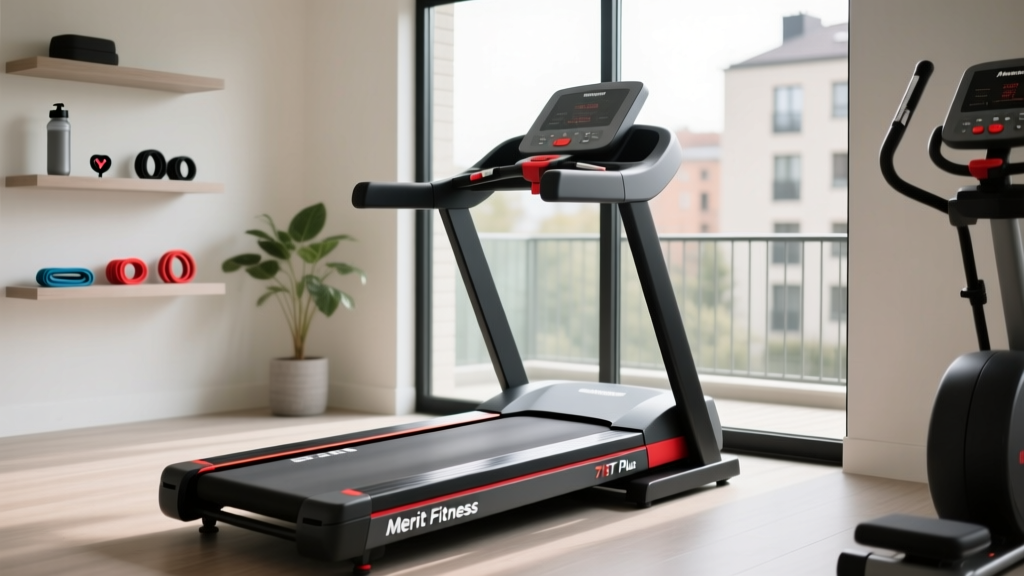
Merit Fitness 715T Plus Treadmill Setup & Noise Comparison