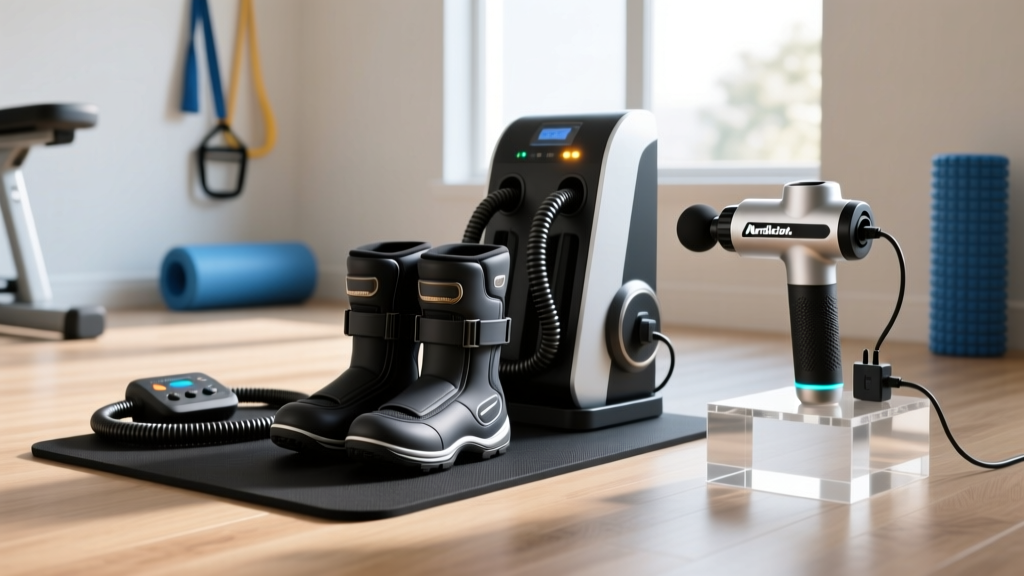
Compression Boot Setup & NordicTrack Massage Gun Charger Guide
Master your recovery station setup. This walkthrough covers compression boot installation and safe NordicTrack massage gun charger integration.

Designing Your Dedicated 2026 Recovery Zone
Building a comprehensive home recovery station requires more than just unboxing equipment and plugging it into the nearest wall outlet. As recovery technology advances in 2026, the power demands and spatial requirements of pneumatic compression systems and percussive therapy devices have become increasingly sophisticated. Whether you are installing the latest Normatec 3, Therabody RecoveryAir, or Hyperice Recovery System, a methodical setup ensures longevity, safety, and optimal therapeutic outcomes.
A proper recovery zone must account for three core pillars: ergonomic accessibility, pneumatic hose management, and rigorous electrical load balancing. Failing to plan for the latter is the most common point of failure for home athletes, particularly when combining heavy-draw compression motors with sensitive lithium-ion charging docks.
Step-by-Step Compression Boot Installation
Follow this precise installation sequence to ensure your pneumatic compression boots are calibrated correctly and physically secured for daily use.
- Control Unit Mounting: Do not leave the main compressor unit on the floor where it can ingest dust and pet hair, which will clog the internal intake filter. Mount the control unit on a dedicated shelf or use the included heavy-duty velcro straps to secure it to the arm of your recovery chair at least 18 inches off the ground.
- Hose Routing and Connection: Uncoil the main Y-splitter air hoses. Avoid sharp 90-degree bends which can restrict airflow and trigger the compressor's over-heat safety shutoff. Connect the quick-release hoses to the boots by pushing the metal collars back, inserting the nozzle until you hear a distinct 'click', and gently pulling back to verify the lock.
- Intake Filter Inspection: Before the first power-on, locate the foam intake filter on the rear of the compressor. Ensure it is fully seated. A missing filter will void your warranty within the first 90 days of operation due to internal particulate damage.
- Initial System Purge: Power on the unit without the boots attached to your legs. Run a 2-minute flush cycle at the lowest pressure setting (usually Level 1 or 20 mmHg) to clear any factory dust from the internal pneumatic valves.
Power Management: Boots and the NordicTrack Massage Gun Charger
A critical, often overlooked aspect of recovery station installation is electrical load management. When integrating the NordicTrack massage gun charger into your setup alongside a high-draw compression boot control unit, you must account for simultaneous amperage spikes. The NordicTrack massage gun charger typically utilizes a proprietary 24V/2A DC fast-charging adapter. If plugged into the same standard, low-grade power strip as a compression boot motor—which can draw up to 60W during peak inflation cycles—you risk tripping residential breakers, causing voltage drops, or degrading the charger's internal smart-chip regulator over time.
⚠️ Electrical Safety Warning: According to guidelines outlined by the National Fire Protection Association (NFPA 70), high-draw therapeutic devices should never be daisy-chained on standard 15-amp residential circuits using cheap, ungrounded extension cords. Always utilize a dedicated, surge-protected power tower with isolated outlets to prevent electromagnetic interference (EMI) between the boot's digital compressor and the NordicTrack massage gun charger's communication protocol.Electrical Load & Amperage Comparison Matrix
| Device | Max Wattage (Peak) | Amperage Draw (120V) | Surge Sensitivity |
|---|---|---|---|
| Normatec 3 Compressor | 60W | 0.5A | Moderate |
| Hyperice Recovery System | 45W | 0.37A | Low |
| NordicTrack Massage Gun Charger | 48W (Fast Charge) | 0.4A | High (Smart Chip) |
As shown in the matrix, running the compressor and the NordicTrack massage gun charger simultaneously pulls nearly 1 Amp of continuous current, not including the initial inrush current when the compressor motor starts. Always use a 12-gauge or thicker power cable for your primary surge protector.
Calibration and First-Use Protocols
Once your hardware is installed and powered safely, the next phase is physiological calibration. Pneumatic compression works via dynamic peristaltic pulses, mimicking the muscle pump of the calf and thigh to accelerate venous return and lymphatic drainage. Research published in the National Center for Biotechnology Information (NCBI) demonstrates that intermittent pneumatic compression significantly reduces perceived muscle soreness and clears blood lactate more efficiently than passive rest, provided the pressure gradients are correctly matched to the user's limb volume.
Optimal Pressure Settings by Recovery Goal
- Flush / Active Recovery (30-50 mmHg): Best used immediately post-race or after heavy eccentric loading. This low pressure encourages lymphatic flow without compressing arterial blood supply or causing bruising on highly fatigued tissue.
- Standard Daily Recovery (50-80 mmHg): The sweet spot for most athletes. This range provides deep tissue mobilization and effectively reduces delayed onset muscle soreness (DOMS) 24 to 48 hours after training.
- Deep Tissue / Edema Management (80-110 mmHg): Reserved for severe swelling or heavy-legged sensations. Note: Never use maximum pressure on acute injuries, fresh surgical sites, or areas with compromised vascular health.
"The biggest mistake athletes make with compression boots is assuming higher pressure equals faster recovery. The lymphatic system is superficial and easily collapsed by excessive force. A gentle, sequential gradient is vastly superior to a brutal, static squeeze."
— Dr. Kelly Starrett, Physical Therapist and Mobility Expert
Maintenance and Edge-Case Troubleshooting
Even premium recovery systems require routine maintenance to prevent mid-session failures. Below is a troubleshooting framework for the most common issues encountered during the first year of ownership.
Compression Boot Faults
- Issue: 'Check Hose' Error Code on Display.
Solution: This indicates a pressure leak. Inspect the quick-release collars. Over time, the internal rubber O-rings dry out. Apply a micro-drop of silicone-based lubricant to the O-rings and reseat the connection. Do not use petroleum jelly, which degrades the rubber. - Issue: Asymmetrical Inflation (Left boot fills slower than right).
Solution: Check the Y-splitter valve for debris. If clear, swap the hoses at the control unit. If the problem follows the hose, the internal solenoid valve for that specific channel is failing and requires an RMA warranty claim.
NordicTrack Charger Integration Issues
- Issue: Charger LED blinks red when plugged into the recovery station hub.
Solution: This is a voltage-drop protection trigger. The NordicTrack massage gun charger is detecting insufficient amperage from the power strip, likely because the compression boot compressor just engaged its motor. Move the charger to a wall outlet on a different circuit breaker, or upgrade to a power station with an isolated voltage regulator. - Issue: Battery drains faster than usual after charging at the station.
Solution: Electromagnetic interference from unshielded compression motors can disrupt the smart-charging handshake, causing the charger to default to a slow, inefficient trickle charge that generates excess heat. Ensure your power strip features built-in EMI/RFI noise filtering.
Finalizing Your Setup
A meticulously installed recovery station is an investment in your long-term athletic performance. By carefully routing your pneumatic hoses, respecting the electrical boundaries of the NordicTrack massage gun charger, and calibrating your compression settings to your specific physiological needs, you create a sanctuary for rapid adaptation. Take the time to audit your power strips, clean your intake filters monthly, and let the science of sequential pulsing do the heavy lifting for your recovery.
More gear to consider
All reviews
Care: Therabody Theragun Prime Massage Gun & Trigger Point Tools

Best Massage Gun for Piriformis Syndrome & Flexibility Tools 2026

Massage Gun Before Workout: Theragun vs Hyperice Value

Massage Gun X6 & Stretching Tools: Common Flexibility Mistakes

Normatec vs Hyperice: Which SMS Recovery Tool Wins?
