
Complete Home Gym Wall Mounted Setup & Floor Plan Guide
Build your ultimate workout space with our beginner-friendly home gym setup guide. Explore space-saving wall mounted floor plans and equipment layouts.

The Space-Saving Revolution: Why Go Wall Mounted?
As housing footprints shrink and multi-use spaces become the standard in 2026, the traditional freestanding power rack is no longer the only viable option for serious lifters. A well-executed home gym wall mounted setup allows you to reclaim your garage, basement, or spare bedroom the second your workout ends. By anchoring your primary lifting station to the wall, you eliminate the bulky rear uprights and cross-members that eat up valuable square footage.
This beginner-friendly, step-by-step guide will walk you through assessing your space, selecting the right structural anchors, and drafting a complete floor plan that maximizes both functionality and flow. Whether you are converting a cramped 10x12 foot spare room or organizing a cluttered single-car garage, these blueprints will help you build a professional-grade training environment.
Pro Tip: The 24-Inch RuleBefore purchasing any fold-in rack, measure your baseboards and wall trim. Many wall-mounted racks require flush mounting against the drywall. If you have thick baseboards (over 2 inches), you may need to install a wooden backer board or cut the trim to ensure the uprights sit perfectly plumb and bear weight safely.
Step 1: Assessing Your Space and Clearance Zones
According to the American Council on Exercise (ACE), a safe and functional home gym requires careful consideration of movement clearance, not just static equipment dimensions. When designing a home gym wall mounted layout, you must account for the dynamic footprint of the exercises you plan to perform.
The Three Essential Clearance Zones
- The Lift Zone (Primary): You need a minimum clear space of 84 inches wide by 96 inches deep directly in front of the rack. This accommodates a standard 7-foot Olympic barbell with room to spare for plate loading and walking out squats.
- The Rack Fold Zone: Measure the depth of the rack when fully collapsed. Most fold-in racks protrude between 4 and 6 inches from the wall when stored. Ensure your folding doors or garage vehicles will not clip the rack when folded.
- The Ceiling Clearance: Standard residential ceilings are 96 inches (8 feet). If you are 6 feet tall, your overhead press lockout will reach approximately 82 inches. If your ceiling has exposed joists, HVAC ducts, or garage door tracks, verify you have at least 88 inches of unobstructed vertical clearance.
Step 2: Choosing the Right Wall Mounted Anchors
The most critical failure point in any wall-mounted gym setup is improper anchoring. You are dealing with dynamic loads that can exceed 500 pounds during heavy squats or kipping pull-ups. Never rely on drywall anchors or standard toggle bolts for a primary lifting rack.
Hardware Requirements for Wood vs. Metal Studs
Most modern homes use wood studs spaced 16 inches on center (O.C.). For these, you must use 3/8-inch x 3-inch hex lag screws driven directly into the center of the stud. Pre-drill with a 7/32-inch bit to prevent the wood from splitting. If your home uses metal studs (common in condos and modern apartments), you cannot safely mount a heavy rack without first sistering the metal studs with 2x4 wood blocking behind the drywall.
Top Wall-Mounted Racks Compared
Based on structural integrity and space-saving metrics evaluated by industry experts at Garage Gym Reviews, here is how the top contenders stack up for 2026:
| Brand & Model | Folded Depth | Upright Size | Est. Price | Best For |
|---|---|---|---|---|
| PRx Performance Profile One | 4 inches | 3x3 inch (11-gauge) | $595 | Ultra-compact spaces, premium finish |
| Bells of Steel Fold-In Rack | 5 inches | 2x2 inch (14-gauge) | $499 | Budget-conscious lifters, lighter use |
| Rogue RML-390F Fold-In | 20 inches* | 3x3 inch (11-gauge) | $775 | CrossFit, heavy kipping, deep squats |
*Note: The Rogue RML-390F folds inward but does not sit flush against the wall, requiring more storage depth than the PRx or Bells of Steel models.
Step 3: Drafting the Floor Plan (2 Layout Scenarios)
A complete home gym setup guide isn't just about the rack; it is about how the entire room flows. Below are two optimized floor plans utilizing a home gym wall mounted configuration.
Layout A: The Single-Car Garage (12 ft x 20 ft)
In a 240-square-foot garage, the goal is to maintain a clear driving path while creating a dedicated lifting zone.
- The Back Wall (Lifting Zone): Center the wall-mounted rack on the 12-foot back wall. Place a 4x8 foot, 3/4-inch thick rubber mat directly in front of it. This leaves 4 feet of clearance on either side of the rack for plate storage trees mounted to the adjacent side walls.
- The Right Wall (Conditioning Zone): Mount a fold-down wall table for your laptop or tablet. Place a compact air rower or indoor bike (like the Concept2 RowErg) facing the garage door. When not in use, the rower can be stood up vertically against the wall.
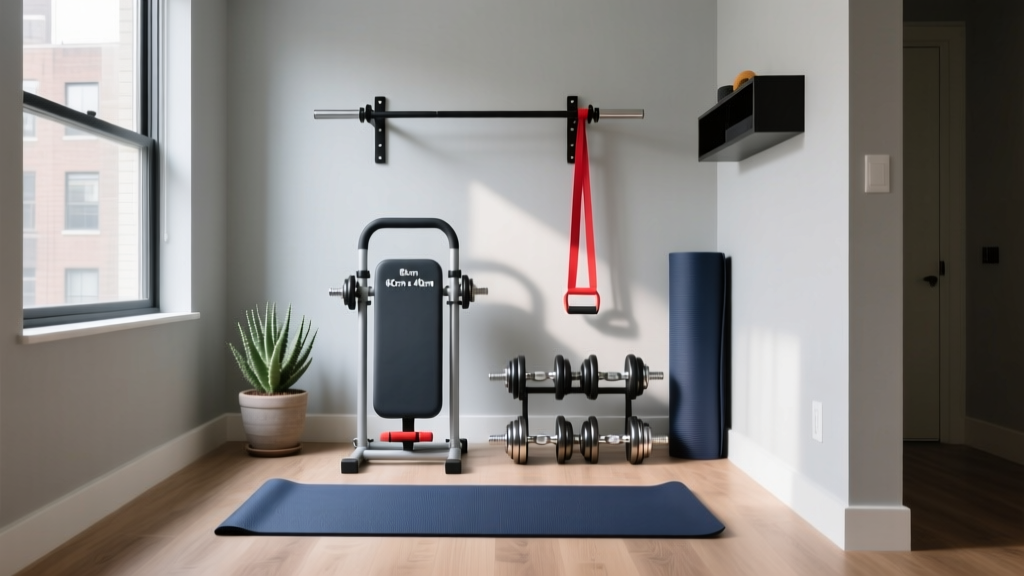
- The Left Wall (Storage & Utility): Install a heavy-duty slatwall system. Hang resistance bands, jump ropes, and foam rollers. Mount a wall-facing dumbbell rack that angles downward at 15 degrees to save floor space.
Layout B: The Spare Bedroom (10 ft x 12 ft)
A 120-square-foot room requires aggressive space management. Every piece of equipment must serve multiple purposes or fold away.
- Corner Mounting: Instead of centering the rack, mount it in the far left corner of the 10-foot wall. This opens up a continuous 10x10 foot open floor area in the center of the room for yoga, kettlebell swings, or bodyweight movements.
- Adjustable Cable System: Skip the freestanding cable crossover. Instead, install a wall-mounted functional trainer (such as the Bells of Steel Wall Mounted Cable Machine) on the adjacent 12-foot wall. This provides constant tension for isolation work without eating up the room's center.
- Hidden Storage: Utilize the space above the door frame for a wall-mounted pull-up bar or climbing rope anchor, and use under-bed storage bins for yoga mats and massage guns.
"The biggest mistake beginners make is buying a rack that fits the room, but forgetting to measure the pathway required to actually get the 45-pound plates from the storage tree to the barbell. Always draw your walking path on the floor plan." — Certified Strength and Conditioning Specialists (CSCS) via the NSCA
Step 4: Flooring and Vibration Dampening
When your rack is bolted to the wall, the kinetic energy from dropped deadlifts transfers through the floor and into the home's foundation. Proper flooring is non-negotiable.
The Two-Tier Flooring System
For a truly professional setup, avoid cheap interlocking EVA foam tiles. They compress under heavy loads and degrade over time. Instead, use a two-tier system:
- Base Layer (Vibration Barrier): Lay down a 1/4-inch thick cork underlayment or specialized acoustic rubber matting. This decouples the floor from the subfloor, drastically reducing low-frequency noise transmission to rooms below (crucial for basement or second-floor setups).
- Top Layer (Impact Surface): Install 3/4-inch (43mm) thick vulcanized rubber mats. Standard 4x6 foot horse stall mats (available from agricultural supply stores for about $55 each) are the industry standard. For a cleaner, seamless look, opt for premium interlocking rubber tiles with precision-cut edges, which cost between $2.50 and $4.00 per square foot.
Step 5: Ventilation, Mirrors, and Lighting
A cramped wall-mounted gym can quickly become stifling and claustrophobic if the environment isn't properly managed.
Mirror Placement for Form and Space Illusion
Mounting a large mirror on the wall opposite your rack serves two purposes: it allows you to check your lifting form, and it visually doubles the size of the room. Use 1/4-inch thick glass mirrors with a safety backing. Do not glue them directly to drywall; instead, use metal J-channel molding at the base and mirror mastic adhesive to ensure they can be removed later without destroying the wall.
Airflow Management
Basements and garages often lack cross-ventilation. Install a Vornado 630 Mid-Size Air Circulator on a high shelf or wall bracket. Unlike standard oscillating fans that just push air around, air circulators create a vortex that moves the entire volume of air in the room, keeping your core temperature regulated during high-intensity interval training (HIIT).
Frequently Asked Questions
Can I mount a wall rack on a cinder block or concrete wall?
Yes, but you cannot use standard lag screws. You must use wedge anchors or sleeve anchors specifically rated for solid masonry. Drill into the concrete using a hammer drill and a carbide-tipped masonry bit. Ensure the concrete is solid and not crumbling, as older foundations can lose their tensile strength over time.
Do wall-mounted racks support heavy kipping pull-ups?
Most ultra-compact fold-in racks (like those with a 4-inch folded depth) are designed for strict pull-ups and standard lifting. The dynamic, lateral force generated by aggressive CrossFit-style kipping can cause the wall brackets to fatigue or pull away from the drywall over time. If kipping is a priority, opt for a rack with a deeper footprint and additional diagonal wall braces.
How do I protect my drywall from scuffs when folding the rack?
When folding and unfolding heavy steel uprights, it is easy to scrape the paint or dent the drywall. Cut a piece of 1/2-inch thick high-density foam or adhesive felt tape and apply it to the back of the rack's uprights and cross-members where they make contact with the wall. This creates a buffer that protects your home's interior while dampening the metallic clank of the rack locking into place.
More gear to consider
All reviews
How Much Does a Home Gym Cost? 2 Sub-$500 Setups Compared

Outdoor Home Gyms for Renters: No-Damage Setup Mistakes

Compact Garage Home Gym Ideas: Foldable Equipment Guide
At Home Gym Essentials for Small Spaces: Beginner Layout Guide

Outdoor Setup Walkthrough: Weather & Workout Routine for Home Gym
