
Compact Beginner Home Gym Equipment: Space Layout Guide
Discover the best space-saving beginner home gym equipment and learn how to design an efficient, safe layout in small apartments or spare rooms.

The Geometry of Fitness: Designing for Spatial ROI
Setting up a home gym isn't just about buying gear; it is an exercise in spatial geometry. When dealing with a spare bedroom, a garage corner, or an apartment alcove, every square foot costs money and impacts your daily workout flow. For those seeking the most effective beginner home gym equipment, the secret isn't buying more—it's buying smarter. At FitGearPulse, we evaluate gear using a metric called Spatial ROI (Return on Investment per square foot). This measures how much functional versatility a piece of equipment provides relative to the floor space it consumes when both in use and at rest.
If you are working with a 10x10 foot room or a 12x14 foot garage bay, buying a traditional 4-post power cage and a fixed-weight dumbbell rack will instantly destroy your room's flow, making the space feel claustrophobic and unsafe. Instead, a space-optimized layout requires multi-functional, collapsible, and vertically integrated gear.
The High-ROI Beginner Home Gym Equipment Matrix
Before drawing your floor plan, you must select equipment that respects your spatial boundaries. The table below outlines the ultimate space-saving starter kit for 2026, comparing physical footprints against utility and current market pricing.
| Equipment Model | Resting Footprint | Active Footprint | Approx. Cost (2026) | Spatial ROI Rating |
|---|---|---|---|---|
| Nuobell 552 Adjustable Dumbbells (5-52.5 lbs) | 0.9 sq ft | 0.9 sq ft | $379 / pair | Exceptional |
| Rogue RM-3W Fold Back Wall Mount Rack | 4.0 sq ft | 22.5 sq ft | $495.00 | High |
| REP Fitness AB-3100 2.0 Adjustable Bench | 9.5 sq ft | 14.0 sq ft | $349.99 | High |
| TRX FIT System (Suspension Trainer) | 0.0 sq ft (Wall/Door) | 16.0 sq ft | $169.95 | Exceptional |
| Kettlebell (Single 16kg / 35lb Competition) | 1.2 sq ft | 6.0 sq ft | $115.00 | Moderate |
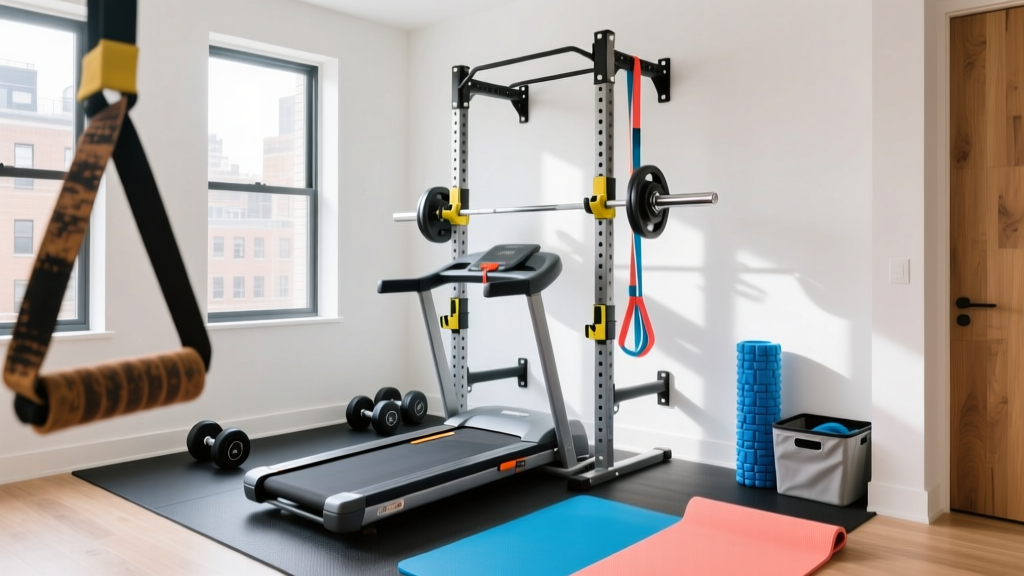
By utilizing the Rogue RM-3W Fold Back Rack, you reclaim up to 18 square feet of floor space the moment your lifting session ends. The rack folds flat against the wall, protruding only 4 inches, transforming a dedicated lifting zone back into a usable living space.
Mapping Clearance Zones: The Safety Perimeter
The most common failure mode in home gym design is ignoring the 'active halo'—the clearance zone required to move safely around loaded equipment. According to ergonomic safety standards, you must map out these zones before anchoring any equipment to your floor or walls.
⚠️ Critical Safety Warning: Overhead & Lateral ClearancesNever place an adjustable bench directly under a ceiling fan or low-hanging light fixture. You need a minimum of 84 inches (7 feet) of vertical clearance to safely execute overhead dumbbell presses or seated military presses. Laterally, maintain a 36-inch walkway around the perimeter of your lifting zone to allow for safe bail-outs during heavy squats or bench presses.
Calculating Your Drop Zone
When using adjustable dumbbells or kettlebells, you need a designated 'drop zone' lined with high-density rubber. A standard 4x6 foot horse stall mat (3/4-inch thick) provides exactly 24 square feet of protected flooring. This single mat should be positioned directly in the center of your active footprint, serving as the anchor point for your bench and free-weight movements.
The 10x10 Footprint Layout Blueprint
How do you arrange this equipment in a standard 10x10 spare bedroom? Here is a step-by-step spatial flow designed to maximize natural light, optimize HVAC circulation, and create an illusion of depth.
- Zone 1: The Structural Anchor (North Wall)
Mount the folding squat rack dead-center on the 10-foot wall. Ensure the wall is backed by wooden studs (use a stud finder, never anchor heavy dynamic loads to drywall). When deployed, the rack extends 43 inches into the room, leaving 77 inches of depth for your bench and body. - Zone 2: The Active Core (Center)
Place your 4x6 rubber mat directly in front of the rack. The REP Fitness adjustable bench lives here. When not in use, the AB-3100 2.0 features transport wheels and a vertical storage stand, allowing you to roll it into the corner and stand it upright, reducing its footprint by 70%. - Zone 3: The Vertical Storage Perimeter (East/West Walls)
Mount a 2-tier dumbbell rack on the adjacent wall at waist height (36 inches from the floor). This prevents you from bending over to pick up heavy adjustable dumbbells, protecting your lower back while keeping the floor completely clear. - Zone 4: The Door Swing & HVAC Buffer
Ensure your layout respects the door's swing radius (typically 32 to 36 inches). Never place tall storage racks behind an inward-swinging door. Additionally, leave at least 12 inches of clearance in front of any baseboard HVAC vents to ensure proper air circulation during intense cardio sessions.
Optical Expansion: Mirrors and Lighting
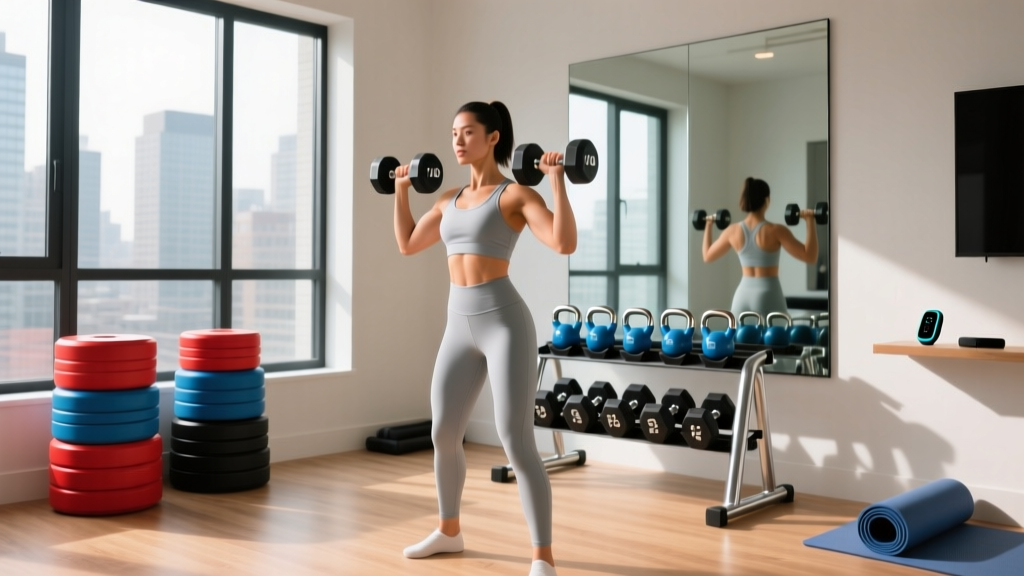
Space optimization isn't just physical; it's psychological. A 10x10 room can quickly feel like a sensory deprivation tank if not designed correctly. Installing a large, shatter-resistant gym mirror on the wall opposite your primary light source or window will effectively double the perceived depth of the room.
'Proper mirror placement in a compact home gym serves a dual purpose: it allows for biomechanical form checking during complex lifts like Romanian Deadlifts, while simultaneously bouncing ambient light to eliminate the claustrophobic shadows common in basement or spare-room setups.'
Opt for LED panel lighting with a color temperature between 4000K and 5000K (neutral to daylight white). This spectrum reduces eye strain and mimics natural daylight, which is crucial for maintaining circadian rhythm if you are working out in a windowless basement or early in the morning.
Flooring Transitions and Subfloor Protection
Do not compromise on flooring. Cheap interlocking EVA foam tiles will compress permanently under the point-load of a loaded barbell or heavy dumbbell drop. According to BarBend's comprehensive guide to home gym flooring, vulcanized rubber mats are the industry standard for protecting concrete slabs and wooden subfloors from kinetic impact.
If you are building over a wooden subfloor in an upper-level apartment or bedroom, you must add a layer of sound deadening. Place a 1/2-inch thick plywood sheet beneath your 3/4-inch rubber mats. This creates a floating floor effect that disperses impact energy laterally rather than driving it directly into the floor joists, significantly reducing noise transfer to the rooms below.
Meeting Baselines Without the Bulk
Ultimately, the goal of your layout is to facilitate consistency. The CDC's physical activity guidelines recommend at least 150 minutes of moderate-intensity aerobic activity and two days of muscle-strengthening activities per week. The compact beginner home gym equipment matrix provided above allows you to hit every single muscle group and elevate your heart rate using suspension trainers and kettlebell flows, all within a 6x6 foot active zone.
By prioritizing Spatial ROI, mapping your safety perimeters, and utilizing vertical storage, you transform a cramped spare room into a high-performance, professional-grade training facility that respects the architecture of your home.
More gear to consider
All reviews
Best Compact Foldable Gear for a Backyard Home Gym (2026)

Electrical Safety Mistakes in Your Home Gym Floor Plan Design
Compact Home Gyms Ideas: Apartment Equipment Maintenance

Apartment Mistakes: Major Fitness All In One Home Gym Power Rack PLM03
How to Make a Home Gym: The Ultimate Weight Buying Guide
