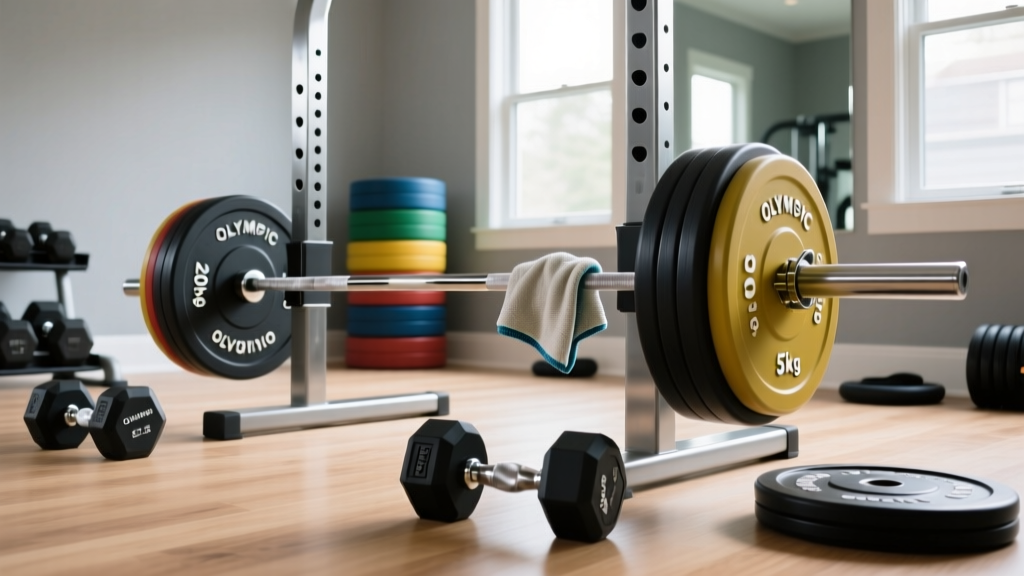
Barbell Setup: Weight, Knurling & Do You Clean Dumbbells at the Gym?
Master your free weights installation with our Olympic barbell setup guide covering weight, knurling specs, and essential dumbbell hygiene protocols.

Phase 1: Unboxing and Inspecting Your Olympic Barbell
Setting up a dedicated free weights zone requires more than just dropping equipment onto a rubber mat. As we navigate the fitness equipment landscape in 2026, the tolerances and metallurgical standards for Olympic barbells have reached unprecedented levels of precision. Before you even load your first plate, a proper installation walkthrough begins with a meticulous inspection of the barbell shaft, sleeve assembly, and weight calibration.
When unboxing a premium barbell—such as the Rogue Ohio Power Bar or an Eleiko Olympic Weightlifting Bar—you must verify the shaft diameter and tensile strength. These metrics dictate the bar's 'whip' (flexibility under load) and its permanent deformation threshold. A standard men's Olympic bar weighs exactly 20kg (44.09 lbs), while many American powerlifting bars are calibrated to 45 lbs (20.41kg). Using a digital scale to verify this upon arrival ensures you are starting with competition-grade accuracy.
Barbell Weight & Tensile Strength Matrix
| Barbell Type | Standard Weight | Shaft Diameter | Tensile Strength | Whip / Flex |
|---|---|---|---|---|
| Olympic Weightlifting | 20kg (44 lbs) | 28mm | 165k - 190k PSI | High (Desired for cleans/snatches) |
| Powerlifting | 20kg / 45 lbs | 29mm | 190k - 205k PSI | Low / Stiff (Ideal for heavy squats) |
| Multi-Purpose | 20kg (44 lbs) | 28.5mm | 190k PSI | Moderate (Balanced for general use) |
| Women's Olympic | 15kg (33 lbs) | 25mm | 165k - 190k PSI | High |
Phase 2: Decoding Knurling for Your Specific Setup
The knurling—the crosshatched pattern machined into the steel shaft—is the primary interface between your hands and the load. According to BarBend's comprehensive guide to barbell knurling, the depth and geometry of these grooves drastically alter grip security and skin tearing risks. When positioning your barbell on the rack, understanding your knurl type is critical for matching it to your training modality.
- Volcano Knurling: Features a sharp, concentric rim with a hollowed center. It provides an aggressive 'bite' without flattening the peaks, making it the gold standard for heavy powerlifting (e.g., the American Barbell Cali Power Bar).
- Mountain Knurling: Sharp, prominent peaks that feel like a cheese grater. Excellent for maximal effort deadlifts but notorious for tearing calluses during high-volume Olympic lifts.
- Hill Knurling: Rounded, shallow peaks. Common on multi-purpose and beginner bars. It offers a smooth feel but may require excessive chalk during heavy, sweaty sessions.
Furthermore, pay attention to the knurl rings. IWF (Olympic weightlifting) rings are placed 910mm apart, while IPF (powerlifting) rings are 810mm apart. If you are setting up a hybrid home gym, a dual-ring barbell is the most versatile investment for 2026.
Phase 3: Rack Assembly & Protecting the Knurl
Your power rack or squat stand is the foundation of the free weights zone. To protect your barbell's knurling and zinc/cerakote finish, proper J-cup selection and installation are non-negotiable.
- Verify Upright Dimensions: Most modern home gyms utilize 3x3 inch 11-gauge steel uprights with 5/8-inch or 1-inch hole spacing. Confirm your hardware matches before torquing bolts.
- Install UHMW Plastic Liners: Never use bare metal J-cups. Ensure your J-cups feature thick Ultra-High-Molecular-Weight (UHMW) polyethylene plastic inserts. This specific plastic absorbs the impact of re-racking a 400lb barbell without scraping the bar's finish.
- Torque the Base Bolts: If your rack is bolted to a concrete platform, use a torque wrench to apply exactly 80-100 ft-lbs of torque to the wedge anchors. Overtightening can warp the base plate, causing the uprights to lean and misalign the J-cups, which will eventually shear the barbell sleeves during heavy squats.
- Set Safety Strap Heights: Position spotter straps exactly one inch below your lowest squat depth. This allows the bar to rest on the straps only if you fail a rep, preventing the knurling from grinding against steel safety bars.
Phase 4: Dumbbell Rack Setup & Equipment Hygiene
Adjacent to the squat rack, the dumbbell zone requires its own meticulous setup. When transitioning from a commercial facility to a private garage gym, a frequent question we receive from new owners is: do you clean dumbbells at the gym? The answer in commercial facilities is a resounding yes, typically utilizing industrial quaternary ammonium compounds applied via microfiber cloths by dedicated staff. However, applying those same harsh commercial chemicals to your home gym's rubber or urethane dumbbells can cause severe oxidative damage, leading to cracking, drying, and an irreversible sticky residue.
According to equipment maintenance guidelines detailed by Garage Gym Reviews, preserving the integrity of your free weights requires a nuanced approach to hygiene. Here is the proper protocol for setting up and maintaining your dumbbell rack:
- Rack Placement: Position the 3-tier A-frame or horizontal rack at least 24 inches away from the barbell drop zone to prevent accidental collisions that can chip hex rubber coatings.
- Safe Cleaning Agents: For routine sanitization of rubber and urethane dumbbells, use a dilute solution of mild dish soap and warm water, or a specialized hypochlorous acid spray. Hypochlorous acid is highly effective against staph and MRSA but is completely pH-neutral and safe for polymers.
- Chemicals to Avoid: Never use bleach, ammonia, or alcohol-based wipes on rubber dumbbells. These solvents break down the vulcanization bonds, causing the rubber to dry rot and crumble within 12 to 18 months.
- Handle Maintenance: If you own bare steel or chrome-plated dumbbell handles, wipe them down with a brass wire brush and a light coat of 3-IN-ONE Multi-Purpose Oil once a month to prevent oxidation from hand sweat.
Long-Term Maintenance Schedule
A complete setup walkthrough is only as good as the maintenance schedule that follows it. To ensure your Olympic barbell's knurling remains sharp and the sleeve bearings spin flawlessly, implement a bi-weekly maintenance routine. Use a stiff nylon or brass brush (never steel, which will strip zinc and cerakote coatings) to scrub out accumulated chalk and dead skin from the knurl grooves. Follow this by applying three to four drops of mineral oil or a dedicated barbell lubricant directly onto the sleeve bushings or needle bearings. Spin the sleeve to distribute the oil, then wipe the shaft completely dry with a microfiber towel. By treating your free weights installation as an ongoing mechanical system rather than static furniture, you guarantee that your equipment will easily survive decades of heavy, high-intensity use.
More gear to consider
All reviews
Wrist Dumbbell Exercises and Barbell Collar Clamp Troubleshooting

Power Rack vs Squat Rack vs Stand for the Single Dumbbell Snatch
Leg Exercises with Dumbbells for Women: Setup & Plate Types

Cast vs Comp Kettlebell Care & Hamstring Workouts with Dumbbells

Power Rack vs Squat Rack vs Stand: Standing Dumbbell Overhead Press
