Barbell Setup Guide: Knurling, Weight & Are Dumbbell Squats Effective?
Master your home gym installation with our Olympic barbell setup guide. We cover weight tolerances, knurling types, and test if dumbbell squats are effective.

Phase 1: Rack Anchoring and Spatial Planning for Barbell Use
Before unboxing your Olympic barbell, the foundation of your lifting station must be secured. In 2026, the standard for home gym power racks leans heavily toward 3x3 inch 11-gauge steel uprights, such as the Rogue SML-2 Monster Lite or the Titan T-3 Series. While these racks boast static weight capacities exceeding 1,000 pounds, dynamic loading—such as dropping a barbell from the front rack position—generates immense downward shear force.
Installation Walkthrough: Securing the Base
- Floor Assessment: If installing over a concrete slab, use 3/8" x 3" concrete wedge anchors. If installing over a wood subfloor, you must locate the floor joists and use 3/8" lag bolts driven directly into the joist centers.
- Clearance Mapping: An Olympic barbell is exactly 2.2 meters (86.6 inches) long. You need a minimum of 48 inches of clearance on both sides of the rack to safely load and unload bumper plates without hitting walls or adjacent equipment.
- J-Cup Alignment: Install your J-cups at the height of your mid-sternum. Ensure the UHMW plastic liners are facing inward to protect the barbell's knurling and sleeve finish during re-racking.
Phase 2: The Olympic Barbell Core — Weight Tolerances and Knurling
With the rack secured, the centerpiece of your setup is the Olympic barbell. Selecting the right bar requires understanding two critical metrics: weight/tensile strength and knurling geometry. Cheap import bars often fail not because they snap, but because they undergo plastic deformation (permanent bending) when loaded past 300 lbs, rendering them useless for spinning sleeve rotations.
Weight and Tensile Strength Specifications
A standard men's Olympic bar weighs exactly 20kg (44 lbs) and features a 28mm to 29mm shaft diameter. Women's bars weigh 15kg (33 lbs) with a 25mm shaft. When evaluating a barbell buying guide, look for the tensile strength rating, measured in PSI (pounds per square inch).
- Below 165k PSI: Avoid. These bars will bend under heavy loads and fail to return to true.
- 165k - 190k PSI: Standard for high-quality multi-purpose bars (e.g., Rogue Ohio Bar, typically retailing around $345 in 2026).
- 190k - 215k+ PSI: Elite powerlifting and weightlifting bars (e.g., Eleiko Sport Training Bar, often exceeding $1,100). These offer maximum whip resistance and longevity.
Decoding Knurling Geometry
Knurling is the cross-hatched pattern machined into the steel shaft to provide grip. The depth and shape of this knurl dictate how the bar feels in your hands and against your back during squats. According to manufacturing standards outlined by Eleiko and elite barbell fabricators, knurling generally falls into three categories:
| Knurl Type | Depth & Geometry | Best Application | Notable Example |
|---|---|---|---|
| Volcano | 0.8mm depth; sharp peaks with a small flat top. | Powerlifting, heavy squats, general strength. Grippy without tearing skin. | Rogue Ohio Power Bar |
| Mountain | 1.0mm+ depth; sharp, aggressive peaks with no flat top. | Deadlifts, chalk-heavy lifting. Can tear calluses if not maintained. | Titan Performance Deadlift Bar |
| Hill | 0.3mm - 0.5mm depth; shallow, rounded peaks. | High-rep Olympic lifting, beginner home gyms. Lacks grip for heavy 1RM pulls. | Standard Economy Amazon Bars |
Installation Note: When mounting wall-hangers for vertical barbell storage, ensure the magnetic or friction-lock base is rated for at least 60 lbs to prevent the bar from slipping out of the sleeve collar during retrieval.
Phase 3: Biomechanical Testing — Barbell vs. Dumbbell Squats
During the final phases of your gym build-out—perhaps while waiting for freight shipping on your bumper plates or allowing concrete anchors to cure for 48 hours—you might find yourself without access to a loaded barbell. This leads to a very common question among home gym builders: are dumbbell squats effective for maintaining leg hypertrophy and strength while your primary barbell station is being assembled?
The short answer is yes, but the biomechanical stimulus differs significantly. According to research published by the National Strength and Conditioning Association (NSCA), the limiting factor in dumbbell squats (like the Goblet Squat or Dual Dumbbell Front Squat) is often upper back and grip endurance, not maximal lower-body force production.
Comparative Analysis: Setup and Execution
⚠️ Setup Warning: Never test your newly installed rack J-cups with dumbbell squats by resting heavy dumbbells on the barbell sleeves. The uneven weight distribution can cause the bar to flip off the pins. Always test rack stability with the empty 45lb barbell first.To understand how to integrate dumbbells into your newly built space, consider this data matrix comparing the barbell back squat to heavy dumbbell variations:
| Metric | Barbell Back Squat (Rack Setup) | Dumbbell Goblet / Front Squat |
|---|---|---|
| Maximal Load Potential | High (Limited only by plate inventory) | Low/Medium (Limited by dumbbell max weight & grip) |
| Spinal Compression | High (Axial loading on the cervical/thoracic spine) | Low (Weight held anteriorly, reducing spinal shear) |
| Core & Upper Back Demand | Moderate (Stabilization required) | Extreme (Anterior load forces intense upright posture) |
| Setup Time in Rack | 2-4 minutes (Loading plates, adjusting J-cups) | 10 seconds (Pick up dumbbells from floor/rack) |
As highlighted by the American Council on Exercise (ACE), dumbbell squats are highly effective for unilateral work (like Bulgarian Split Squats) and for targeting the quadriceps with an upright torso. However, for maximal central nervous system (CNS) adaptation and posterior chain (glute/hamstring) overload, the barbell back squat remains irreplaceable once your rack installation is complete.
Phase 4: Barbell Storage Installation and Knurl Maintenance
The final step in your setup walkthrough is establishing a maintenance protocol. A $300+ Olympic barbell is a precision tool; treating it like a crowbar will ruin the knurling and destroy the sleeve bushings.
Step-by-Step Knurl Maintenance
- Post-Workout Brushing: Install a holstered nylon or brass wire brush on your rack upright. After every session, brush the knurling in a circular motion to dislodge dead skin, chalk, and magnesium carbonate buildup. Clogged knurling loses its "volcano" peak effectiveness, turning a grippy bar into a slippery hazard.
- Monthly Oiling: Once a month, apply a light coat of 3-in-One oil or mineral oil to the shaft. Let it sit for 10 minutes, then wipe it down with a microfiber cloth. This prevents oxidation, especially in humid garages or basement gym setups.
- Sleeve Lubrication: If your bar uses bronze bushings (common in power bars), apply a few drops of synthetic motor oil to the seam between the shaft and the rotating sleeve to maintain smooth spin during cleans and snatches.
Proper Storage Configurations
Never leave your barbell loaded with plates on the floor or in the rack for extended periods. While a high-tensile bar won't bend from 400 lbs sitting overnight, the constant pressure on the J-cup UHMW plastic will cause permanent indentation over time. Store the bar horizontally on dedicated wall-mounted bar holders with UHMW lining, or vertically in a barbell caddy. If storing vertically, ensure the caddy base has a rubberized impact pad to protect the bottom sleeve cap and your rubber flooring.
Final Walkthrough Inspection
Before your first heavy session, run through this final checklist:
- [ ] Rack bolts torqued to spec and safety straps/pins installed at the correct height.
- [ ] Barbell spins freely; no grinding noise from the sleeves.
- [ ] Knurling is brushed clean and free of factory shipping grease.
- [ ] 48-inch lateral clearance verified for safe plate loading.
By meticulously planning your spatial layout, understanding the exact metallurgical properties of your barbell, and knowing how to utilize dumbbells effectively during equipment downtime, your free weight station will be primed for decades of heavy, safe lifting.
More gear to consider
All reviews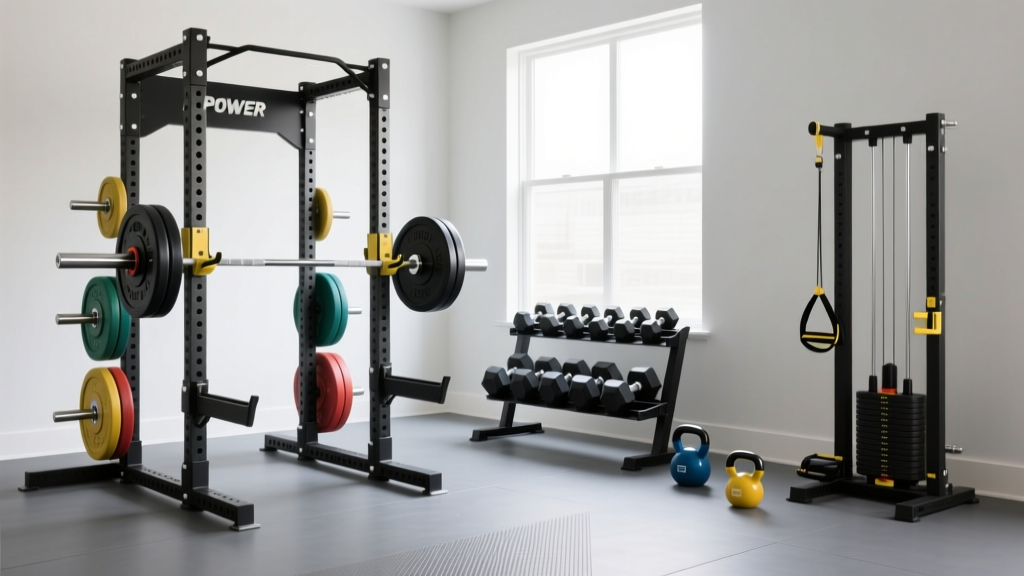
Power Rack vs Squat Rack vs Stand: Dumbbell, Kettlebell, Barbell
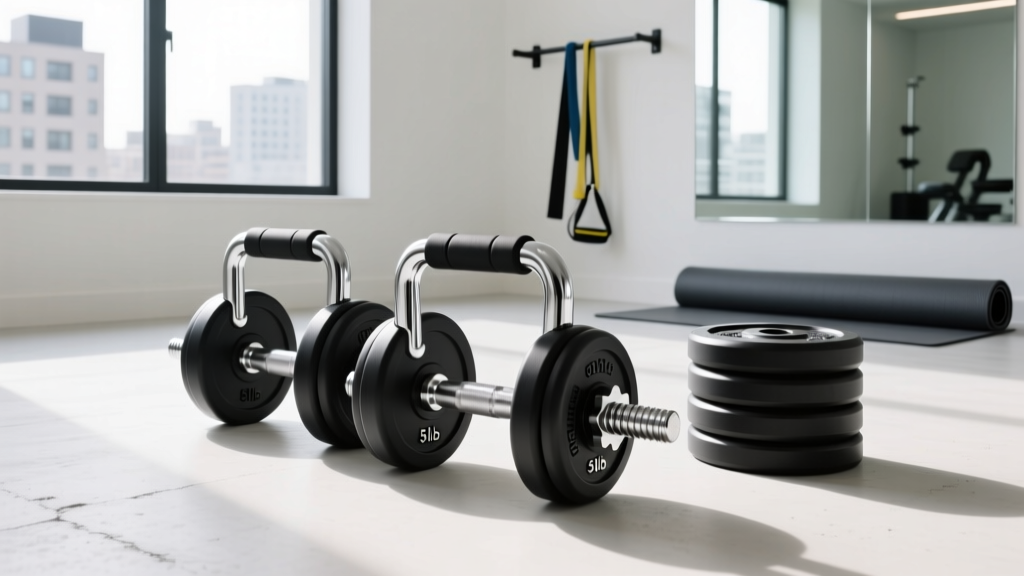
Loadable Barbell Dumbbell Handles: 2026 Budget Breakdown

Olympic vs Standard Plates: Fixing Dumbbell Bench Press Variations

Nuobell Dumbbells Review vs Loadable Plates: Value Analysis

Cast Iron vs Competition Kettlebells: Space & Dumbbell Windmill Guide