Barbell Setup vs Dumbbell Exercises for Hamstrings: Weight Guide
Master your lower-body station setup. We compare Olympic barbell weight and knurling specs against the best dumbbell exercises for hamstrings.

Phase 1: Blueprinting the Posterior Chain Station
Setting up a dedicated posterior chain station in your home gym requires more than just dropping a rack on the floor. Whether you are loading up heavy barbell deadlifts or performing targeted dumbbell exercises for hamstrings, the physical footprint and flooring dictate the safety and longevity of your equipment. According to the National Strength and Conditioning Association (NSCA), proper biomechanical alignment and environmental safety are foundational to preventing shear-force injuries during hinge movements.
Start by allocating a minimum 8x8-foot footprint. Install 3/4-inch thick vulcanized rubber flooring. Thinner mats (3/8-inch) will compress under the point-load of a dropped 400-pound barbell, eventually cracking your concrete subfloor. Leave at least 16 inches of clearance on both sides of your rack uprights to allow for smooth loading and unloading of 45-pound bumper plates without scraping your walls.
Phase 2: The Olympic Barbell Buying Guide (Weight & Knurling)
The centerpiece of your station is the Olympic barbell. Navigating the market requires a strict understanding of weight tolerances, shaft whip, and knurling metallurgy. Cheap import bars often fail within two years due to poor sleeve bushings and inaccurate weight calibration.
Weight Tolerances, Whip, and Shaft Diameter
Standard men's Olympic bars weigh 20kg (44 lbs) and feature a 28mm shaft diameter, while women's bars weigh 15kg (33 lbs) with a 25mm shaft. Powerlifting-specific bars often weigh 20kg but utilize a stiffer 29mm shaft to eliminate 'whip' (the oscillation of the bar during heavy squats). When setting up for heavy Romanian Deadlifts (RDLs), a stiffer 29mm power bar provides a more stable hinge. However, if your station doubles for Olympic weightlifting, a 28mm shaft with higher whip is mandatory to absorb the shock of cleans and snatches.
Knurling Profiles: Volcano vs. Mountain vs. Hill
Knurling is the machined pattern on the shaft that provides grip. In 2026, the industry recognizes three primary profiles:
- Hill Knurling: Found on budget bars under $150. The peaks are rounded and smooth, offering virtually no grip when chalk and sweat are introduced.
- Volcano Knurling: Popularized by Rogue Fitness. The machine cuts a rim around a small crater, providing an aggressive bite that grips the skin without tearing calluses. Ideal for high-volume deadlifts.
- Mountain Knurling: Used by elite brands like Eleiko. The peaks are sharp and deeply cut, offering maximum friction for Olympic lifts, though it can be harsh on the hands during high-rep dumbbell or barbell accessory work.
| Barbell Model | Weight / Shaft | Tensile Strength | Knurl Profile | Est. Price (2026) |
|---|---|---|---|---|
| Rogue Ohio Power Bar | 20kg / 29mm | 205,000 PSI | Volcano (Aggressive) | $395.00 |
| Eleiko Olympic WL Bar | 20kg / 28mm | 215,000 PSI | Mountain (Sharp) | $1,150.00 |
| Rep Fitness Deep Knurl | 20kg / 28.5mm | 190,000 PSI | Modified Volcano | $329.00 |
Phase 3: Rack Installation and Clearance Walkthrough
With your barbell selected, the next step is anchoring the rack. For a station dedicated to heavy hinging, a bolt-down rack (like the Rep Fitness PR-4000 or Rogue SML-2) is vastly superior to a flat-foot model. During heavy barbell rows or rack pulls, the horizontal force vector can cause flat-foot racks to 'walk' across the rubber mats.
- Positioning: Center the rack in your 8x8 zone. Ensure the pull-up bar clearance from the ceiling is at least 18 inches.
- Anchoring: Use a hammer drill with a 3/8-inch masonry bit to drill 3 inches into the concrete. Install wedge anchors and torque them to 40 ft-lbs.
- Safety Straps vs. Pin-Pipe: Install heavy-duty UHMW plastic-lined safety straps rather than steel pin-pipes. Straps catch the barbell silently and prevent damage to the bar's knurling and zinc coating if you fail a rep.
Phase 4: Integrating Dumbbell Exercises for Hamstrings
Setup Insight: While the barbell is king for absolute load, integrating dumbbell exercises for hamstrings is critical for addressing unilateral imbalances and allowing for natural pelvic rotation during the hip hinge.Once your rack and barbell are installed, you must configure the space for accessory work. The ExRx.net exercise directory highlights that the hamstrings act as both hip extensors and knee flexors. Barbell RDLs primarily target the hip extension function in a locked bilateral stance. To fully develop the posterior chain, your station must accommodate targeted dumbbell exercises for hamstrings.
Configuring the Station for Dumbbell Hinge Work
For exercises like the Single-Leg Dumbbell RDL or Staggered-Stance Good Mornings, balance and spatial awareness are the primary failure points before muscular fatigue. Set up your rack with a single horizontal safety strap at waist height. This allows the lifter to lightly touch the upright or strap with their non-working hand to stabilize the torso without unloading the hamstring.
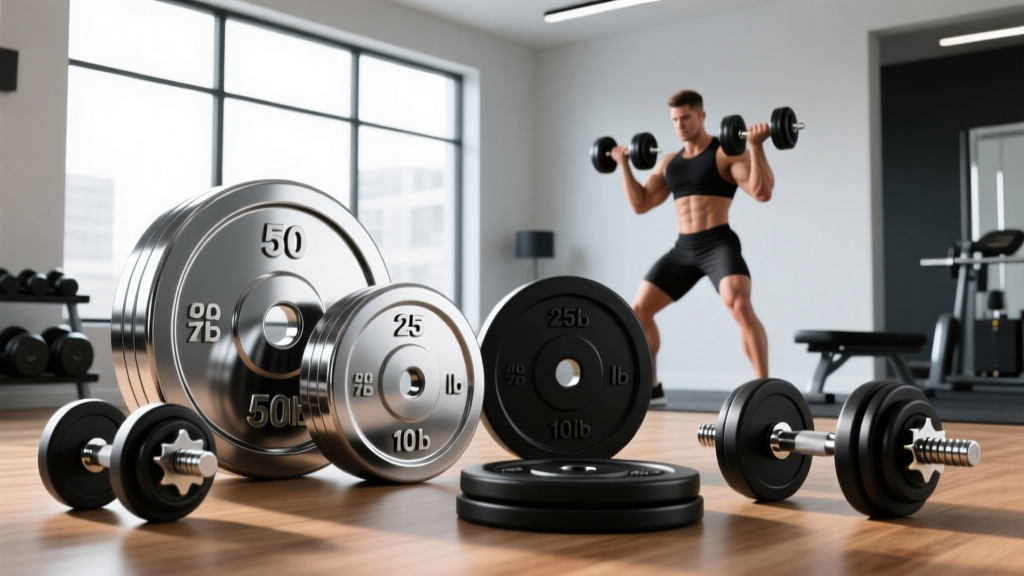
When selecting dumbbells for this station, avoid cheap rubber-coated hex bells. The sulfur off-gassing can be overwhelming in a closed garage gym, and the bulky heads alter the center of gravity. Invest in urethane-coated dumbbells (ranging from 25 lbs to 90 lbs in 5 lb increments). Urethane is odorless, highly durable against drops, and the compact heads allow the weight to hang closer to your center of mass during a stiff-legged deadlift, reducing unwanted lower back torque.
Biomechanical Setup for DB Hamstring Curls
To target the knee flexion function of the hamstrings, you can utilize your newly installed rack bench. Place an adjustable FID (Flat/Incline/Decline) bench at the base of the rack. Lie prone, hooking your heels under the rack's lower crossmember or a dedicated lat-row footplate. Holding a light dumbbell between your feet, perform lying hamstring curls. This setup eliminates the need for a dedicated $800 leg-curl machine while providing the exact same resistance curve.
Phase 5: Long-Term Maintenance and Oxidation Prevention
A complete setup walkthrough is incomplete without a maintenance protocol. The knurling on your Olympic barbell, especially if it is raw steel or lightly zinc-coated, will accumulate dead skin, chalk, and moisture, leading to rust within weeks.
Every 14 days, spray the shaft with a light coat of 3-in-One oil or a specialized barbell cleaner. Scrub the knurling with a brass wire brush (never use steel wire on zinc or cerakote finishes, as it will strip the protective layer). Wipe it down with a microfiber cloth. For your urethane dumbbells, a simple wipe-down with a mild, non-alcoholic disinfectant will prevent the urethane from drying out and cracking over time.
By meticulously selecting your barbell's weight and knurling profile, securely anchoring your rack, and deliberately programming dumbbell exercises for hamstrings into your accessory blocks, you create a biomechanically sound, highly durable lifting station capable of supporting elite-level posterior chain development.
For further reading on competition standards and equipment tolerances, always refer to the latest guidelines published by USA Weightlifting and the International Weightlifting Federation.
More gear to consider
All reviews
Collar Comparison: Beyond Back Workouts with Dumbbells Women's
Good Shoulder Workouts With Dumbbells: Loadable Space Setup
Power Rack vs Squat Stand: How to Draw Dumbbells & Plan Your Gym
Power Rack vs Squat Rack vs Stand: Plus Easy Dumbbell Arm Workout
Olympic vs Standard Plates: Heavy Lifts & Dumbbell Belly Exercises