
Barbell Weight, Knurling Guide & Delt Exercises with Dumbbells Setup
Master your 2026 home gym setup with our Olympic barbell weight and knurling guide, plus rack installation tips and delt exercises with dumbbells.

Setting up a professional-grade home gym in 2026 goes far beyond simply dropping equipment onto a rubber mat. A true complete setup and installation walkthrough requires understanding the biomechanical, spatial, and mechanical requirements of your free weight zone. This guide bridges the gap between heavy compound lifting and targeted hypertrophy. We will start with the foundational power rack installation, move into a comprehensive Olympic barbell buying guide focused on weight tolerances and knurling, and conclude with the spatial configuration required for optimal isolation work.
Phase 1: Power Rack Anchoring and Barbell Sleeve Clearance
Before unboxing your barbell, your power rack must be properly installed to handle dynamic loading. Most commercial and high-end residential power racks feature 3x3 inch 11-gauge steel uprights. When assembling the base, use the included 5/16-inch Grade 8 hardware, but do not fully tighten the bolts until the entire frame is squared using a carpenter's level.
Floor Anchoring and Platform Integration
If you are bolting your rack directly to a concrete slab, use 3/8-inch wedge anchors drilled to a depth of 3 inches. If your rack sits on a layered lifting platform (typically 3/4-inch plywood topped with 3/4-inch vulcanized rubber), you must use lag bolts that penetrate through the platform and at least 1.5 inches into the concrete subfloor. Alternatively, many modern racks utilize a flat-foot design with bolt-down tabs; these rely on the weight of the loaded barbell for stability, but anchoring is always recommended for safety during kipping or banded movements.
Pro-Tip: Upright SpacingEnsure your rack's inside upright spacing is exactly 43 inches. This is the IPF standard and guarantees that a standard 7.2-foot Olympic barbell will clear the uprights while leaving enough sleeve length to load multiple 45-pound bumper plates.
Phase 2: Olympic Barbell Buying Guide — Weight Tolerances and Knurling
Selecting the right barbell is the most critical equipment decision you will make. According to the International Weightlifting Federation, strict parameters govern Olympic barbell dimensions, but the commercial market offers vast variations. Understanding weight tolerances and knurling geometries will dictate the bar's performance and lifespan.
Weight Tolerances and Calibration
A standard Olympic barbell is nominally 20 kilograms (44.09 pounds) for men and 15 kilograms (33.06 pounds) for women. However, not all 20kg bars are created equal. Budget commercial bars often carry a weight tolerance of +/- 1%, meaning a 45-pound bar could legally weigh anywhere from 44.5 to 45.5 pounds. For serious lifters tracking progressive overload, this variance is unacceptable. Premium bars from top-tier manufacturers like those found in the Rogue Fitness Barbell Catalog boast a calibrated weight tolerance of +/- 10 grams (less than half an ounce). When buying, always look for the phrase 'calibrated to IWF or IPF standards' in the spec sheet.
Decoding Knurling Geometries
The knurling pattern is CNC-machined into the steel shaft to provide grip. The depth and shape of these cuts drastically alter the feel of the bar:
- Hill Knurling: Features shallow, rounded peaks. Common on budget multi-purpose bars. It feels smooth but will slip during heavy, chalked deadlifts.
- Mountain Knurling: Features sharp, aggressive, pointed peaks. Found on dedicated powerlifting bars (like the classic Texas Power Bar). It bites deeply into the skin and is excellent for 1-rep maxes, but will tear calluses during high-rep hypertrophy work.
- Volcano Knurling: The gold standard for 2026 multi-purpose bars. The CNC tooling cuts deep grooves but flattens the very tip of the peak, creating a 'volcano' crater. This provides immense surface area for grip without acting like a cheese grater on your hands.
Barbell Specification Matrix
| Feature | Olympic Weightlifting Bar | Powerlifting Bar | Multi-Purpose Bar |
|---|---|---|---|
| Shaft Diameter | 28mm | 29mm | 28.5mm |
| Knurling Type | Moderate Volcano | Aggressive Mountain | Mild Volcano |
| Center Knurl | Absent or Mild | Aggressive | Mild |
| Tensile Strength | 190k+ PSI | 205k+ PSI | 190k PSI |
| Sleeve Rotation | Needle Bearings | Bronze Bushings | Bronze Bushings |
Phase 3: Dumbbell Rack Installation and Accessory Zone Layout
Once your primary barbell station is secured and calibrated, the next step in this installation walkthrough is configuring the adjacent tiered rack for isolation movements. A well-placed dumbbell rack is essential for high-rep accessory work, particularly when executing targeted hypertrophy protocols.
Spatial Planning for Isolation Movements
Install your A-frame or 3-tier horizontal dumbbell rack at least 36 inches away from the power rack uprights to allow for safe plate loading and traffic flow. When mapping out the floor plan, ensure you have a minimum 6-foot radius around your adjustable bench. This clearance is non-negotiable when performing delt exercises with dumbbells, as movements like seated lateral raises or heavy incline rear-delt flyes require wide arm arcs. According to exercise anatomy databases like ExRx, the lateral deltoid requires a full, unobstructed range of motion to achieve peak contraction without the dumbbells colliding with your power rack safety straps.
Setup Checklist for Delt Accessory Work:1. Position an adjustable FID bench at a 75-degree incline for optimal anterior and lateral deltoid activation.
2. Ensure the dumbbell rack's top tier holds your 15lb to 30lb hex dumbbells at waist height to prevent lower back strain during pickup.
3. Keep a dedicated set of neoprene-coated dumbbells in this zone to protect the flooring from repeated drops during drop-sets.
Phase 4: Barbell Sleeve Maintenance and Bushing vs. Bearing Selection
Installation is not just about physical assembly; it is about establishing a maintenance baseline. The rotational mechanism inside your barbell sleeves dictates how the bar behaves during lifts.
Bushings vs. Bearings
If your setup focuses on heavy, slow powerlifting movements (squats, bench presses, deadlifts), choose a bar with bronze bushings. Bushings provide a slower, more controlled sleeve rotation, which prevents the bar from violently spinning out of your hands during heavy bench press unracking. Conversely, if your 2026 training block includes Olympic weightlifting (snatches, cleans), you must select a bar with needle bearings. Bearings allow the sleeves to spin rapidly and independently of the shaft, reducing rotational torque on the lifter's wrists during the catch phase.
The Initial Maintenance Protocol
Brand new barbells are shipped with a thick layer of factory anti-rust oil. Before your first lift, you must strip this oil. Use a nylon brush and a mild degreaser to clean the sleeves. Once dry, apply 3 to 4 drops of synthetic barbell oil or standard 3-in-One oil into the gap between the sleeve and the shaft cap. Rotate the sleeve manually to distribute the lubricant. Never use WD-40, as it is a solvent that will strip existing lubrication and attract chalk dust, eventually seizing the bearings.
Frequently Asked Questions
Can I use a 29mm power bar for high-rep dumbbell accessory work?
The barbell shaft diameter does not affect your dumbbell work, but using a 29mm power bar for high-rep barbell front squats or cleans will cause wrist strain. Keep your heavy barbell work strictly to the power rack, and transition to the dumbbell zone for high-rep isolation.
How often should I clean the barbell knurling?
In a home gym environment, clean the knurling every 3 to 4 weeks using a brass wire brush. Brush in a circular motion to dislodge dead skin, chalk, and zinc oxidation, then wipe down with a lightly oiled microfiber cloth to prevent rust.
What is the best flooring for the dumbbell drop zone?
For areas dedicated to heavy dumbbell drops, standard 3/4-inch horse stall mats are insufficient. Upgrade to 2-inch thick crumb-rubber drop pads or interlocking high-density EVA foam tiles specifically rated for free-fall impact to protect your concrete subfloor from micro-fractures.
More gear to consider
All reviews
Olympic Barbell Setup & Best Lat Exercises With Dumbbells

Compared: Top Neoprene Gear for Dumbbell Exercises for Toning Arms
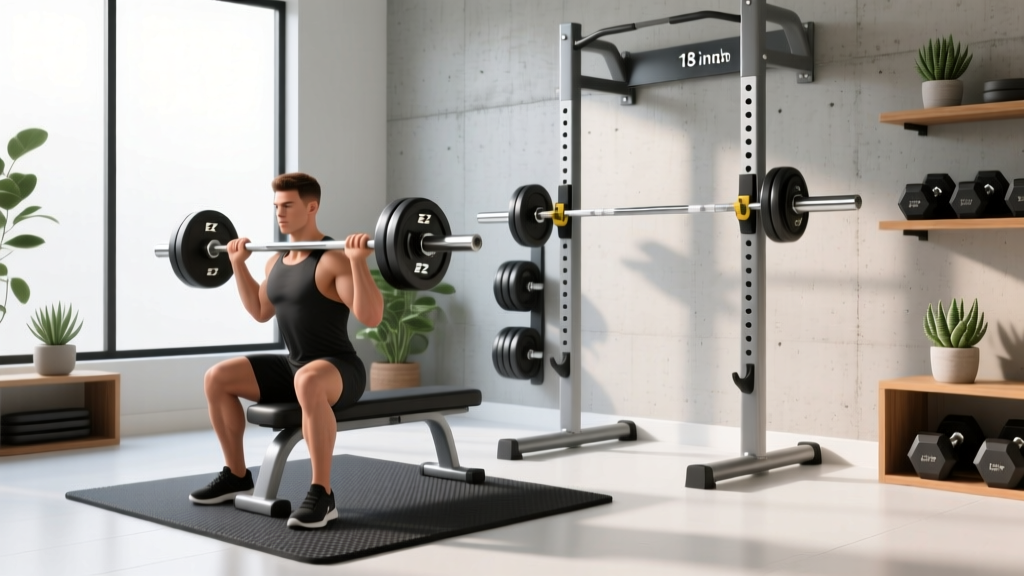
EZ Curl Bar vs Straight Bar: Dumbbell Shoulder Gym Layouts
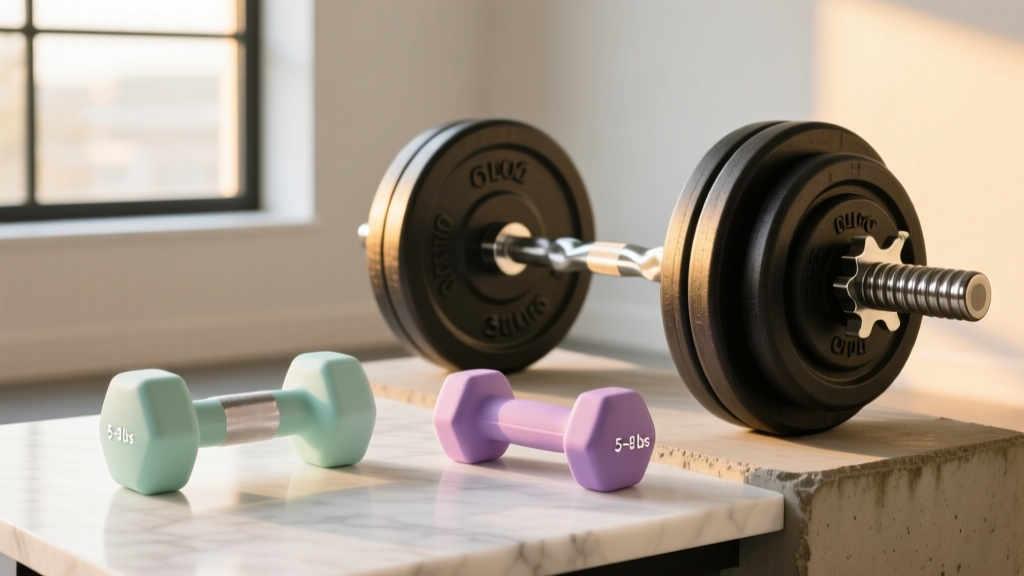
From Starter Dumbbell Weight for Women to Olympic Barbell Knurling
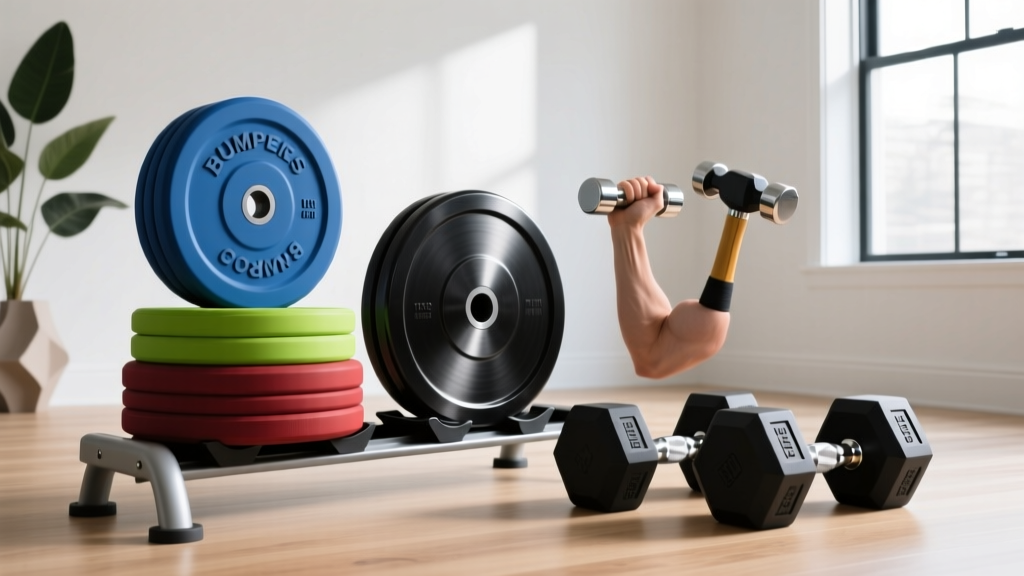
Bumper vs Iron Plates & Dumbbell Hammer Curls: 2026 Trends
