
Barbell Collars Compared & Seated Cable Row with Dumbbells
Compare barbell collar and clamp types for home gym safety. Plus, learn a beginner-friendly step-by-step seated cable row with dumbbells alternative.

The Foundation of Free Weight Safety: Why Collars Matter
When building a home gym in 2026, beginners often allocate their entire budget to the barbell and weight plates, treating barbell collars as an afterthought. This is a critical safety oversight. According to the National Strength and Conditioning Association (NSCA), securing weight plates is a fundamental weight room safety standard to prevent asymmetric loading and catastrophic barbell tipping. A loose 45-pound plate shifting outward during a bench press or squat alters the bar's center of gravity in milliseconds, leading to severe joint torque or dropped lifts.
In this comprehensive guide, we will break down the exact barbell collar and clamp types available on the market, comparing their grip strength, durability, and ideal use cases. Finally, we will address a highly requested home gym modification: how to effectively perform a seated cable row with dumbbells when you lack a $2,500 cable tower.
⚠️ Beginner Safety Callout: Never use standard spring clips for heavy compound lifts like squats or bench presses. Metal fatigue causes them to lose tension unpredictably, and they offer zero lateral grip on dusty or chalky barbell sleeves.Barbell Collar and Clamp Types: A 2026 Comparison Matrix
Not all collars are created equal. The market is currently dominated by four distinct mechanisms. Below is a detailed comparison to help you match the collar to your specific training style.
| Collar Type | Avg. Price (Pair) | Grip Mechanism | Best For | Known Failure Modes |
|---|---|---|---|---|
| Spring Clips | $10 - $15 | Tensioned Steel Wire | Light dumbbells, quick warm-ups | Spring fatigue, slipping on chalky sleeves |
| Clamp / Proloc | $30 - $45 | Resin Plastic Squeeze | Olympic lifting, bumper plates | Plastic cracking in cold garages (below 40°F) |
| Aluminum Competition | $70 - $95 | CNC Aluminum & Rubber Pad | Powerlifting, heavy static lifts | Stripped threads from over-tightening |
| Spinlock | $15 - $25 | Threaded Steel Nut | Standard 1-inch dumbbells | Incompatible with 2-inch Olympic sleeves |
1. The Clamp Style (e.g., Lock-Jaw Pro)
Clamp-style collars utilize a high-density resin plastic that snaps shut over the sleeve. They are the gold standard for Olympic weightlifting because they absorb the impact of dropped bumper plates without scratching the barbell. However, if your home gym is an unheated garage in the Midwest, the plastic can become brittle and crack under extreme lateral force during winter months.
2. Aluminum Competition Collars (e.g., Rogue HG 2.0)
Priced around $80 per pair, CNC-machined aluminum collars use a threaded screw to press a dense rubber or urethane pad against the plates. As noted in extensive gear testing by BarBend, these provide the highest lateral clamping force on the market. They are essential for heavy bench pressing and squatting where plates rattle and shift. The only drawback is the time it takes to screw them on and off between sets.
Step-by-Step: How to Properly Secure Your Barbell
Using the right collar is only half the battle; proper application is the other. Follow this beginner-friendly sequence to ensure maximum safety:
- Wipe the Sleeve: Use a microfiber cloth to remove chalk dust and skin oils from the barbell sleeve. Friction is your best friend when securing collars.
- Load Symmetrically: Always load plates in matching pairs, starting with the heaviest plates closest to the inner collar.
- Push Plates Flush: Before applying the collar, kick the plates tightly together against the inner lip of the barbell sleeve to eliminate any micro-gaps.
- Apply the Collar: Slide the collar onto the sleeve until it touches the outermost plate. Leave exactly a 1/4-inch gap between the collar and the end of the sleeve to allow the clamping mechanism to bite down securely without bottoming out.
- Test the Grip: Attempt to slide the collar inward with your thumb. If it moves without significant resistance, reposition or tighten the mechanism.
The Home Gym Hack: Seated Cable Row with Dumbbells
Many beginners search for a seated cable row with dumbbells because they want to replicate the constant-tension back development of a cable machine but only own free weights. A traditional bent-over barbell row places heavy shear stress on the lumbar spine, which isn't always ideal for beginners or those with lower back fatigue.
According to biomechanics data cataloged by ExRx.net, the seated cable row primarily targets the latissimus dorsi, rhomboids, and middle trapezius through a horizontal pulling plane with minimal lower back stabilization required. Here is how to replicate this exact movement pattern using only dumbbells and a standard weight bench.
The 'Chest-Supported' Dumbbell Row Alternative
To mimic the seated cable row's stability and isolation, we use an incline bench to remove the lower back from the equation entirely.
- Setup: Set an adjustable weight bench to a 30-to-45-degree incline.
- Positioning: Lie face down on the bench with your chest fully supported. Hold a hex or rubber dumbbell in each hand with a neutral grip (palms facing each other). Let your arms hang straight down toward the floor.
- The Pull: Initiate the movement by retracting your shoulder blades (imagine squeezing a pencil between them). Pull the dumbbells upward toward your hip pockets, keeping your elbows tucked close to your ribs.
- The Squeeze: Hold the contraction at the top for 1.5 seconds. This isometric pause mimics the peak contraction of a cable row.
- The Eccentric: Lower the dumbbells slowly over a 3-second count to maximize muscle fiber tearing and time-under-tension, compensating for the lack of cable resistance on the way down.
Troubleshooting & Edge Cases
Even with the best equipment, home gym owners encounter specific edge cases. Here is how to troubleshoot common collar and row issues:
Why Do My Aluminum Collars Keep Slipping?
If your high-end competition collars are sliding off during heavy deadlifts, check the rubber padding. Over 12 to 18 months of heavy use, the rubber pad compresses and hardens. Most premium brands sell replacement rubber pads for $10. Swapping the pad restores the original clamping diameter and grip friction.
Dumbbell Row Asymmetry
When performing the seated cable row with dumbbells alternative, beginners often pull their dominant side higher than their non-dominant side. To fix this, switch to unilateral (one-arm) chest-supported rows. This allows you to focus entirely on the mind-muscle connection of the latissimus dorsi on one side at a time, correcting muscular imbalances before they lead to postural issues.
Final Thoughts
Investing in proper barbell collars is a non-negotiable aspect of free weight training. Whether you opt for the quick-release convenience of clamp-style collars for Olympic lifts or the vice-like grip of aluminum competition collars for powerlifting, securing your sleeves protects both your body and your equipment. Pair this safety-first mindset with intelligent exercise modifications—like the chest-supported dumbbell row—and you will build a resilient, effective home gym routine that yields results for years to come.
More gear to consider
All reviews
Neutral Grip Dumbbell Overhead Press vs Kettlebells: 2026 Market Data
Power Rack vs Squat Rack vs Stand: Best for Dumbbell Overhead Press?

Market Trends: Dumbbell Racks for Any Tricep Exercise With Dumbbells

Arm Exercise with Dumbbells: Loadable Plate Value Guide
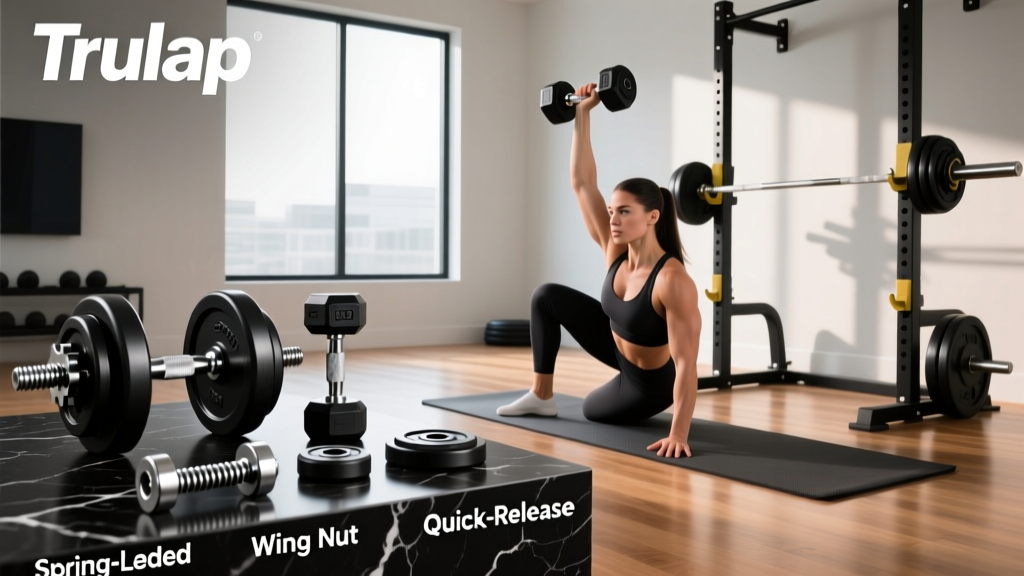
Trulap Dumbbell Review & Setup: Barbell Collar Clamp Types Compared
