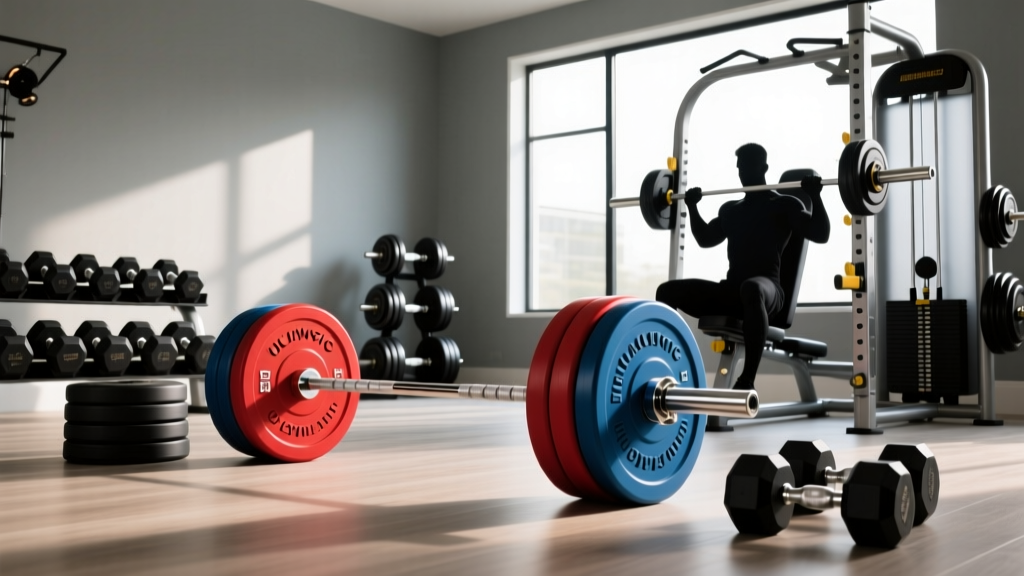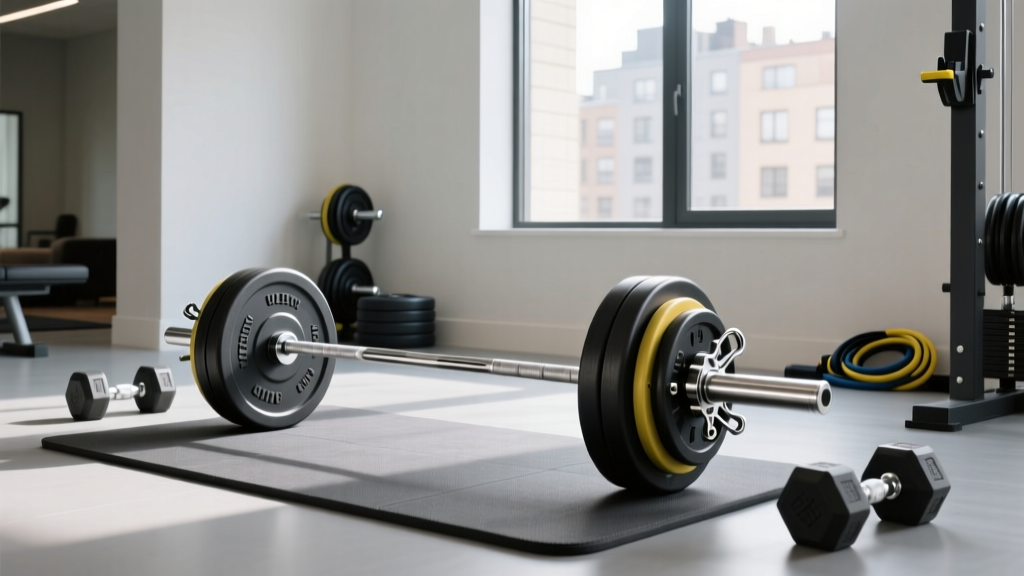
Barbell Collar Types Compared: Setup for Squats & Dumbbell Snatch
Compare barbell collar and clamp types with our complete setup walkthrough. Learn to secure plates for heavy squats, Olympic lifts, and the dumbbell snatch.

The Critical Role of Barbell Collars in Dynamic Lifts
When building out a comprehensive home gym in 2026, lifters often obsess over barbell whip, bumper plate durometer, and rack stability, yet overlook the most vital safety component on the sleeve: the barbell collar. Whether you are grinding through heavy back squats, performing explosive Olympic lifts, or programming a unilateral snatch dumbbell variation to build asymmetrical power, securing your load is non-negotiable. A shifting plate during a dynamic movement alters the bar's center of mass, leading to catastrophic torque on the wrists and shoulders.
For Olympic weightlifting, the International Weightlifting Federation (IWF) mandates specific collar weights and security standards to ensure the barbell behaves predictably off the floor. In the home gym, however, your setup requires versatility. You need collars that can withstand repeated drops from overhead, quick transitions between working sets, and compatibility with various sleeve finishes. According to BarBend's extensive testing, the wrong collar can slip up to 2 inches during a heavy clean and jerk, completely ruining the lift's mechanics and risking severe injury.
⚠️ Safety Alert: Never use standard wire spring collars for dropped Olympic lifts. The kinetic energy from dropping a barbell from overhead causes the spring coils to compress and expand, effectively 'walking' the collar outward and allowing plates to slide off mid-bounce.Complete Barbell & Collar Setup Walkthrough
Proper installation of your barbell collars goes beyond simply sliding them onto the sleeve. The setup process must account for sleeve rotation, plate tolerance, and rack storage integration. Follow this step-by-step walkthrough to ensure a flawless, safe configuration every time you load the bar.
- Verify Sleeve and Plate Tolerances: Standard Olympic sleeves measure exactly 50mm in diameter. Before loading, ensure your bumper plates have steel inserts (not degraded rubber) that slide flush against the sleeve shoulder. Worn rubber inserts create a 1-2mm gap that allows lateral plate shift, regardless of how tight your collar is.
- Load and Align the Plates: Load your plates symmetrically. For Olympic lifts like the snatch, ensure the plates are seated completely flush against the inner sleeve lip. Tap the plates against the floor vertically to settle them into place.
- Install the Collar with Rotational Clearance: Slide the collar onto the sleeve. Critical Setup Step: Do not jam the collar flush against the outermost plate. Leave a microscopic 1mm gap. Olympic barbells are designed to rotate inside the sleeve during the turnover phase of a snatch or clean. If the collar clamps the plates too tightly against the inner bearing lip, you restrict sleeve spin, transferring rotational force directly into your wrists.
- Engage the Locking Mechanism: Depending on your collar type (detailed below), engage the cam lever, screw the resin dial, or snap the dual-prong clamp. Ensure the locking mechanism sits on the top or side of the sleeve, never directly on the bottom where it will strike the platform during a drop.
- Install Rack Storage Hooks: To complete your gym setup, install magnetic collar holders on your power rack. Align the neodymium magnets with the 11-gauge steel uprights, positioning them at chest height (approx. 48 inches from the base) to prevent bending over between heavy sets.
Barbell Collar and Clamp Types Comparison Matrix
Not all collars are engineered for the same purpose. Below is a comprehensive comparison of the four primary collar mechanisms available on the market today, evaluated on security, speed, and drop-rating.
| Collar Type | Mechanism | Drop Rating | Change Speed | Best Use Case | Avg. Price (2026) |
|---|---|---|---|---|---|
| Aluminum Clamp | Cam Lever / Bearing | High | Fast (2 sec) | Powerlifting, Heavy Squats | $30 - $45 |
| Resin Lock-Jaw | Threaded Screw Dial | Medium | Medium (5 sec) | CrossFit, High-Rep Cycling | $25 - $35 |
| Olympic Clamp | Forged Steel Lever | Extreme | Slow (10 sec) | Competitive Weightlifting | $75 - $120 |
| Wire Spring | Tension Coil Squeeze | Low | Fast (3 sec) | Bench Press, Floor Presses | $10 - $18 |
Deep Dive: Top Models, Pricing, and Real-World Failure Modes
To make an informed purchasing decision, you must understand the exact failure modes of popular collar models. Here is an expert breakdown of the industry standards.
1. Rogue HG 2.0 Collars (Aluminum Clamp)
Priced at $35.00 per pair, the Rogue HG 2.0 remains the gold standard for home gym powerlifters and functional fitness athletes. Machined from 6061 aircraft-grade aluminum, they weigh just 0.5 lbs each, ensuring they don't artificially inflate your calculated working weight.
- Pros: Exceptional grip on chrome and zinc sleeves; ultra-fast cam lever release; anodized finish prevents rust.
- Cons & Failure Modes: The internal rubber lining can compress over 3-4 years of heavy use, requiring replacement. Furthermore, if dropped directly on the cam lever from overhead onto concrete, the aluminum housing can dent, jamming the hinge pin.
2. Lock-Jaw Pro (Resin Threaded Dial)
Retailing around $30.00 per pair, the Lock-Jaw Pro uses a high-impact nylon resin that tightens via a threaded dial. They are incredibly popular in commercial CrossFit boxes due to their lightweight nature and ease of use.
- Pros: Will not scratch expensive Cerakote or hard chrome barbell sleeves; very secure lateral grip.
- Cons & Failure Modes: Temperature sensitivity. If your garage gym drops below 40°F (4°C) in the winter, the resin becomes brittle. We have documented multiple cases of Lock-Jaw collars shattering upon impact with a rubber platform in cold environments.
3. Eleiko Olympic Weightlifting Collars (Forged Steel)
At $85.00 to $120.00 per pair, these are competition-grade collars. According to IWF technical rules, competition collars must weigh exactly 2.5kg (5.5 lbs) each. This weight is factored into the total loaded barbell weight by athletes and coaches.
- Pros: Indestructible; provides the exact rotational lock required for elite-level snatches and clean & jerks; zero slip under maximum kinetic load.
- Cons & Failure Modes: Overkill for general fitness. The 5.5 lb weight alters your math if you are tracking micro-loaded sets, and the heavy steel lever takes significantly longer to secure and remove during AMRAP sets.
Expert Insight: If your programming frequently alternates between barbell Olympic lifts and unilateral accessories—like the dumbbell snatch or single-arm kettlebell work—invest in a pair of Rogue HG 2.0s for the barbell and keep a set of lightweight Lock-Jaws on your accessory dumbbells if you are using loadable dumbbell handles.
Maintenance and Storage Setup
Proper installation extends to how you store and maintain your collars. Tossing aluminum clamps into a plastic bin leads to scratched housings and lost tension screws.
Storage Installation Walkthrough:
- Purchase Magnetic Collar Cradles: Look for cradles featuring N52-grade neodymium magnets capable of holding 15+ lbs of shear force.
- Mounting Position: Attach the cradles to the inside of your power rack uprights, directly adjacent to your J-cup storage pins. This keeps the collars within arm's reach while loading the bar.
- Maintenance Routine: Once a month, wipe the inner rubber lining of your clamps with a damp microfiber cloth to remove chalk dust and zinc oxidation. Chalk buildup acts as a dry lubricant, reducing the friction coefficient between the collar and the barbell sleeve by up to 40%, leading to dangerous slippage during heavy eccentrics.
Frequently Asked Questions
Do I need collars for bench pressing?
Yes. While the bar is not being dropped, an uneven lift or a failed rep where the bar tilts can cause plates to slide off one side, resulting in a severe tipping hazard. For bench pressing, lightweight spring collars are generally sufficient and allow for rapid loading/unloading.
Why do my plates still rattle even with tight collars?
Plate rattle is usually caused by using cast iron plates alongside bumper plates, or by using plates with oversized 51mm center holes on a standard 50mm sleeve. Ensure you are using precision-machined plates with steel inserts for a flush, silent fit.
Can I use barbell collars on loadable dumbbell handles?
Most standard barbell collars require a 50mm Olympic sleeve. Many loadable dumbbell handles feature shorter, thicker sleeves or standard 1-inch pegs. Always verify the sleeve diameter of your dumbbell handles before purchasing clamps; you may need specialized 1-inch spring clips or specific micro-collars for dumbbell work.
More gear to consider
All reviews
How Many Dumbbell Curls Should I Do? & Olympic Barbell Buying Guide

Olympic Barbell Buying Guide: Weight, Knurling & Hammer Rows Dumbbell Synergy

Care Guide: Loadable Dumbbells for Chest Development & Pressing

EZ Curl Bar vs Straight Bar & Black Widow Dumbbell Cart

Olympic vs Standard Plates: 2014 Cast Dumbbells Guide