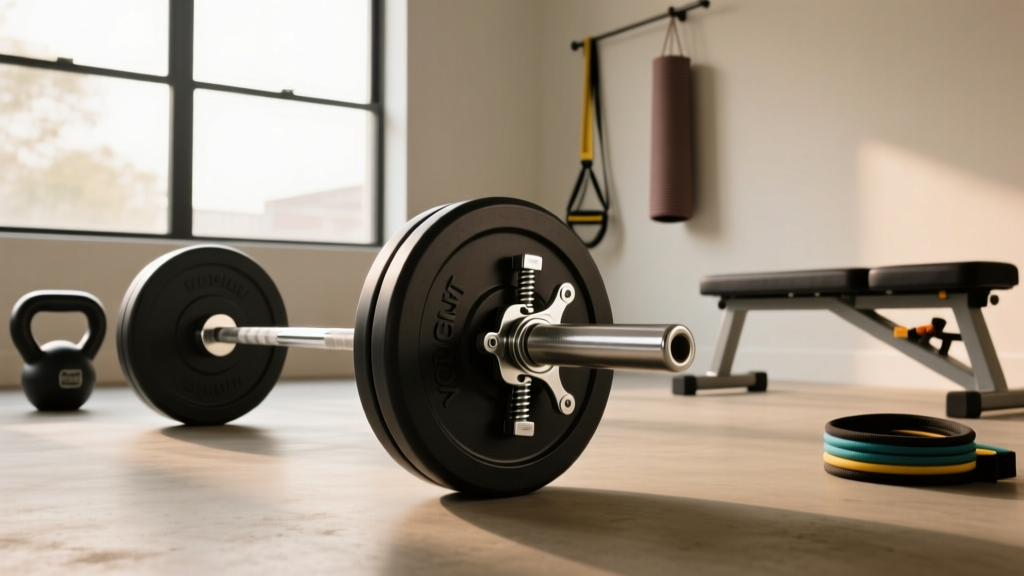
Barbell Clamp Guide: Setup for a 30 Minute Home Dumbbell Workout
Master barbell collar types and installation. Learn how quick-release clamps optimize transitions into a fast-paced 30 minute home dumbbell workout.

The Hidden Bottleneck in Hybrid Home Gym Efficiency
When designing a high-density home gym session, every second counts. Modern hybrid programming frequently pairs heavy barbell strength blocks with high-intensity metabolic conditioning. A common and highly effective pairing is a heavy Olympic lifting or powerlifting movement followed immediately by a fast-paced 30 minute home dumbbell workout featuring complexes like dumbbell thrusters, renegade rows, and walking lunges. The bottleneck in this setup is rarely your cardiovascular endurance; it is your equipment transition time. If it takes you four minutes to strip 300 lbs of plates off an Olympic barbell using cheap, bent spring clips, your rest periods bleed into your conditioning window, entirely compromising the integrity of your 30 minute home dumbbell workout.
To maintain the density and intensity required for effective hybrid training, your barbell security hardware must be flawless. In this complete setup and installation walkthrough, we will break down the engineering of barbell collars, compare the top clamp types on the market in 2026, and provide a step-by-step installation guide to ensure your transitions are seamless, safe, and lightning-fast.
Barbell Collar and Clamp Types: A Technical Comparison
Not all collars are created equal. The International Weightlifting Federation (IWF) mandates that Olympic barbell sleeves measure exactly 50mm in diameter, but the clamping mechanisms used to secure plates vary wildly in lateral pressure, material durability, and release speed. According to extensive lateral force testing by BarBend's equipment lab, the difference between a standard spring clip and a machined aluminum clamp can mean over 200 lbs of additional lateral holding force.
1. Lever/Clamp Collars (Aluminum & Steel)
The gold standard for serious home gyms. Models like the Rogue AH-1 Aluminum Collars (retailing around $48 in 2026) are CNC machined from 6061 billet aluminum. They utilize a high-durometer rubber inner lining that bites into the steel sleeve without scratching zinc or Cerakote finishes. The lever mechanism generates upwards of 250 lbs of lateral clamping force, making them virtually immovable during heavy barbell drops or dynamic cleans.
2. Polymer Lock-Jaws
Forged from glass-reinforced nylon resin, collars like the Lock-Jaw Pro 2 (approximately $39) use a lever-action cam with internal teeth that grip the sleeve. They are exceptionally fast to snap on and off, making them ideal for CrossFit-style workouts where weight changes must happen in seconds. However, the nylon teeth can round off after 3 to 5 years of daily heavy use, leading to slippage on worn barbell sleeves.
3. Spring Clips
The traditional, low-cost option (e.g., Titan Fitness Spring Clips at $12). While they provide a minimalist profile, their lateral clamping force is a mere 30 to 50 lbs. They are acceptable for controlled bench pressing but represent a severe failure hazard for dynamic movements where plates shift laterally.
| Collar Type | Example Model (2026) | Est. Price | Lateral Clamping Force | Best Application |
|---|---|---|---|---|
| Aluminum Lever Clamp | Rogue AH-1 | $48 | 250+ lbs | Heavy squats, drops, Olympic lifts |
| Polymer Lock-Jaw | Lock-Jaw Pro 2 | $39 | 150-180 lbs | Fast weight changes, WODs |
| Steel Spring Clip | Titan Spring Clips | $12 | 30-50 lbs | Light bench press, static holds |
Complete Setup and Installation Walkthrough
Proper installation of barbell clamps is just as critical as the hardware itself. A poorly seated $50 aluminum collar will fail just as easily as a cheap spring clip. Follow this step-by-step walkthrough to ensure maximum security.
- Step 1: Sleeve Preparation and Tolerance Check
Before loading plates, inspect the 50mm Olympic sleeve. Use a stiff nylon brush to remove accumulated magnesium carbonate (chalk) and debris. Chalk acts as a dry lubricant and can reduce the friction coefficient between the collar lining and the steel sleeve by up to 40%. Wipe the sleeve with a microfiber cloth and a light application of 3-in-One oil to prevent rust while maintaining grip. - Step 2: Plate Loading and Chamfer Navigation
Load your bumper or iron plates tightly against the inner sleeve shoulder. Ensure the plates are flush. When sliding the collar onto the bar, you will feel resistance as you pass the sleeve's end chamfer (the beveled edge). Do not force the collar past the chamfer at an angle; push it straight on to avoid pinching or tearing the rubber inner lining of aluminum clamps. - Step 3: The Locking Sequence
Slide the collar flush against the outermost plate. For lever clamps (like the Rogue AH-1), pull the lever outward, slide the collar tight, and push the lever flush against the collar body. You should feel a distinct mechanical cam-lock. For polymer lock-jaws, squeeze the handles, slide the collar tight, and release the handles, ensuring the internal nylon teeth bite firmly into the steel sleeve. - Step 4: The 'Shake Test' Verification
Lift the barbell to knee height and give it a sharp, controlled lateral shake. If you hear the plates clicking or shifting against one another, the collar is not seated flush or the sleeve tolerance is too loose. Re-seat the collar and re-engage the cam lock.
Expert Tip: Always store your lever clamps in the 'open' position when not in use. Leaving the cam mechanism engaged for months on end can compress the rubber lining, causing it to lose its memory and reducing future clamping force.
Preserving the 30 Minute Home Dumbbell Workout Window
Why does this level of detail matter for your conditioning? Let us look at the mathematics of a hybrid session. Suppose your primary strength work takes 35 minutes. You have exactly 30 minutes left in your lunch break to complete a high-intensity 30 minute home dumbbell workout.
If you are using standard spring clips, stripping 300 lbs of plates, wrestling the bent clips off the sleeves, and racking the bar takes roughly 2.5 to 3 minutes. You have now stolen 10% of your conditioning window just to transition equipment. Furthermore, the physical grip fatigue from prying off tight spring clips can compromise your forearm endurance before you even pick up your dumbbells for heavy renegade rows or farmer carries.
By utilizing quick-release aluminum lever clamps or polymer lock-jaws, you can strip the barbell in under 15 seconds. This preserves the exact timing of your rest intervals and ensures you step into your 30 minute home dumbbell workout with a fresh grip and maximum cardiovascular readiness. Efficient hardware setup is the invisible key to maintaining workout density.
Troubleshooting Edge Cases and Failure Modes
Even the best equipment encounters real-world failure modes. Here is how to troubleshoot common collar issues based on manufacturer specifications and field testing:
- Failure Mode: Slippage on Worn Sleeves
Older barbells with heavily worn zinc coatings can have a sleeve diameter that drops below 49.8mm. Standard collars will spin freely. Fix: Wrap a single layer of athletic tape around the end of the sleeve where the collar sits to artificially restore the 50mm tolerance and give the rubber lining something to bite into. - Failure Mode: Polymer Teeth Stripping
In cold garage gyms (below 40°F / 4°C), nylon resin lock-jaws become brittle. If forced onto a barbell, the internal teeth can snap. Fix: Keep polymer collars inside the house until your workout begins, or switch to aluminum lever clamps which are unaffected by temperature fluctuations. - Failure Mode: Oversized Import Sleeves
Some budget import barbells measure 50.4mm instead of the IWF standard 50.0mm. This causes aluminum collars to bind and scratch the sleeve. Fix: Use a digital caliper to measure your sleeve. If it is oversized, rely exclusively on polymer lock-jaws, as the nylon resin has enough flex to accommodate the 0.4mm variance without binding.
Frequently Asked Questions
Do I need different collars for Olympic vs. Standard bars?
Yes. Olympic barbells feature 50mm (2-inch) rotating sleeves, requiring standard Olympic collars. 'Standard' home gym barbells (often found in budget department store kits) feature 25mm (1-inch) non-rotating sleeves. You must purchase 1-inch specific spring clips or screw-on star locks for those bars, though upgrading to an Olympic barbell system is highly recommended for long-term durability and safety.
Can I use lock-jaw collars for heavy barbell drop sets?
Yes, polymer lock-jaws are excellent for dropping bumper plates from overhead or the shoulder, as the nylon resin absorbs shock well. However, they are not recommended for dropping raw iron plates on bare concrete, as the extreme vibration can cause the internal teeth to momentarily disengage from the sleeve.
More gear to consider
All reviews
How to Use Dumbbells for Arms: Adjustable Setup & 2026 Review
EZ Bar vs Straight Bar: Better Than a Biceps Exercise With Dumbbells?

Dumbbell Bench Press vs Barbell Bench Press: The Ultimate Plate Guide

Best Adjustable Dumbbells for Armpit Fat Exercises: 2026 Review
Barbell Clamps Compared: Beyond the Dumbbell Workout Plan PDF
